With the release of Palworld 1.0 there are some key steps to having the most success in your world.
This has been updated post 1.0 release!
All info is currently based on the last update before 1.0 Launch. While some specific parts may not be accurate after launch, the core ideas will still be important.
Level Up Fast
You will want to level up fast to get as much Technology as possible. Getting better gear means exploring everything faster.
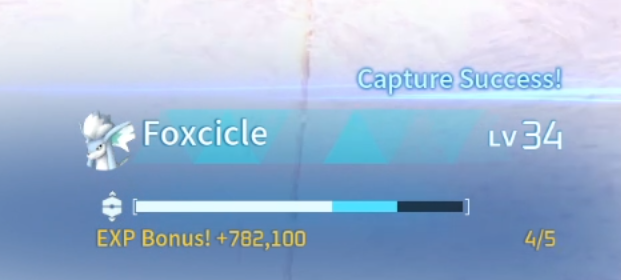
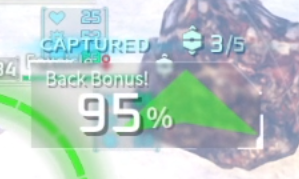
The go to strategy is going to be taking advantage of the New Pal Bonus. The first 5 of the same pal you capture give an EXP Bonus. This allows for fast experience gain. Once you hit the max you will swap to the next pal.
You can also see how many pals you have captured when throwing a Pal Sphere allowing you to easily see how many more you have to go.
Lastly, missions will give a good amount of EXP so when you are able to complete one, do it.
POST 1.0 THIS HAS BEEN LOWERED TO 5
Correct Stat Points To Use
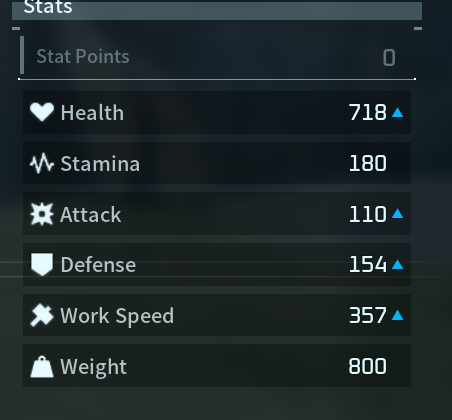
Stat Points is something you gain while leveling. You also get permanent stat bonuses from Remedies and Elixirs that you get from Supply Drops or crafted with Medicine Workbenches. Eventually you will be able to max all of them but to have the best time early game this is what I would suggest a mix of.
Weight - getting encumbered can be very easy. Getting more weight will allow you to get more before having to go back to your base.
Work Speed - it will be a bit before Pals can outdo your base work speed so increasing it just helps as well
Stamina - stamina is very important for moving, mining, attacking, gliding, and more. Increasing stamina just helps.
While you can increase the other stats I find that increasing Quality Of Life beats damage and survivability as it's not as needed yet.
Upgrade Your Palbox
Upgrading your palbox is very important to have more pals in your base as well as more palboxs. At normal settings you get 4 bases at max and at max settings you get 10 at max. These increased bases help for certain resource gathering or wanting to be close to locations that don't have a fast travel nearby.
To get your first base upgrade you will need to get it to level 10. This is when I would recommend moving to a better base as it makes transferring things a lot easier
Adjust World Settings
Adjusting your world settings can be very nice for Quality of Life or just overall enjoyment. This can also bring challenge modes but this will just be nice things at the start. I will list some of my favorite settings to mess with in my world but you can do whatever you want
Death Penalty - personally I like to go with No Drops so I can act reckless when I want and just kind of have fun. If I want to go more serious I can go Drop All Drops Except Equipment
Time to Incubate Eggs - while this can be something you usually focus more on late game, it's still good nonetheless. Breeding for IVs and Passives can be RNG dependent making you spend a lot of time doing this. Removing the time to incubate just helps reduce the time while still having to put in the work of learning how to breed. But for early game this is nice for eggs you find in different places.
Gatherable Items and Dropped Items Multipliers - the amount of grinding of resources can get pretty high. Not all resources can be gotten in your base so you have to go out and explore. The more you play the more realize how much of a grind it can be. Increasing the multiplier helps alleviate the grind while the grind itself will still exist.
Damage To Structure Multiplier & Structure Deterioration Rate - Don't you hate when you shoot a giant rocket at your own base and destroying everything? I sure do. Turning this off stops this. Not really happening early game but helps prevent me forgetting late game.
Item Weight Rate - Not everyone enjoys the weight mechanic of some survival games. If you do not like it then you can turn it off. The more you play the more items you have. While you can increase the amount of weight you can hold, eventually it can still be too much. And going back and forth to your base just because you are encumbered isn't for everyone.
Day/Night Time Speed - this is usually something I adjust if I am farming something that only spawns at a certain time of day. Or if I don't want to deal with the lack of light at night without going to bed I will increase the speed of Night while keeping a moderate speed for day.
Meteorite/Supply Drop Interval - the set duration is 3 hours which can be pretty long for someone who doesn't have the most time to play. I like to decrease it between 15 minutes to an hour as it is not spamming it but still kind of rare. These will drop valuable materials, blueprints, accessories, and stat boosts.
Max Bases - this can be really nice if you want many bases for specific needs or just for building a lot of cool bases. Keep in mind that this can hurt your game performance
Max Pals Per Base - depending on how much you want to be able to do in a single base will depend on how many pals you want. Personally I like being able to have all stuff done in one base or have A LOT of one thing per base. Keep in mind that this can hurt your game performance
Gather Effigies
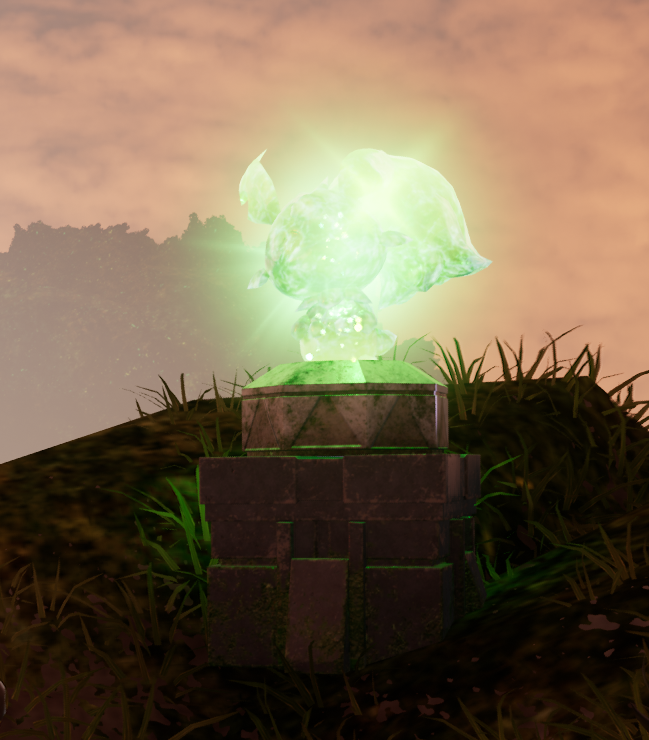
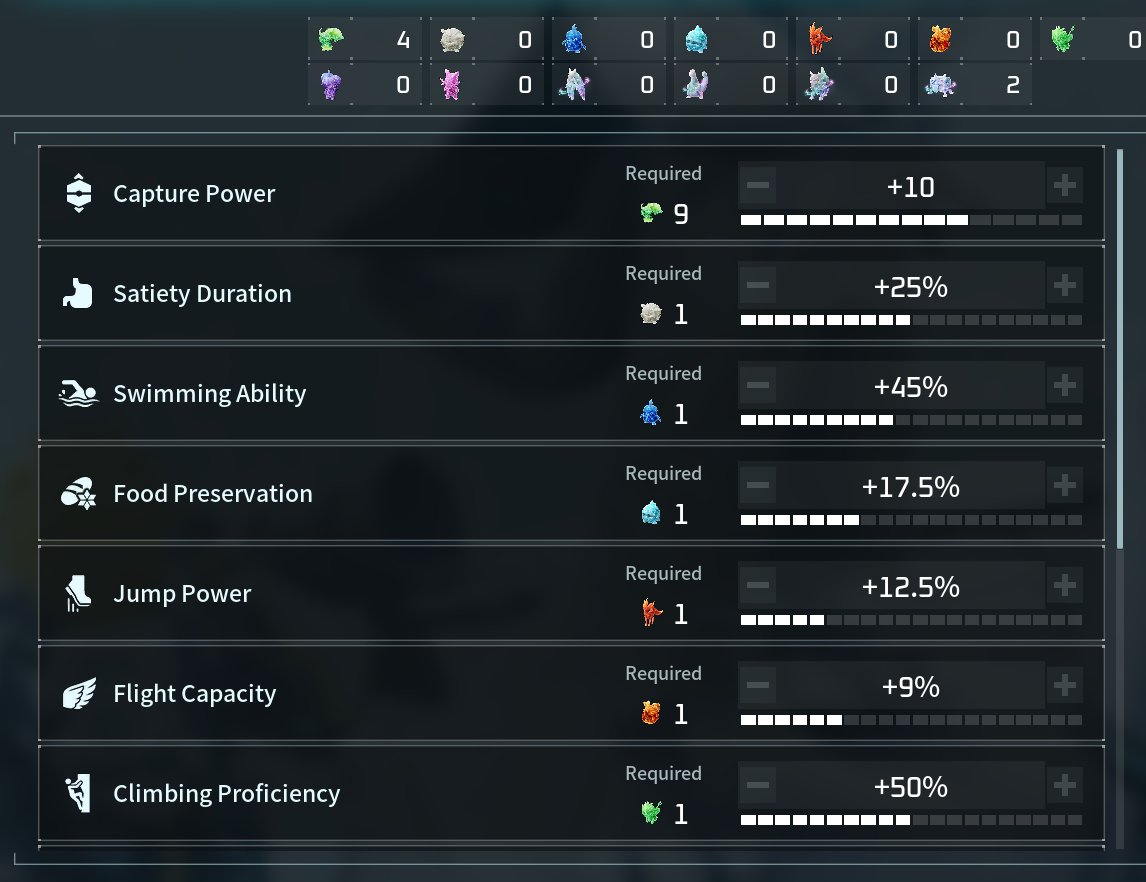
Lifmunk Effigies are very important for increasing your catch rate of Pals. When you see one then grab it. Use Statue Of Power to turn Effigies into Capture Power. This will make it easier to catch pals.
Once you get a flying mount, go around at night to make them more visible from their green glow.
WITH 1.0 RELEASE there are now more effigies. These are a must have to grab as well with TONS of quality of life
Get The Right Mounts
Mounts are a key part of palworld for getting around with all the different areas available. Flying pals are probably the most important as it will let you get to hard to reach areas.
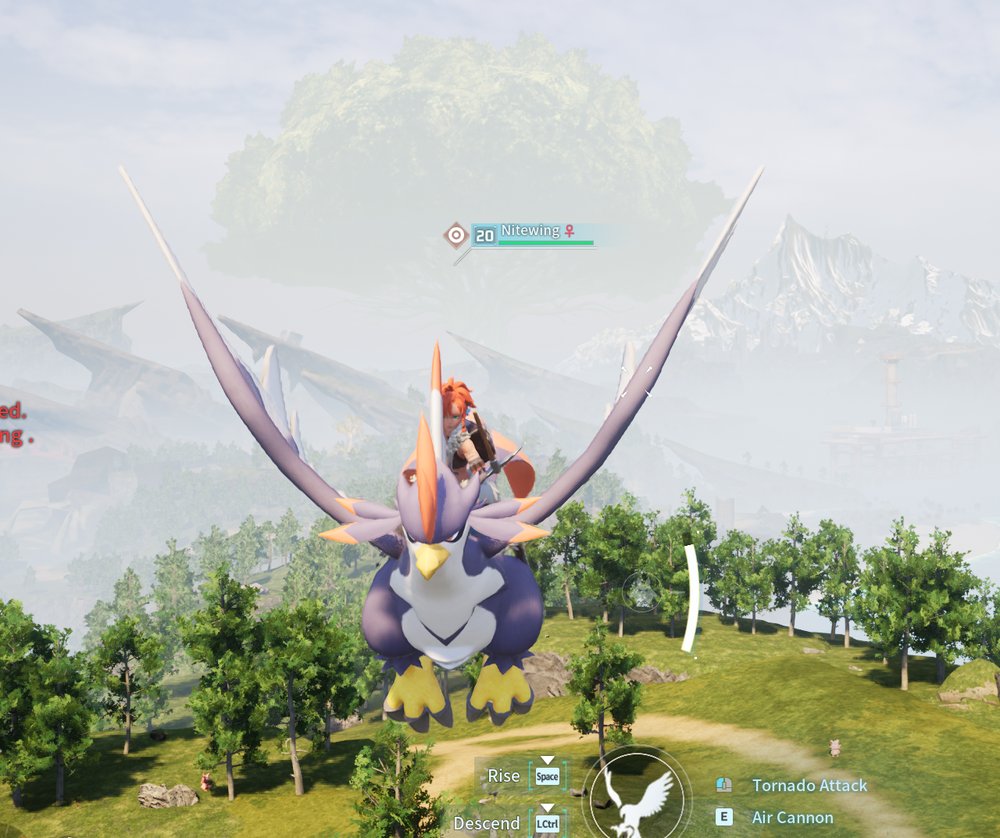
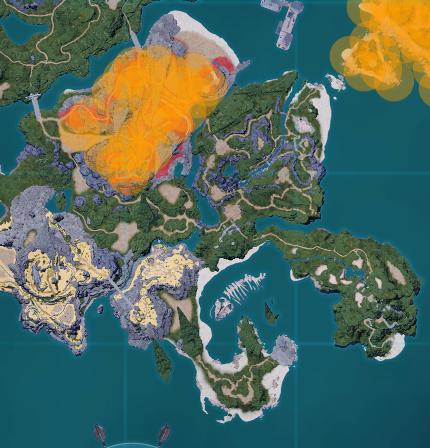
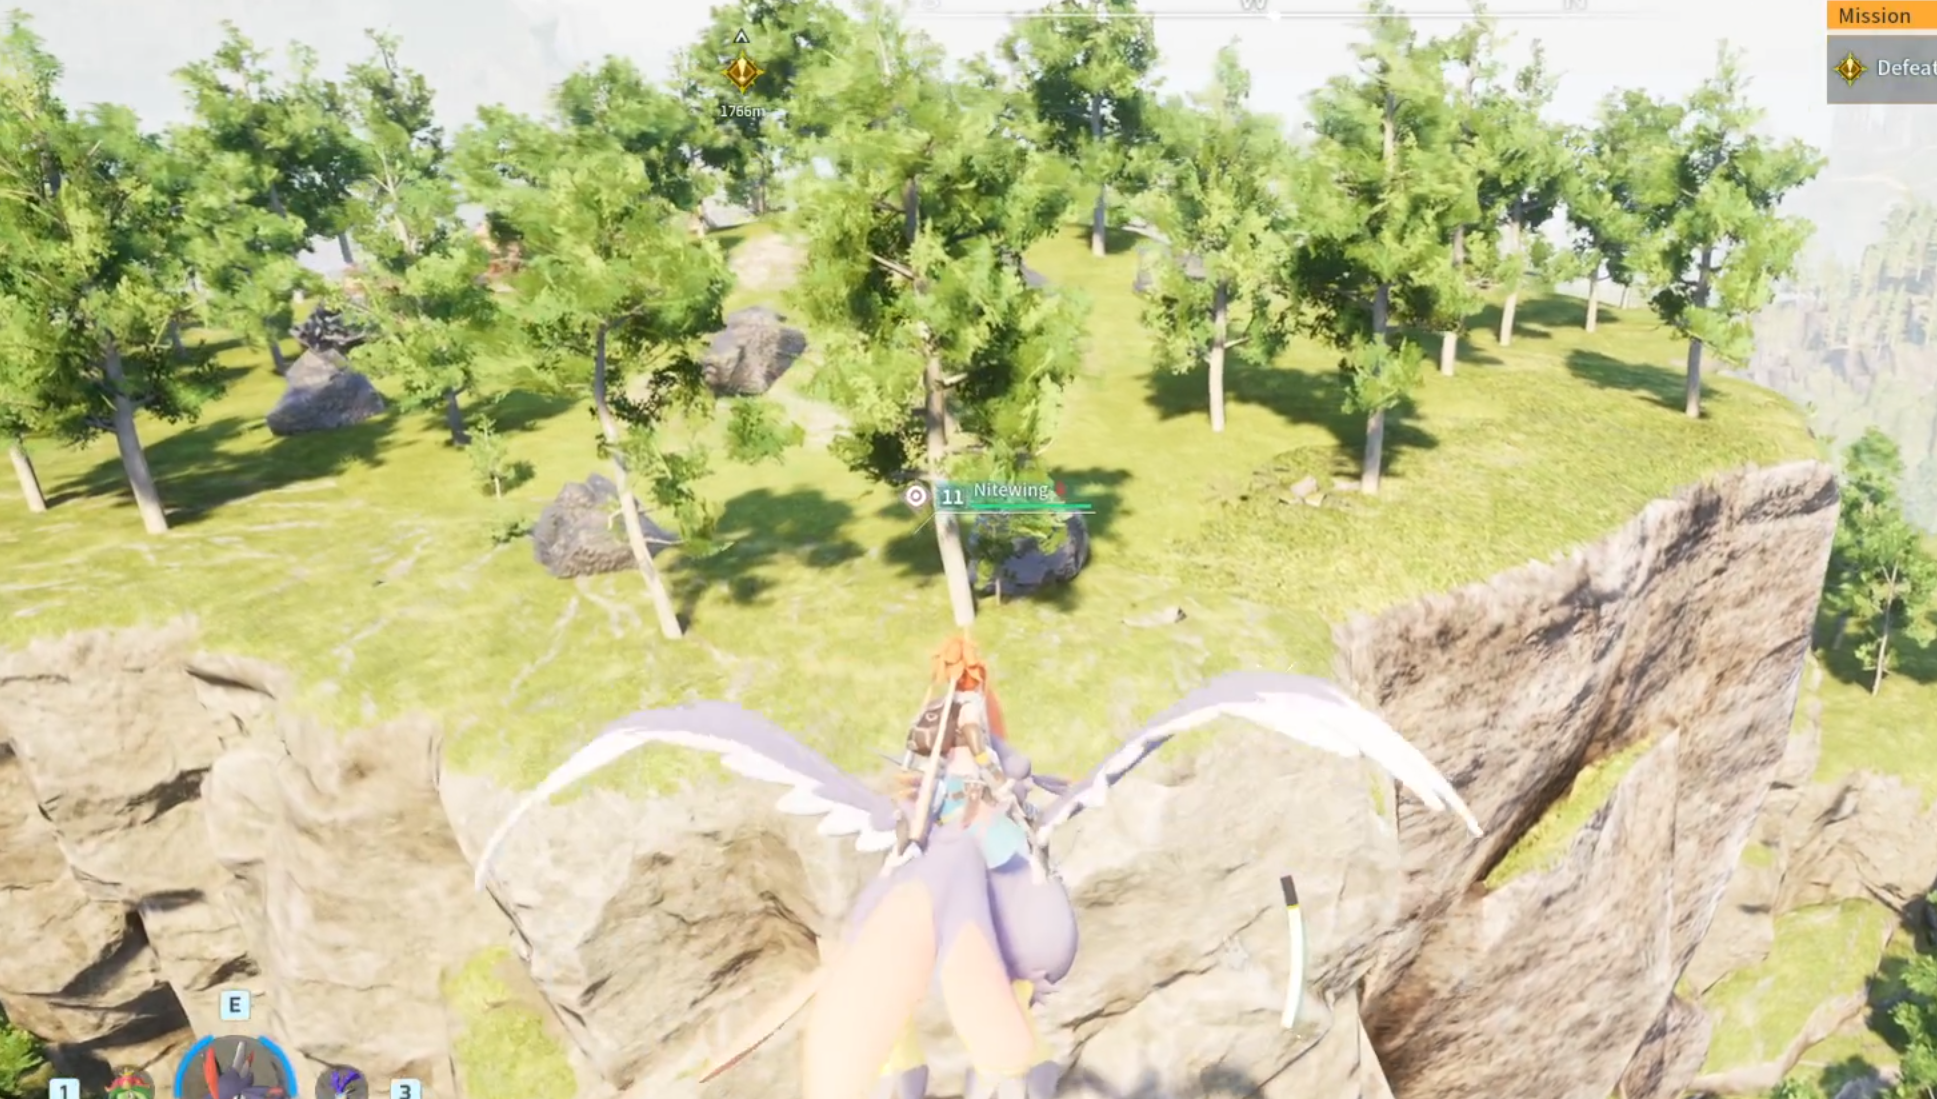
Nitewing- you can find this pretty easily in the red area after the beginning zone. This is the earliest flying pal you can get with unlocking the saddle at Level 15. While this is mainly for flying it will also hover over the water making it a good pal for going over the water
Celaray- this is going to be the first pal you can use to upgrade your glider performance which is amazing for quality of life movement. Found around the water area. Post 1.0 this is automatic in the partner skill
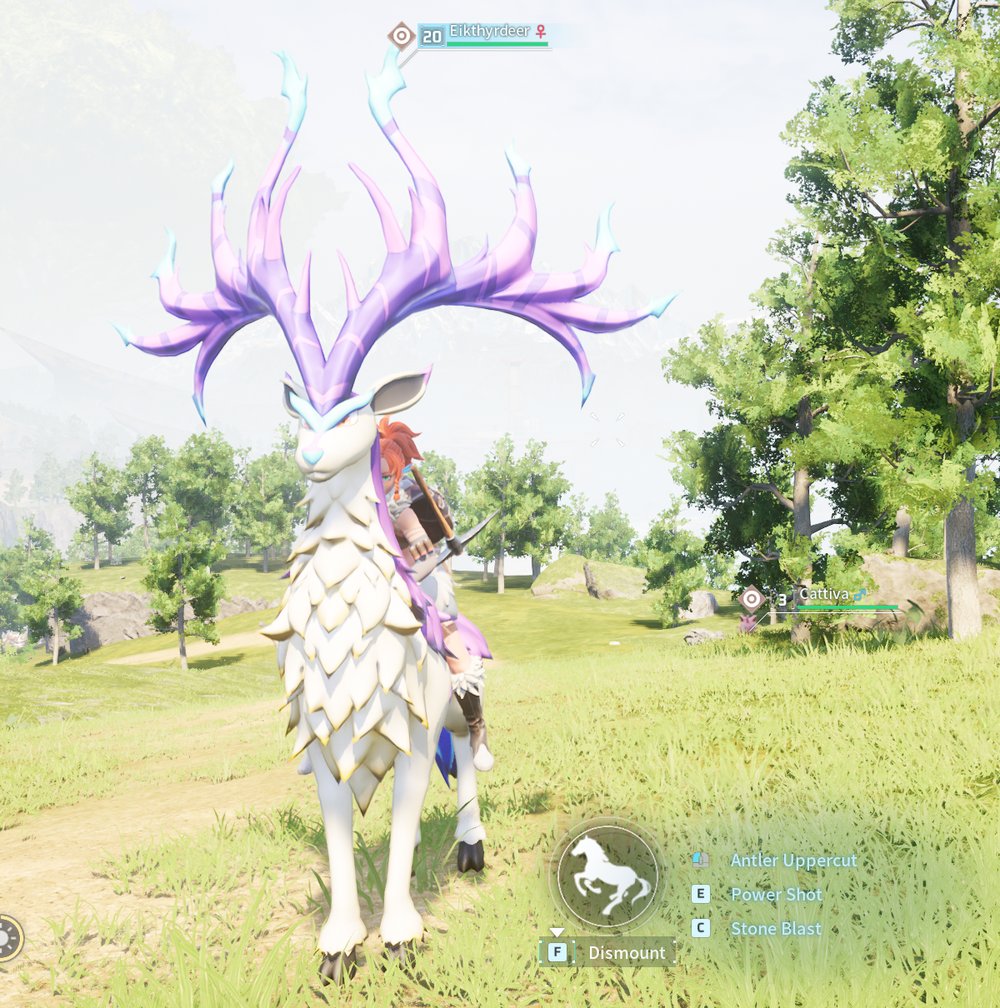
Eikthyrdeer - while there are earlier mounts to get, it is not the most effective early on. Eikthydeer is faster has a dash attack and a double jump for even better movement. This unlocks at level 12. Found right past the starter area.
Get The Right Base Location
Getting the right base location is very important. When first starting I just go to the first open area available. This will do fine as any raids that may happen will be easy to handle
Once you get a flying pal it will be easier to reach bases that are harder for raids to deal with as well as some locations being unraidable.
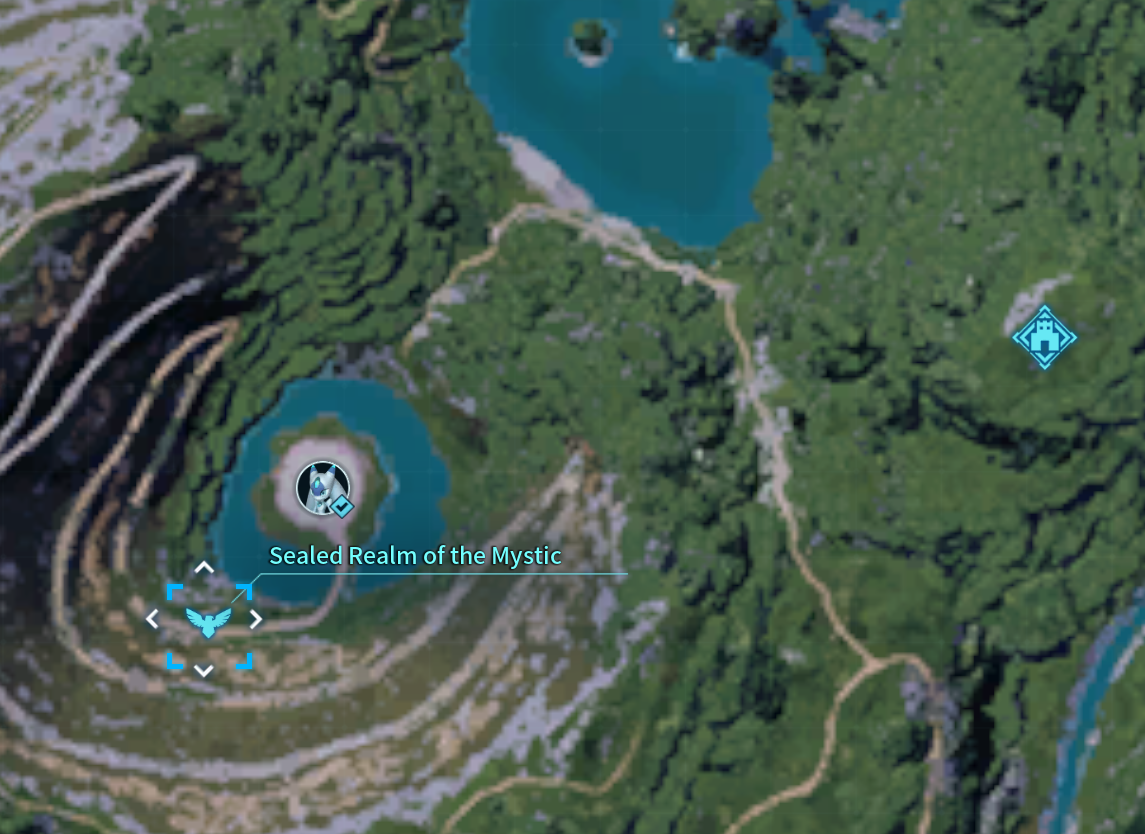
My go to "early game" base location is at 191, -39 which is unraidable that I go for right away after I get a flying pal. This is near the Sealed Realm of the Mystic teleportation. While it is a bit of a trek it ends up being worth it.
Unlock Fast Travels and Defeat Bosses
Unlocking fast travels and defeating bosses will let you get technology points and ancient technology points. While you do get some technology points from leveling you will eventually reach max level as well as just not having enough in leveling alone.
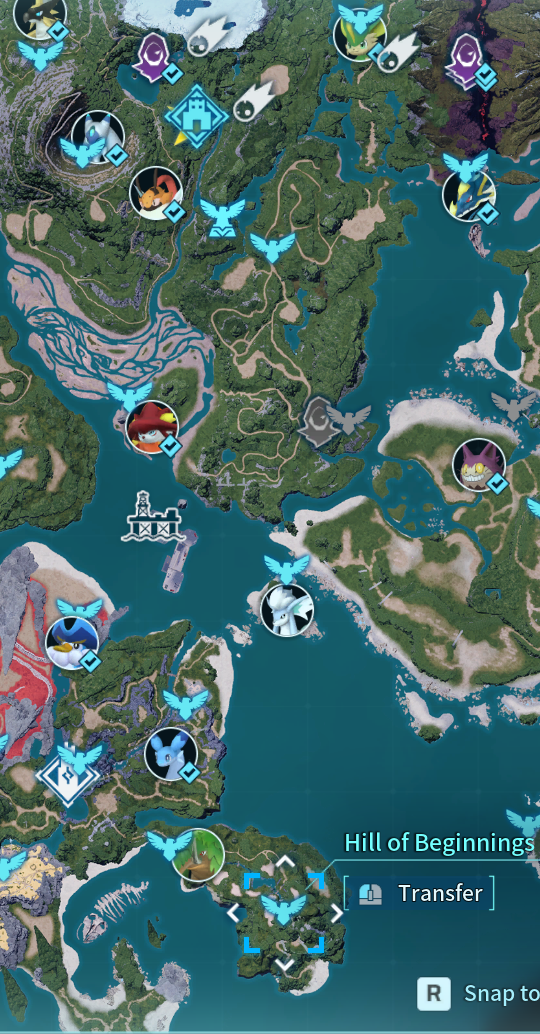
Fast travels will unlock technology points
While bosses unlock ancient technology points.
Dungeons also can give these points but at a low-ish chance and takes time
Save All Blueprints
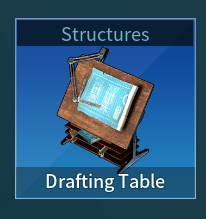
You will get blueprints for weapons and armor from different chests through different content. It is important to hold onto these as later on you can upgrade them all the way up to legendary using the Drafting Table. Once you get legendary you don't need to keep any more unless you want to hoard.
Use Your Map Markers
Using your map markers help you not lose track of important areas.
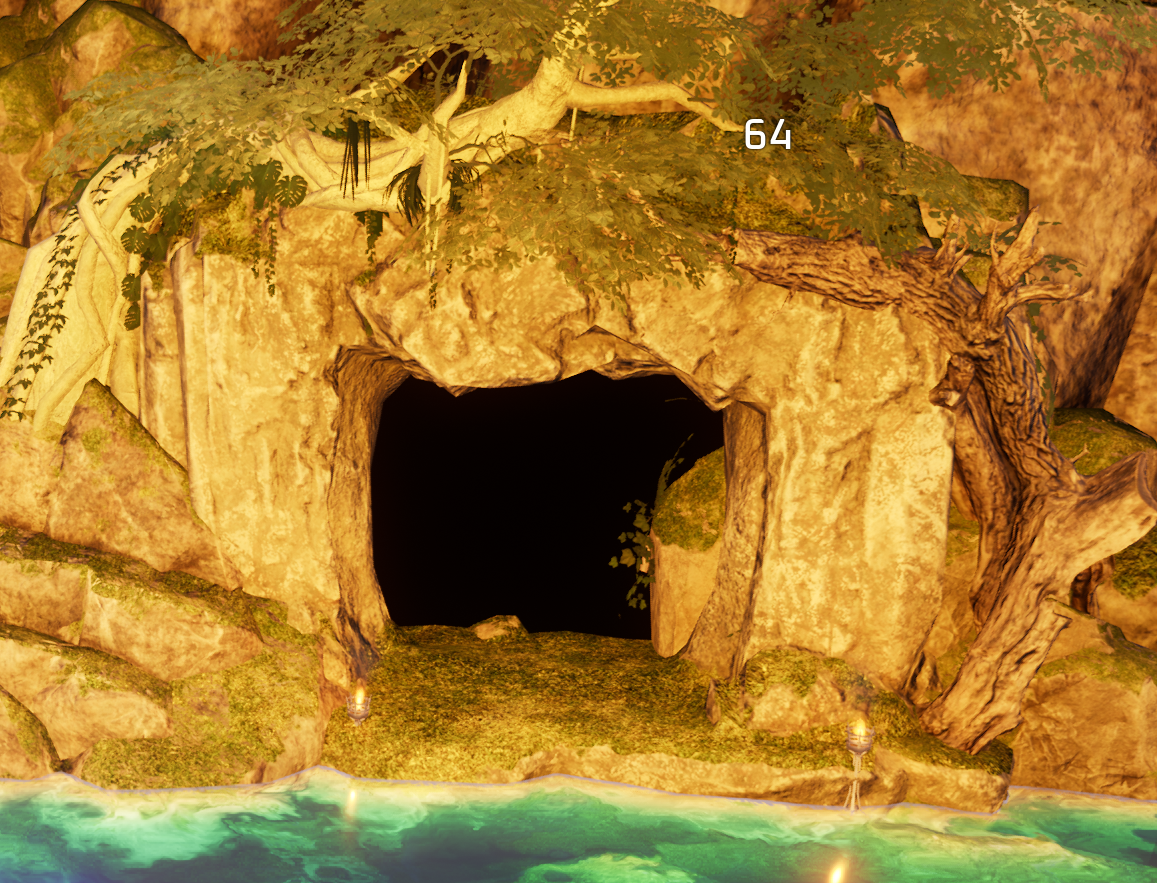
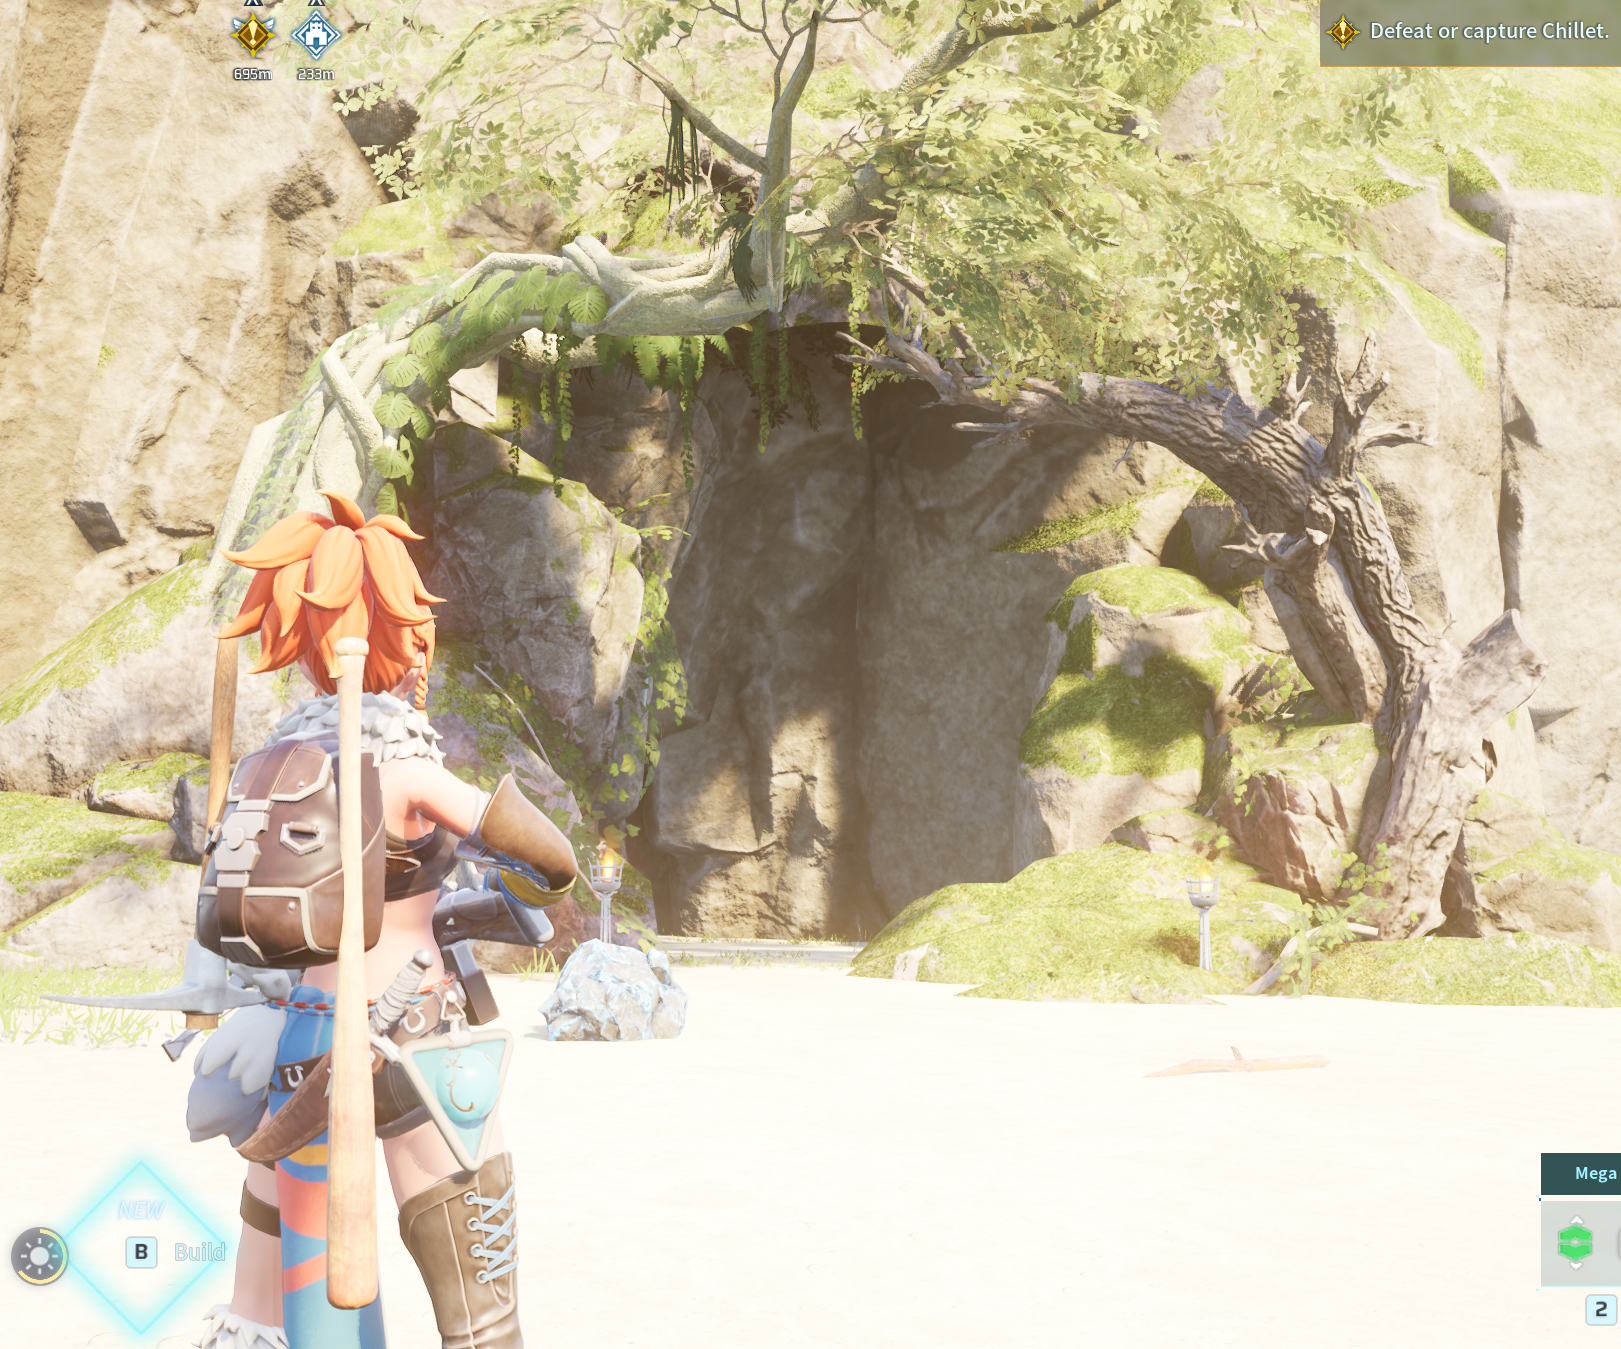
Dungeons - dungeons are going to be key of your gameplay in the whole game. They can contain good pals, important blueprints, good resources, flowers for stat increases, and more. When you see them you should place a marker on their location to remember where they are for when you want to farm them.
Active Dungeon Appearance
Inactive Dungeon Appearance
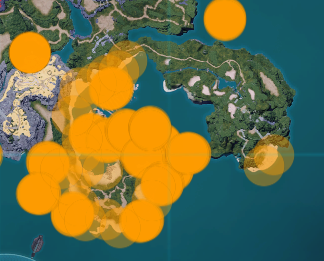
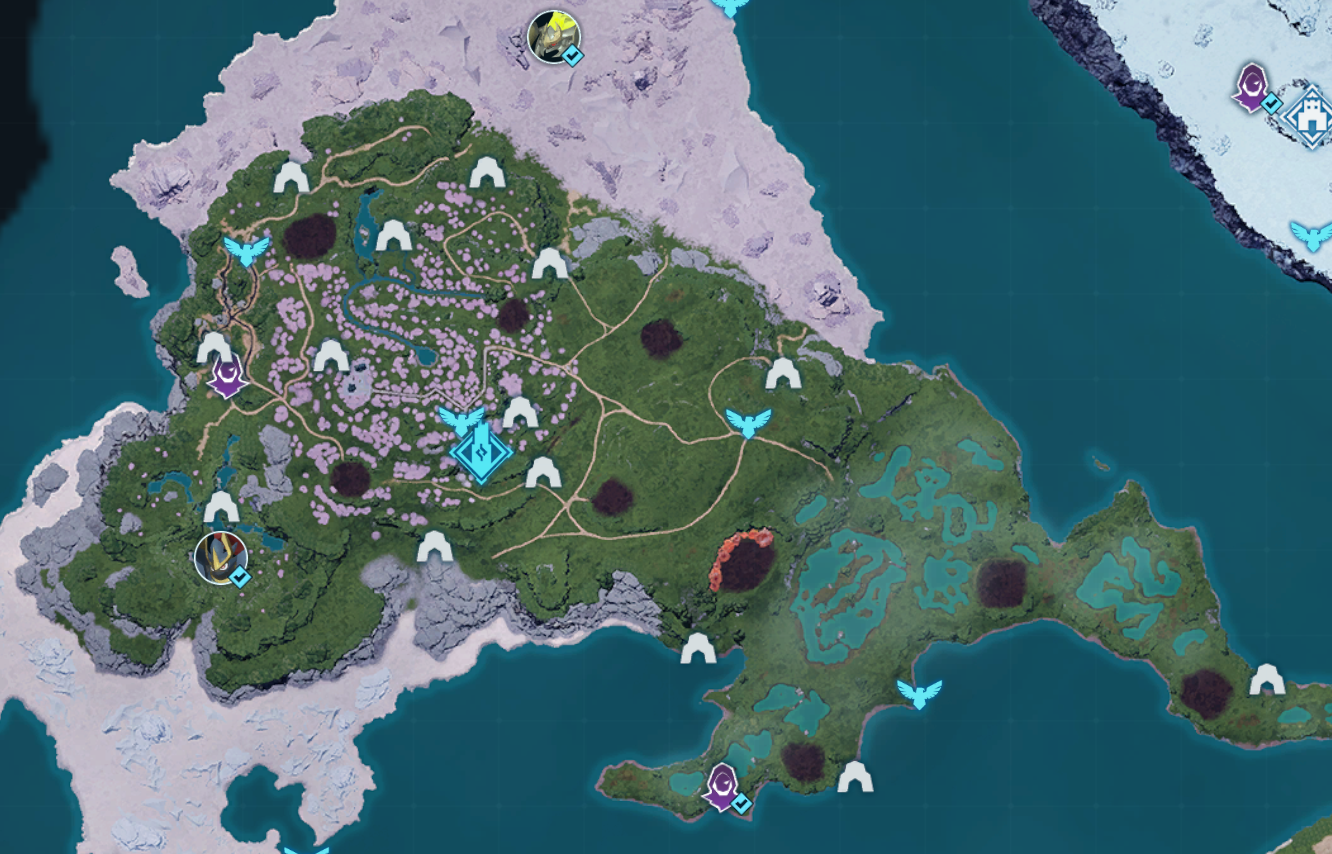
Multiple Dungeons Marked On Map
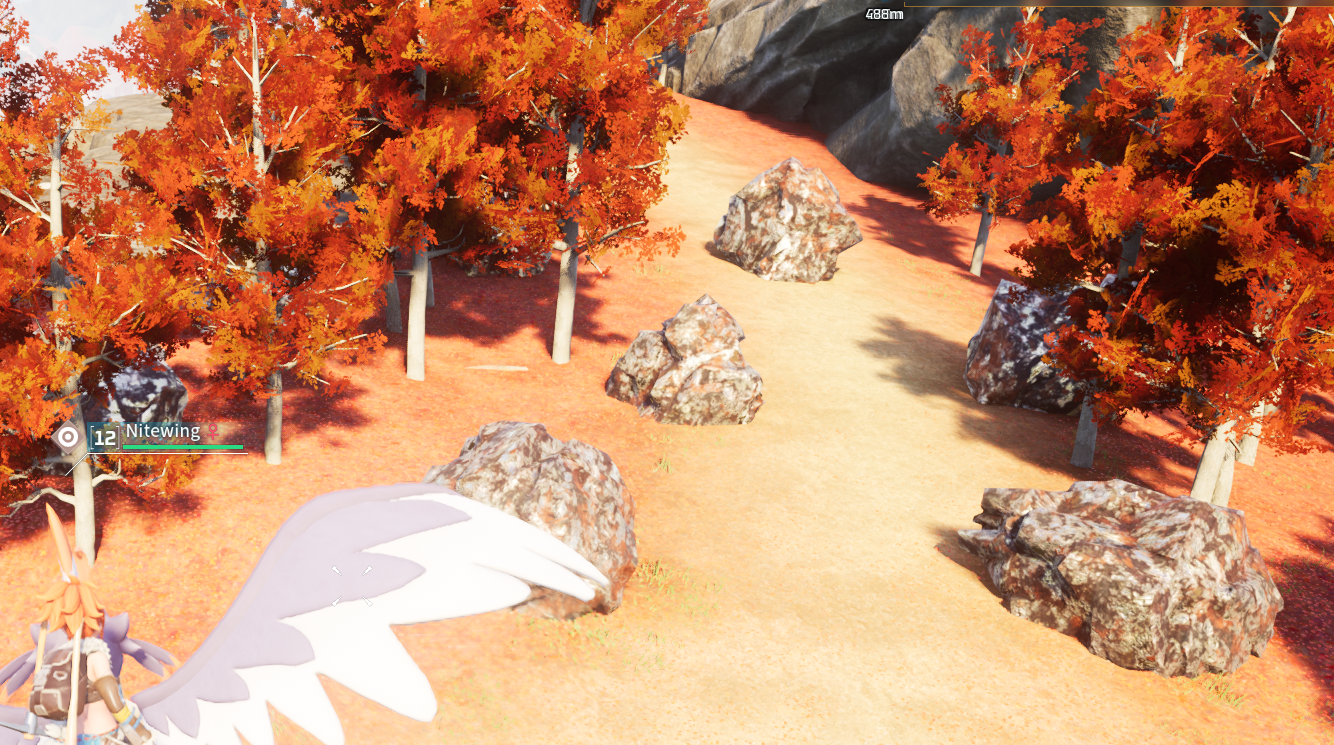
Ores - before you unlock ore mines you may want to keep track of good areas to get certain ores that have multiple nodes.
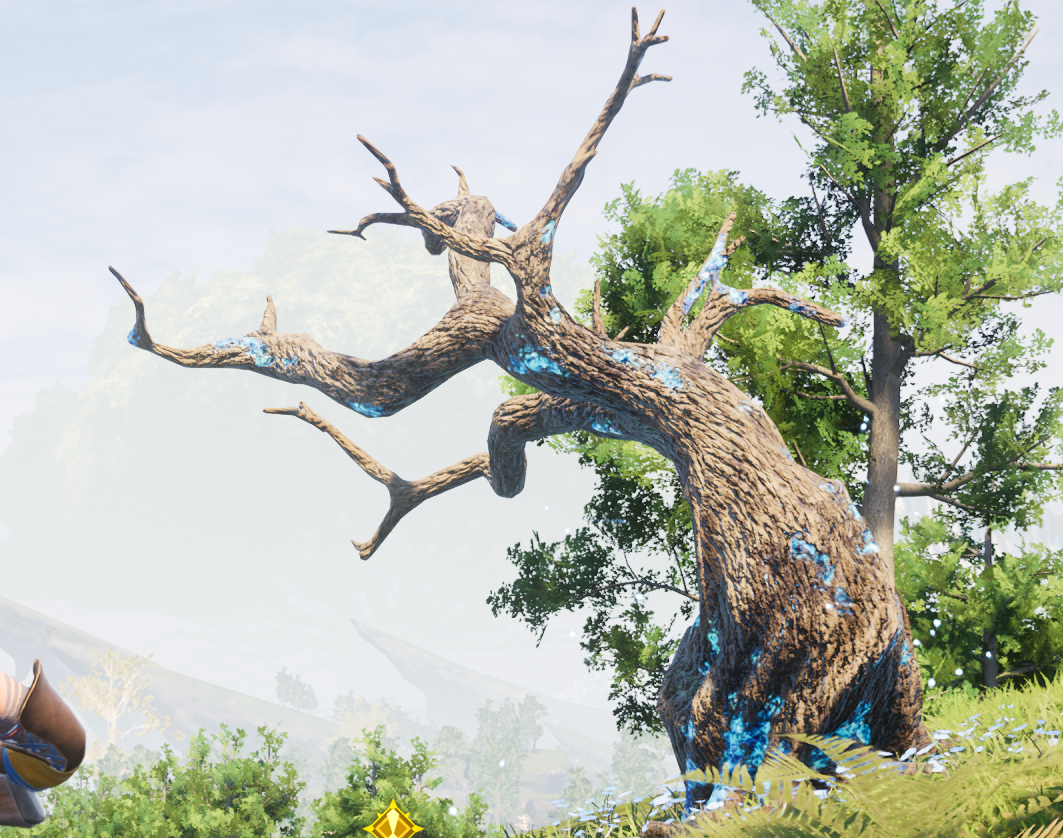
Skillfruit Trees - being able to add moves from fruits are really nice and finding them can be difficult if you don't know where trees are. Before you get the Skillfruit Orchard you will want to hoard as much as possible and use some that you want