In this guide, we will walk you through collecting all 23 MI6 Files, getting you one step closer to earning the "For your eyes only" achievement.
For information on how to find ALL 92 hidden collectibles in the game, check out our comprehensive Collectibles Guide
Chapter 4 - Intel
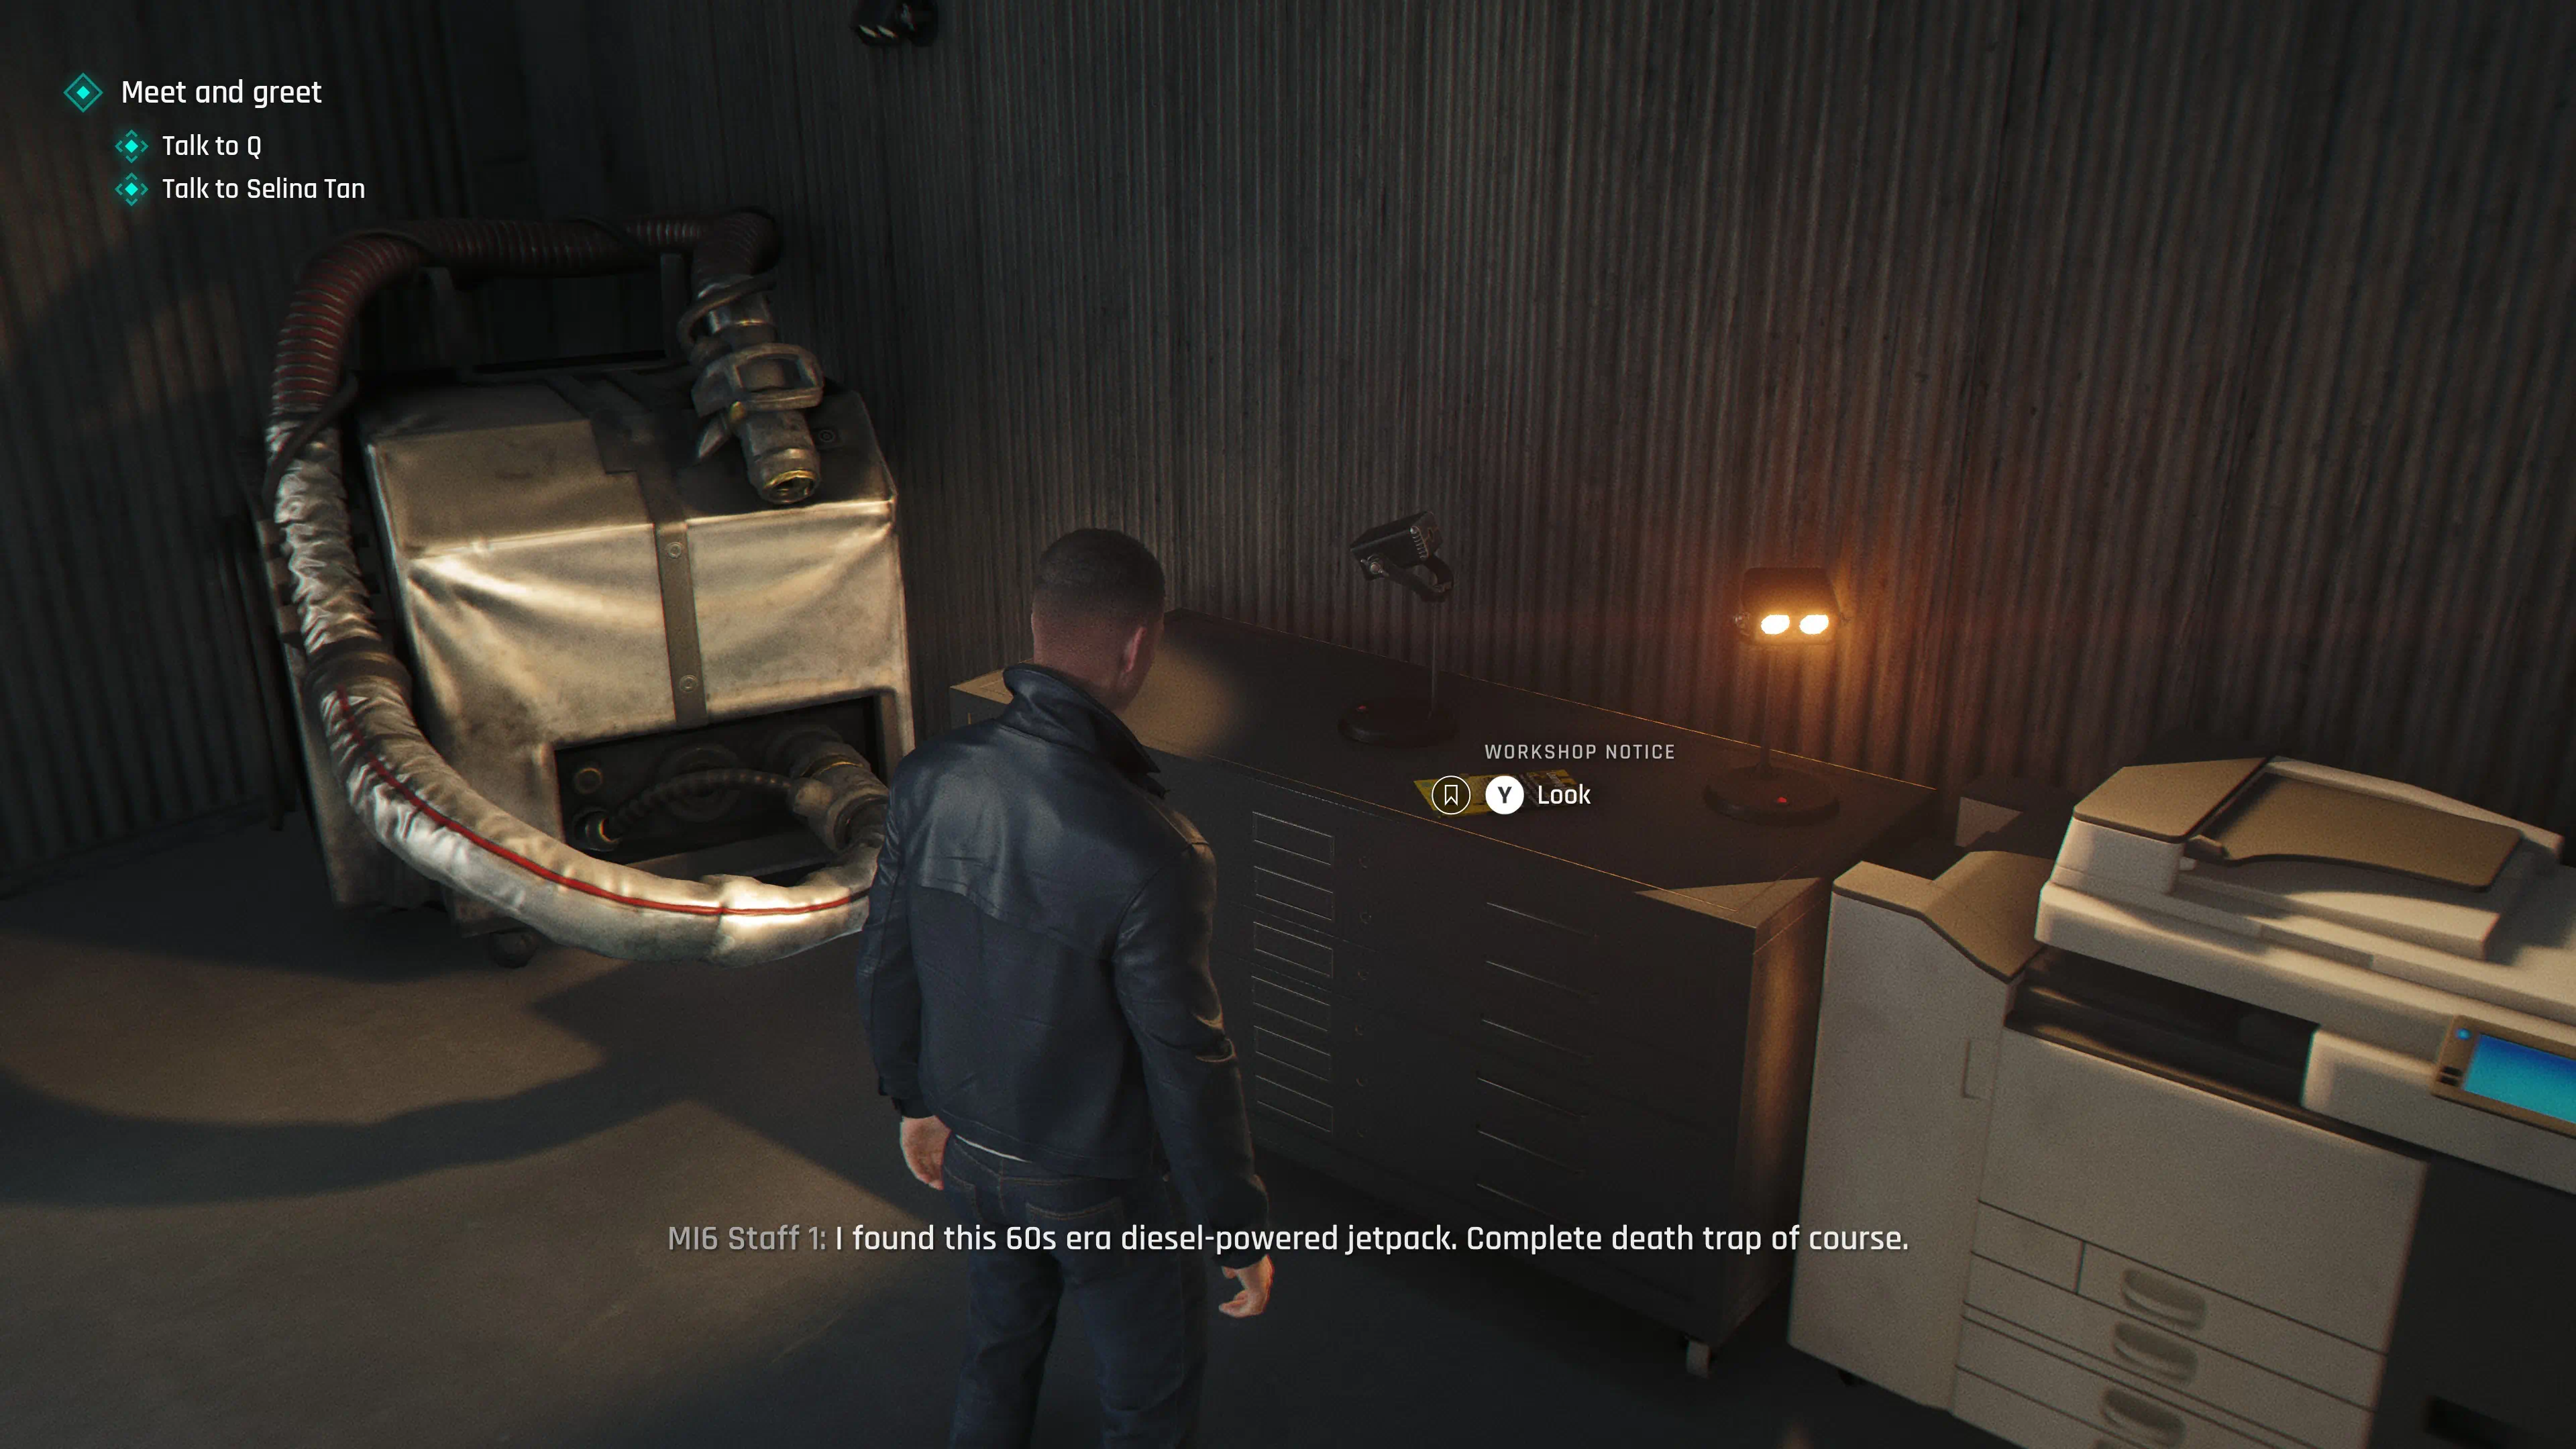
Intel: Workshop Notice
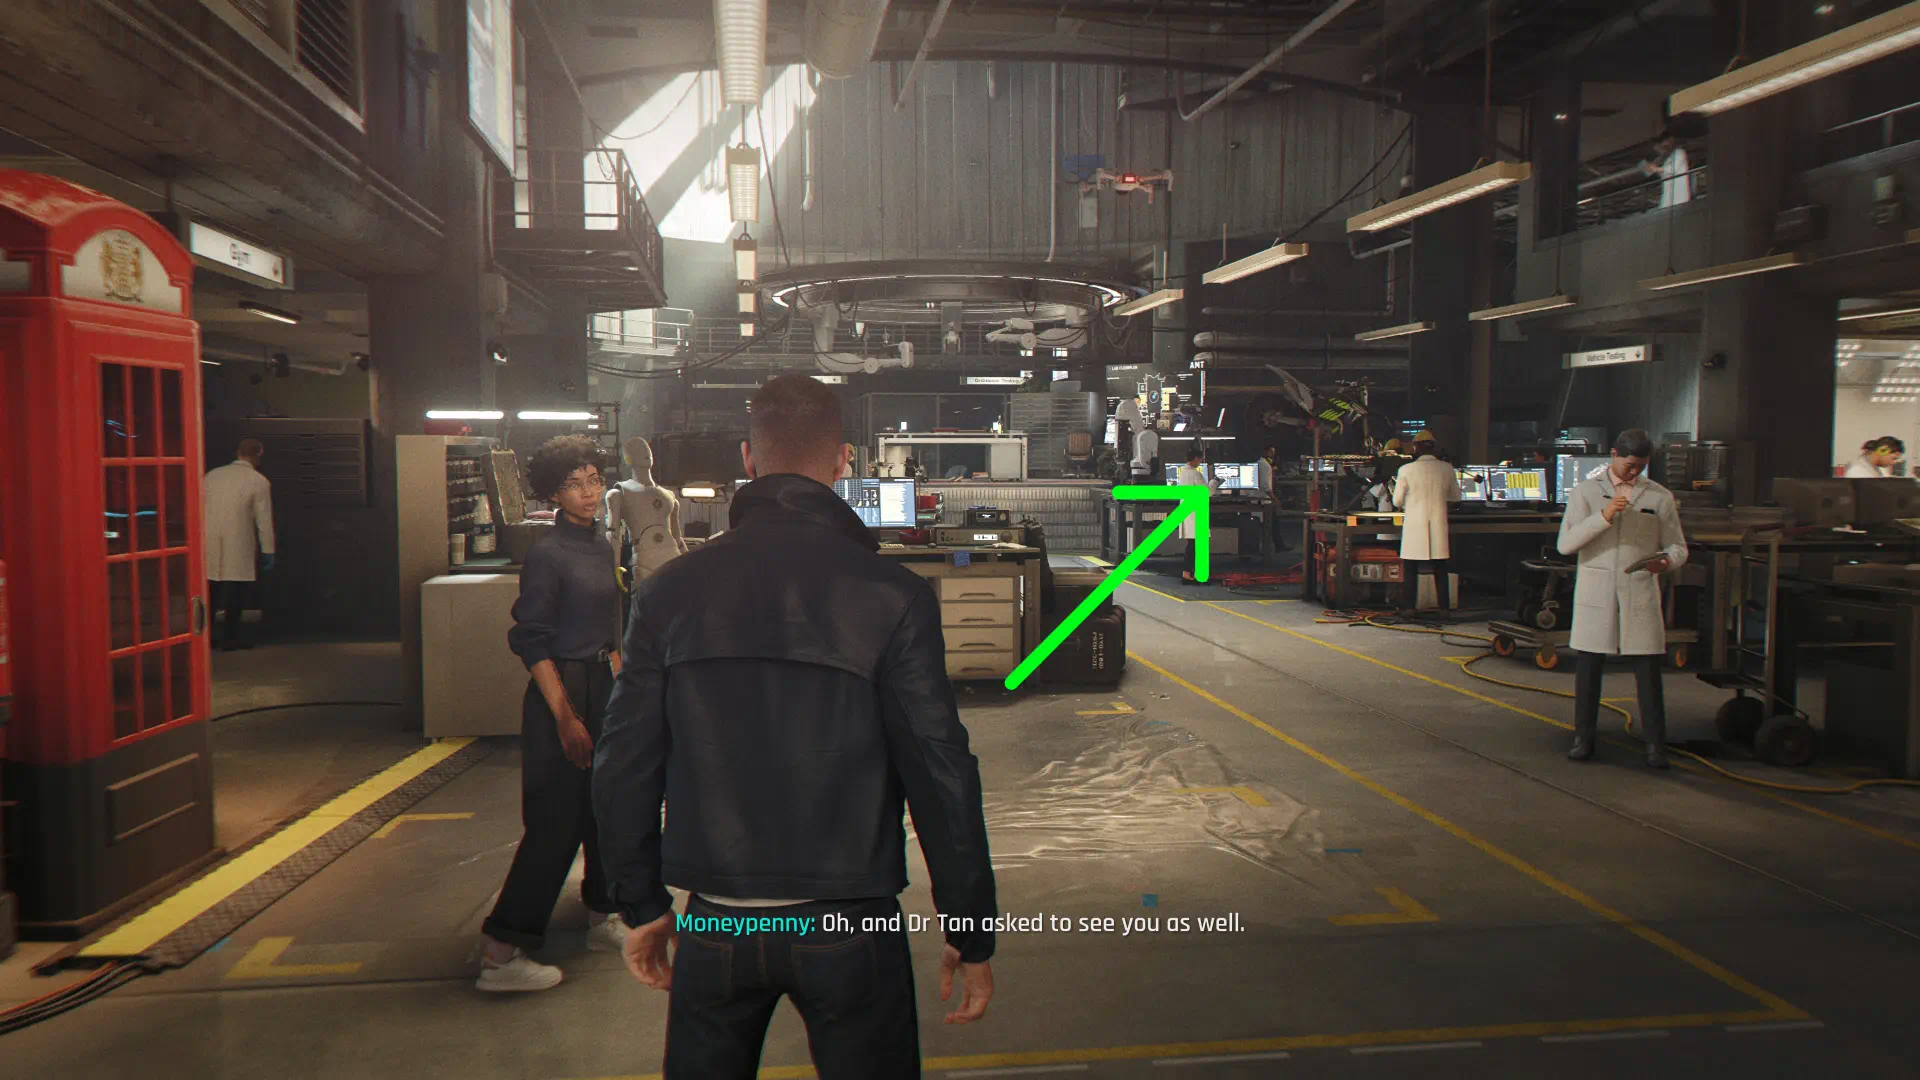
Before meeting Q, Run to the right past the center platform and past the dirt bike and room Q-04 in the back right corner on the table next to the printer you will find the Workshop Notice.
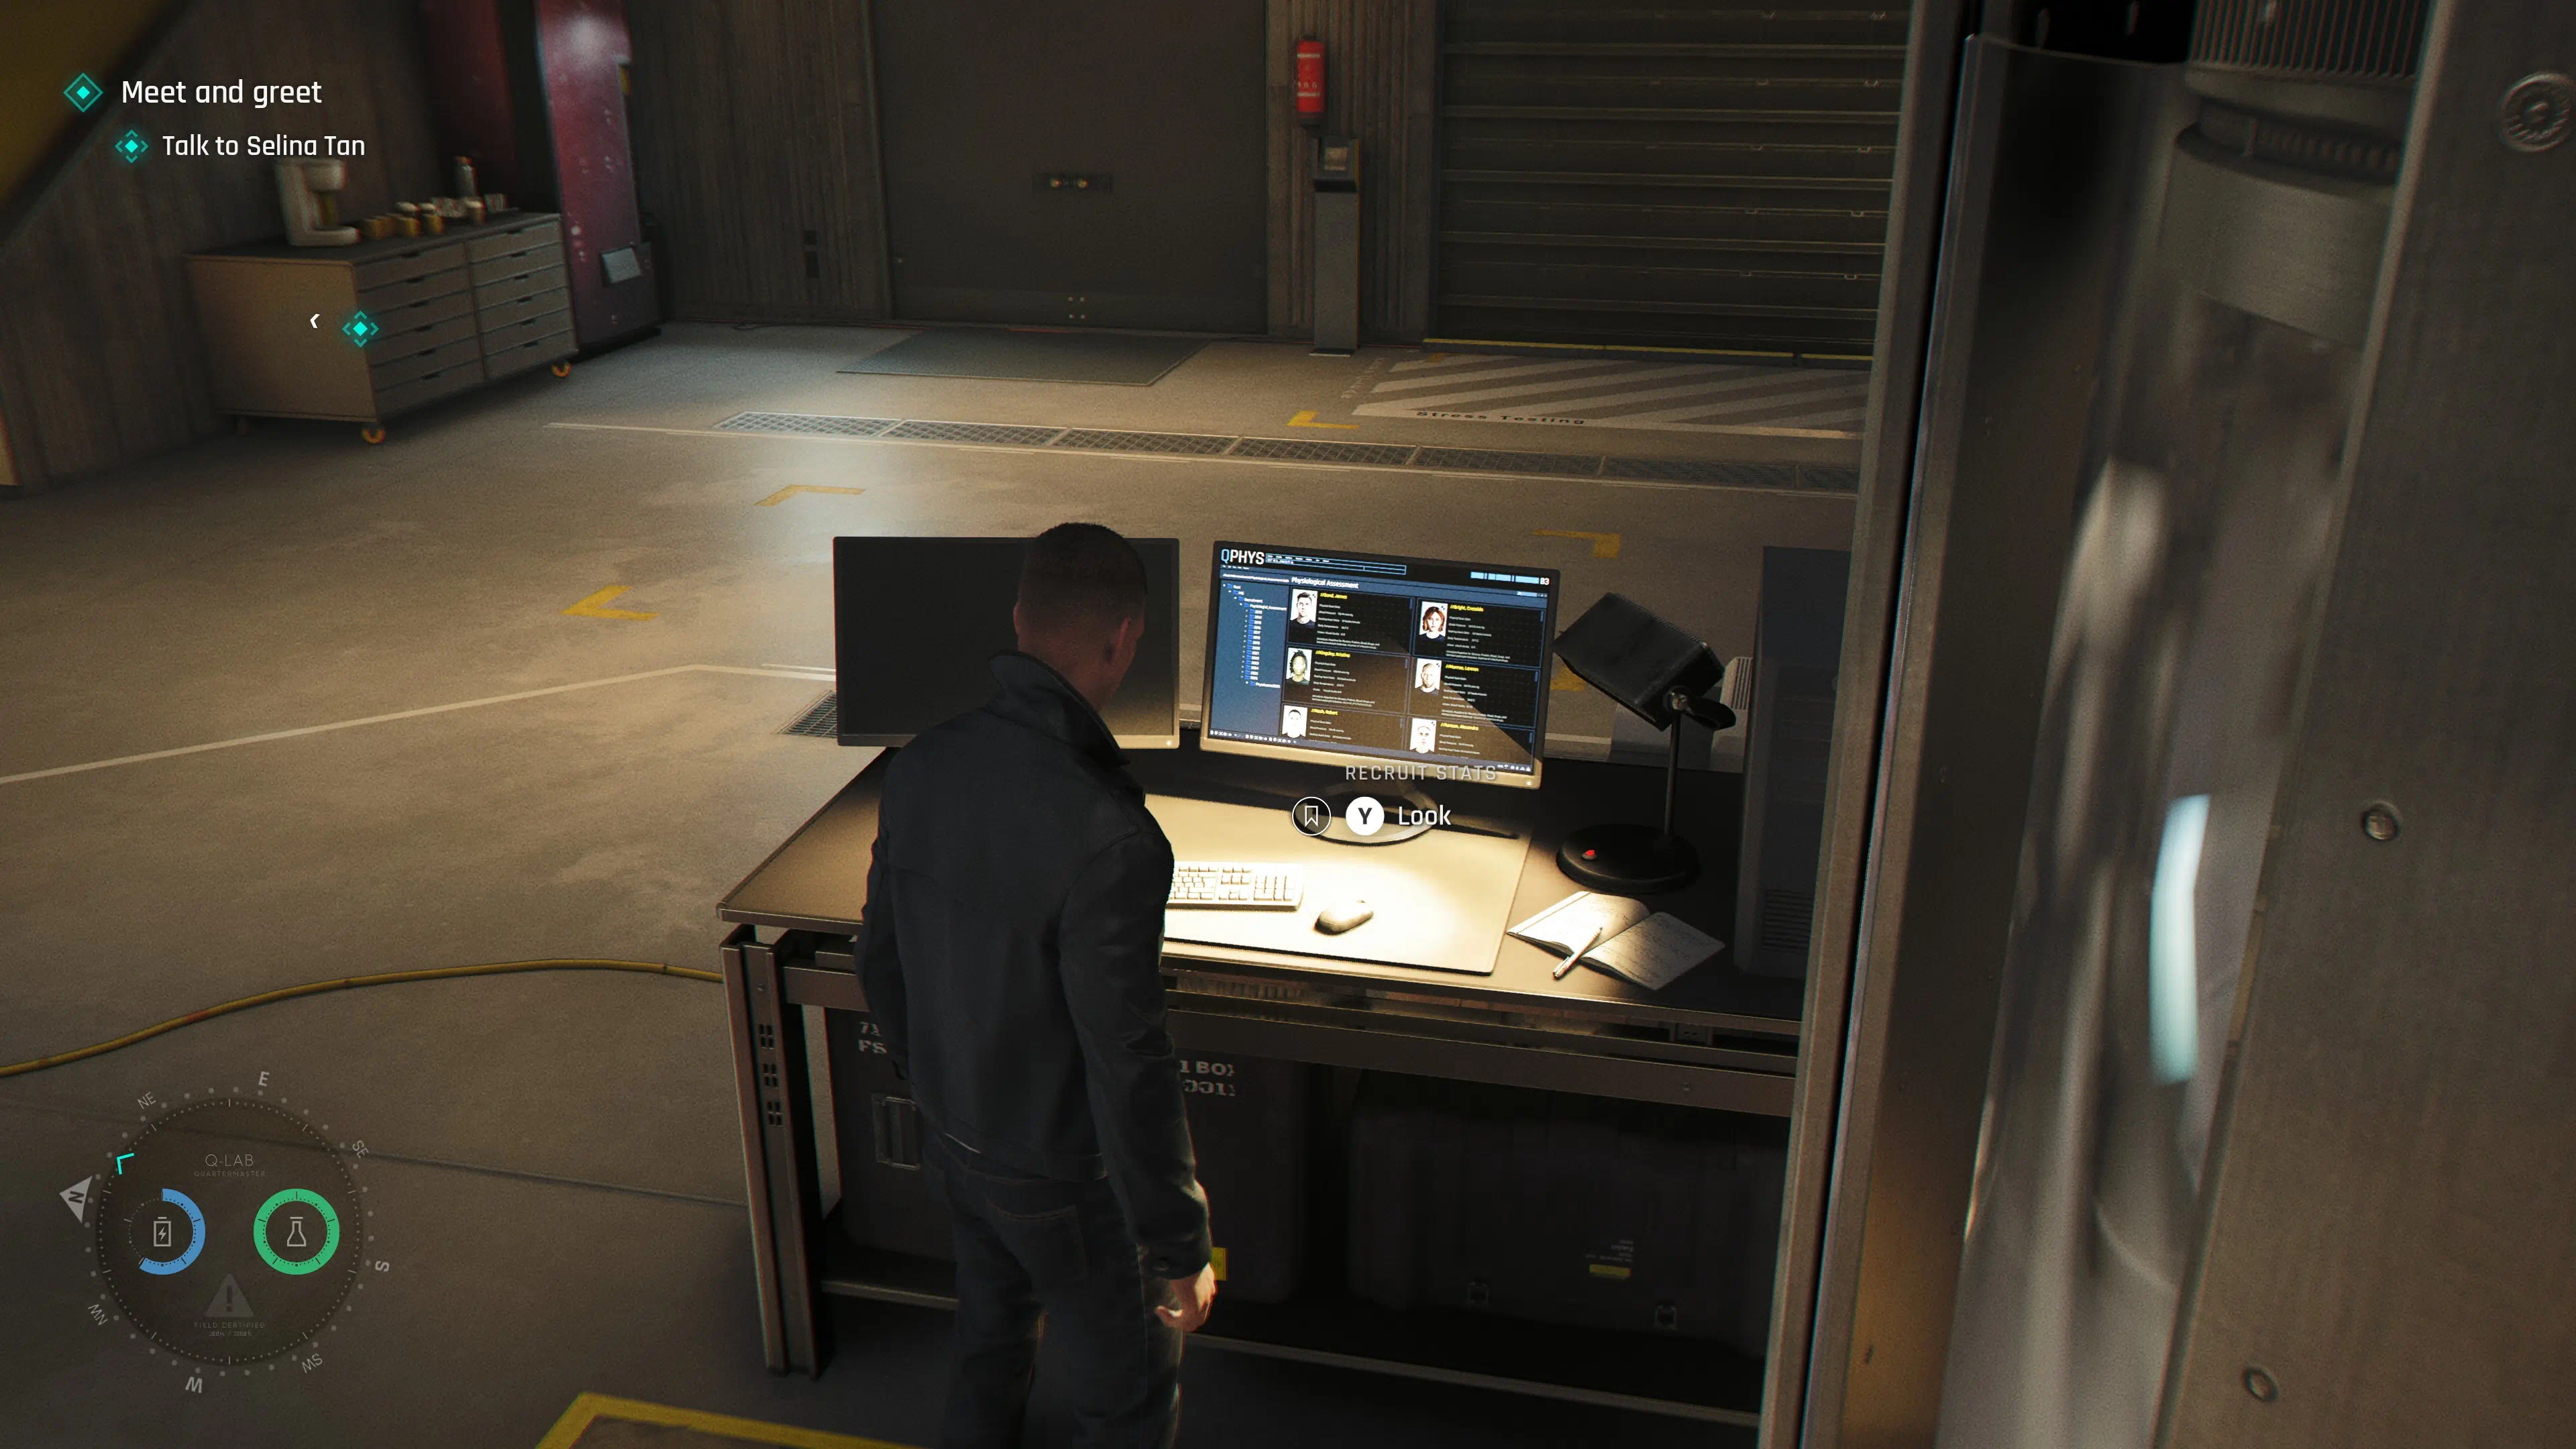
Intel: Recruit Stats
Can only Collect after Meeting Q
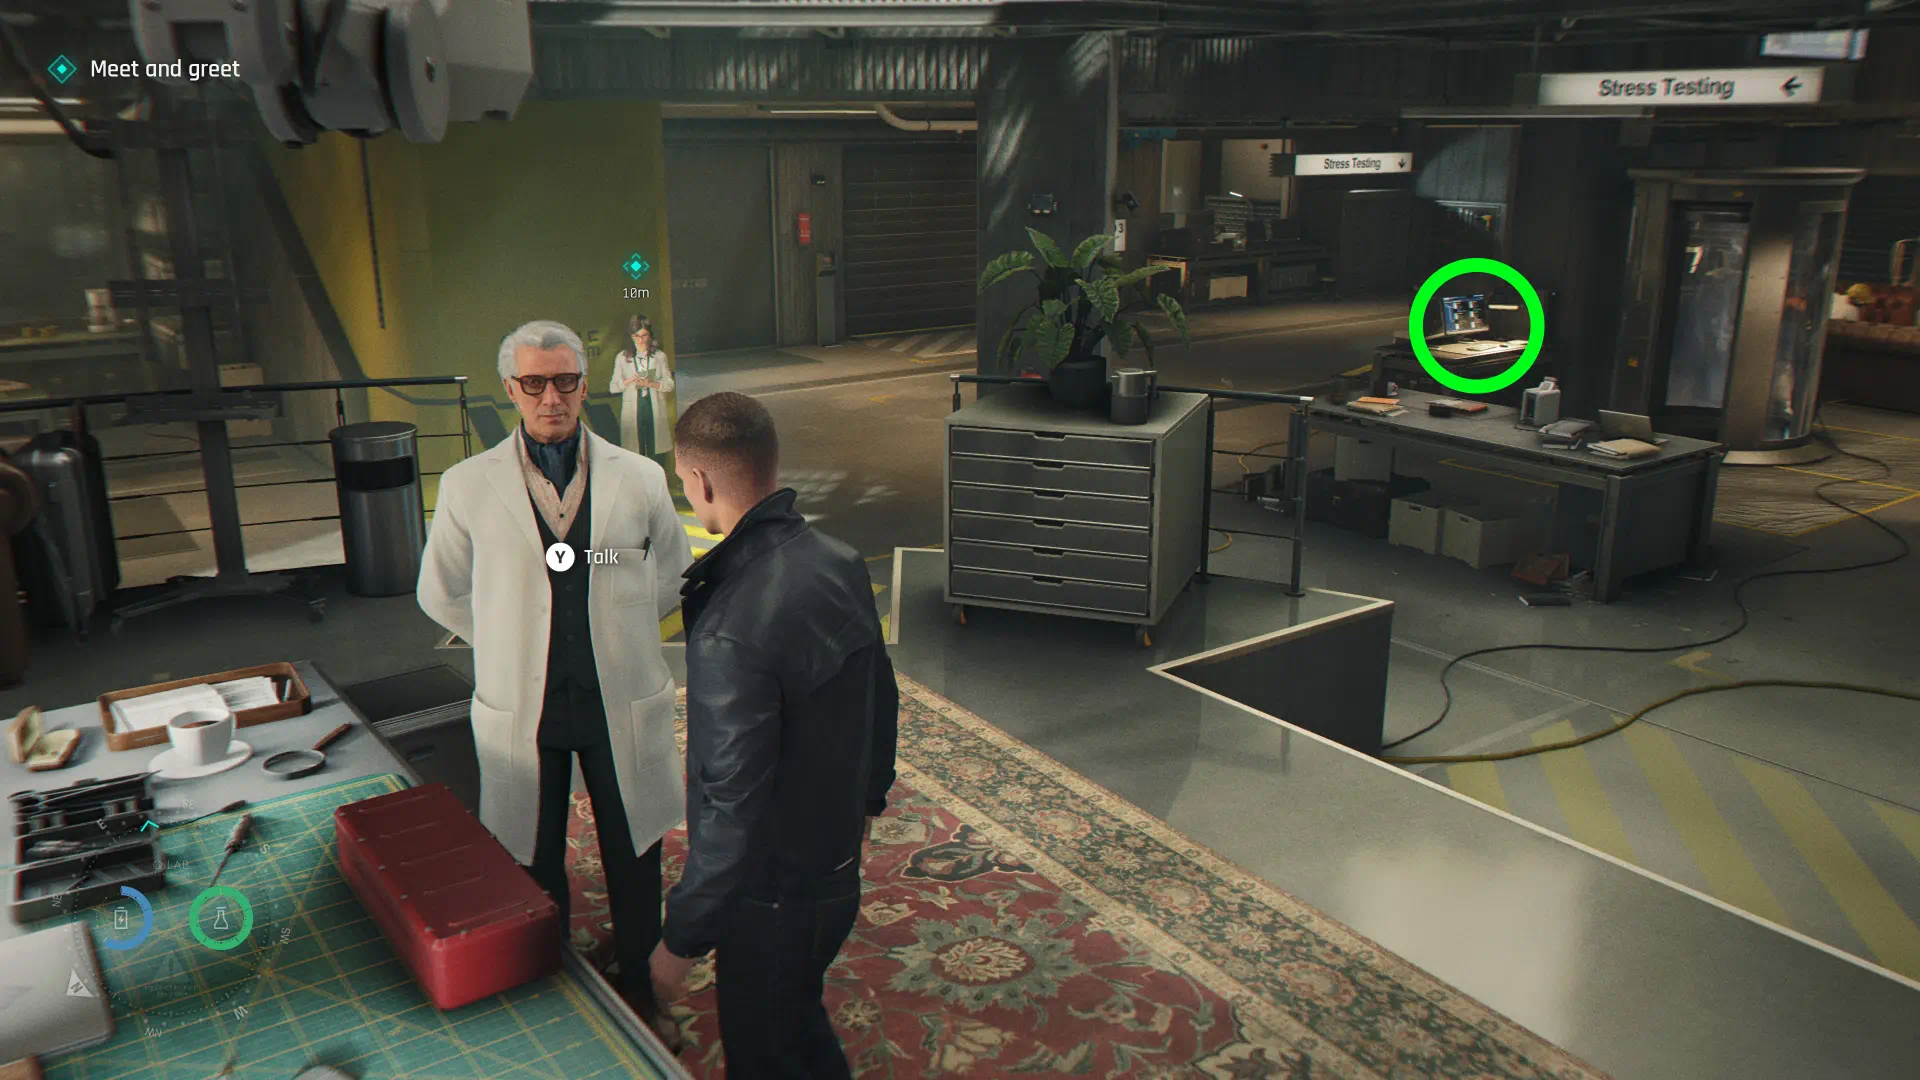
Just after speaking with Q and picking up your Q-Watch, turn around. At the computer next to the glass chamber, access it to find the Recruit Stats.
Chapter 5 - Intel
Intel: Family Photo
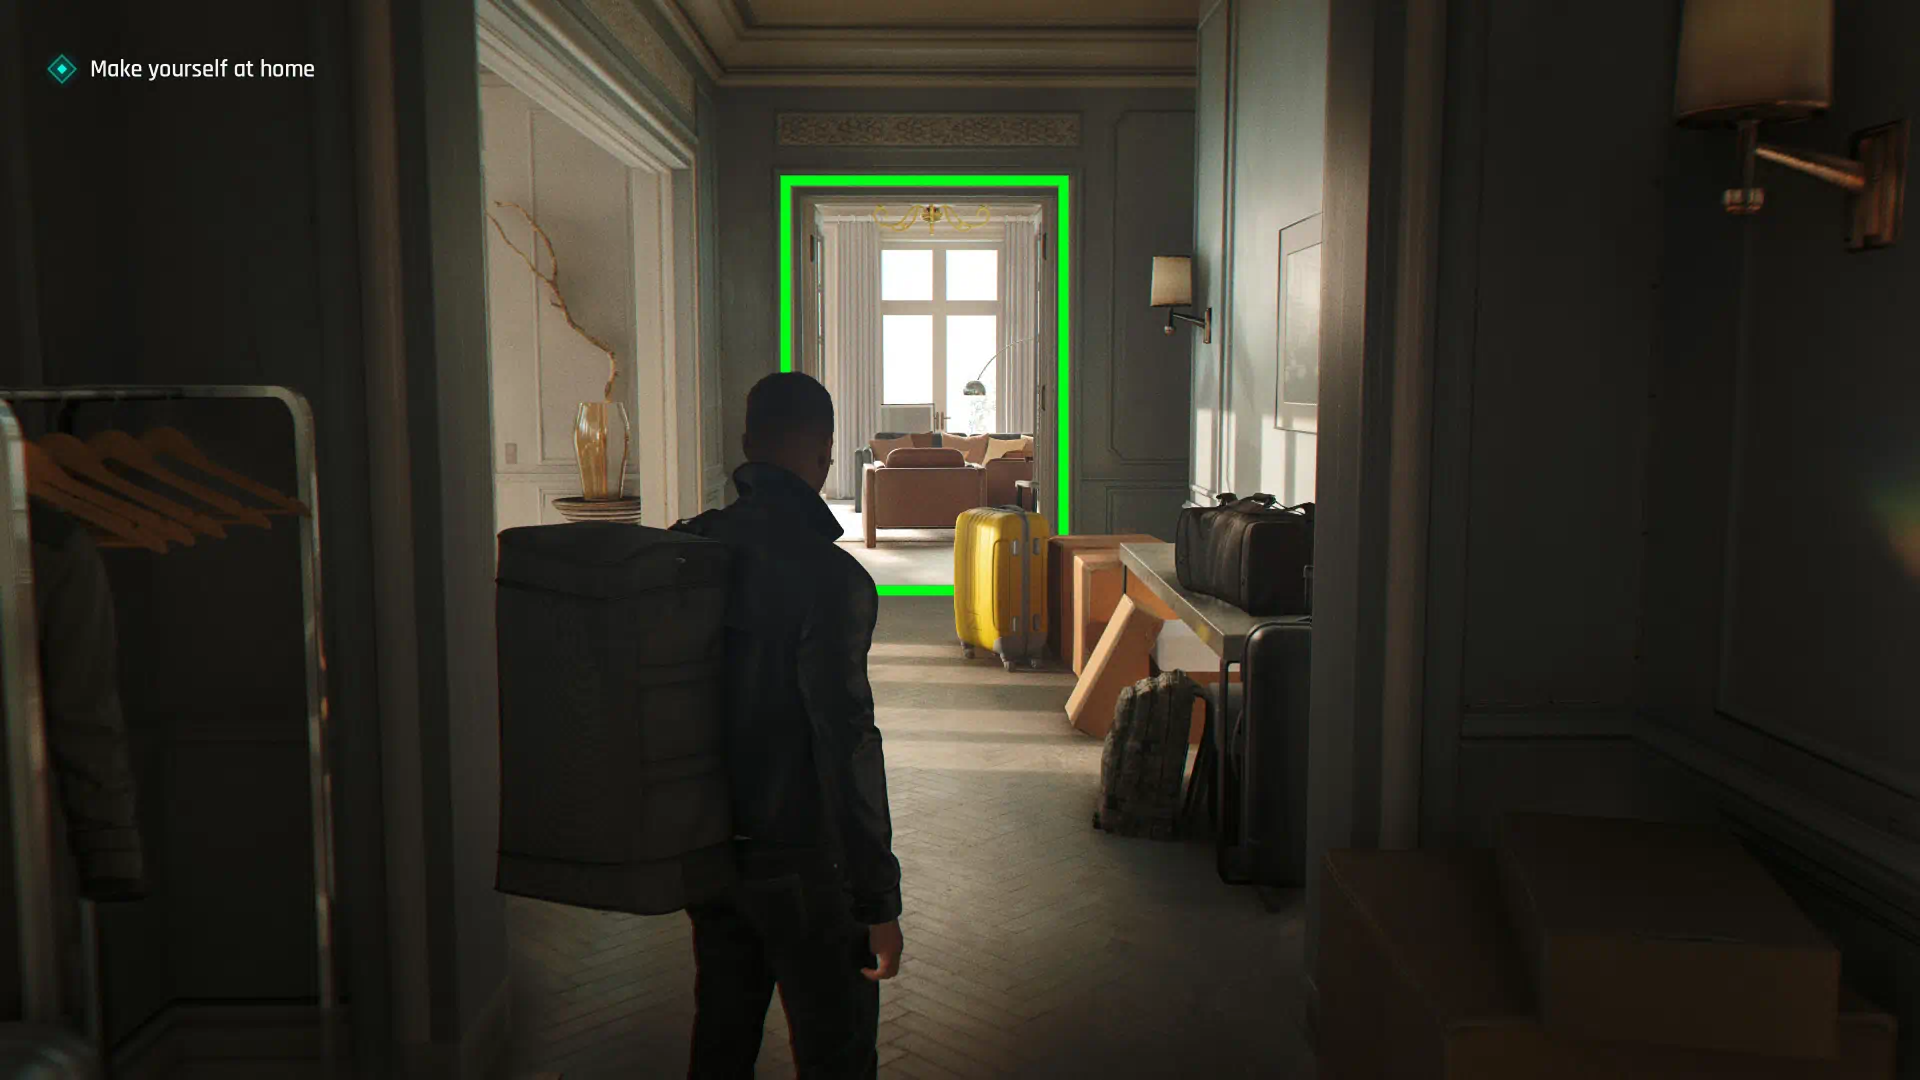
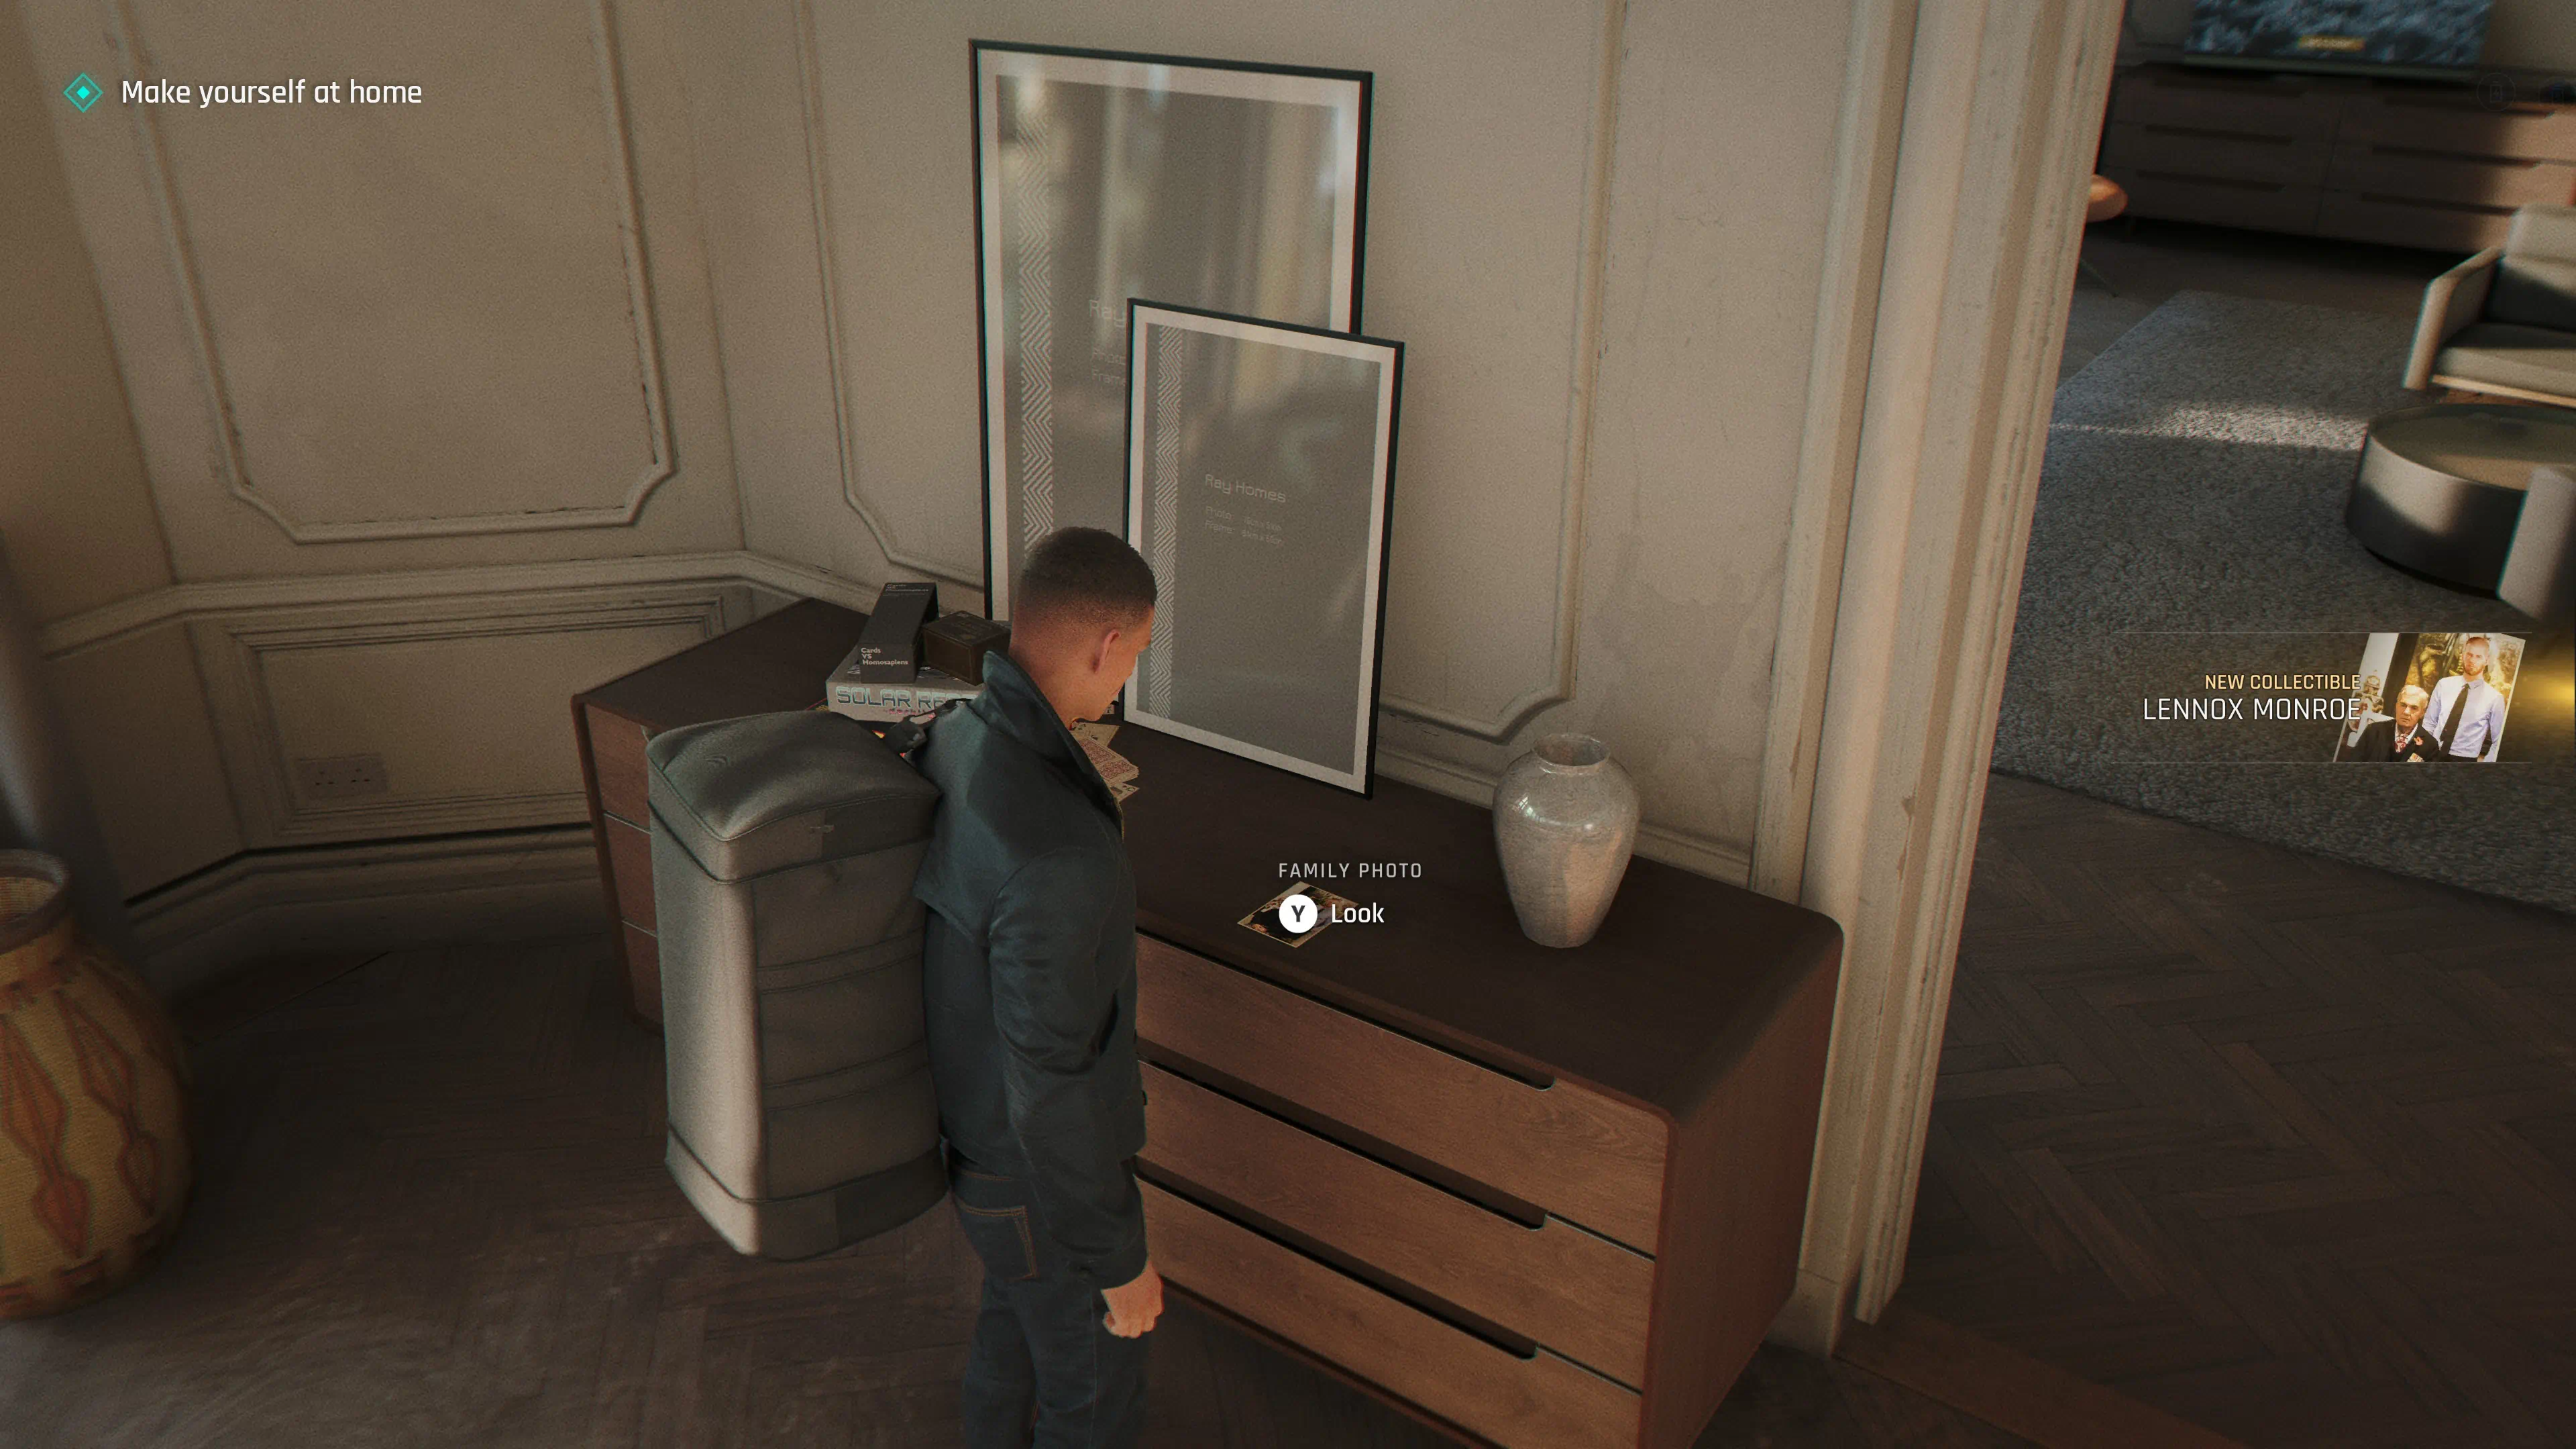
Just as you move into your new home, head down the entryway, straight through the double doors into the living room. Go right, and in the left corner on the dresser next to a stack of board games, you will find the Family Photo.
Intel: Dress Box
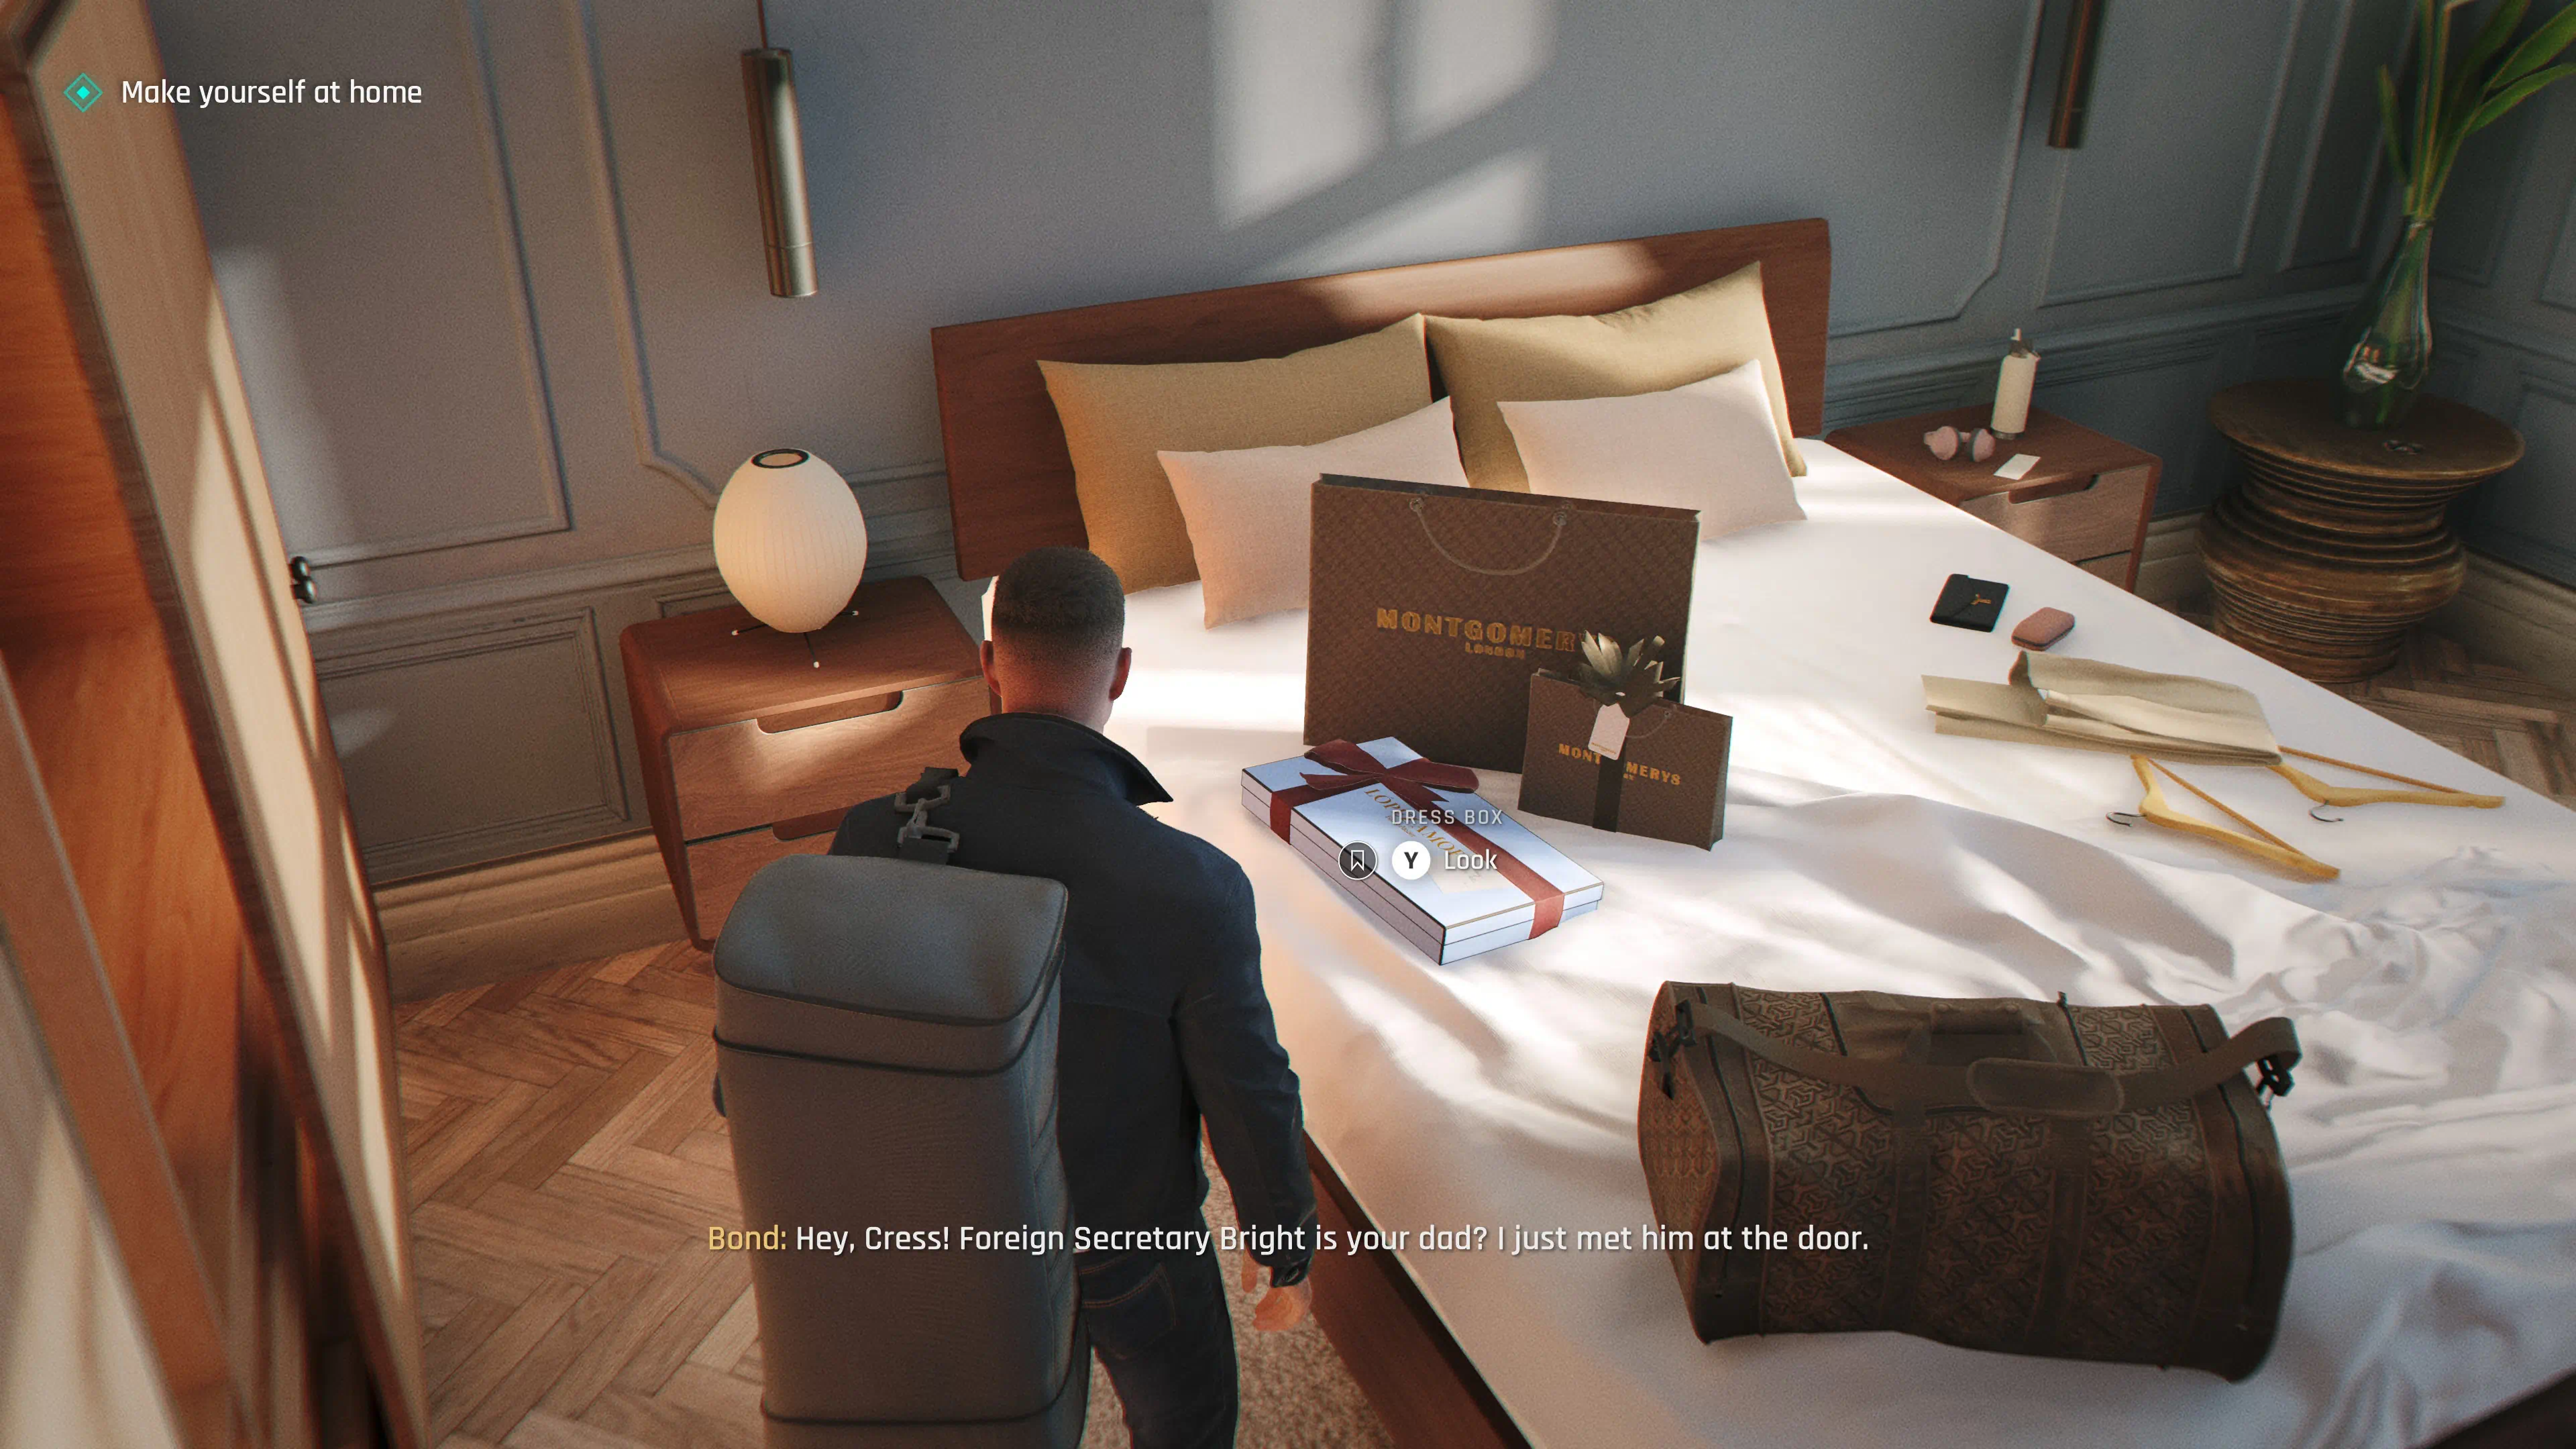
After collecting the Family Photo, head down the hall to Cressida's bedroom. On the bed, you will find the Dress Box.
Chapter 7 - Intel
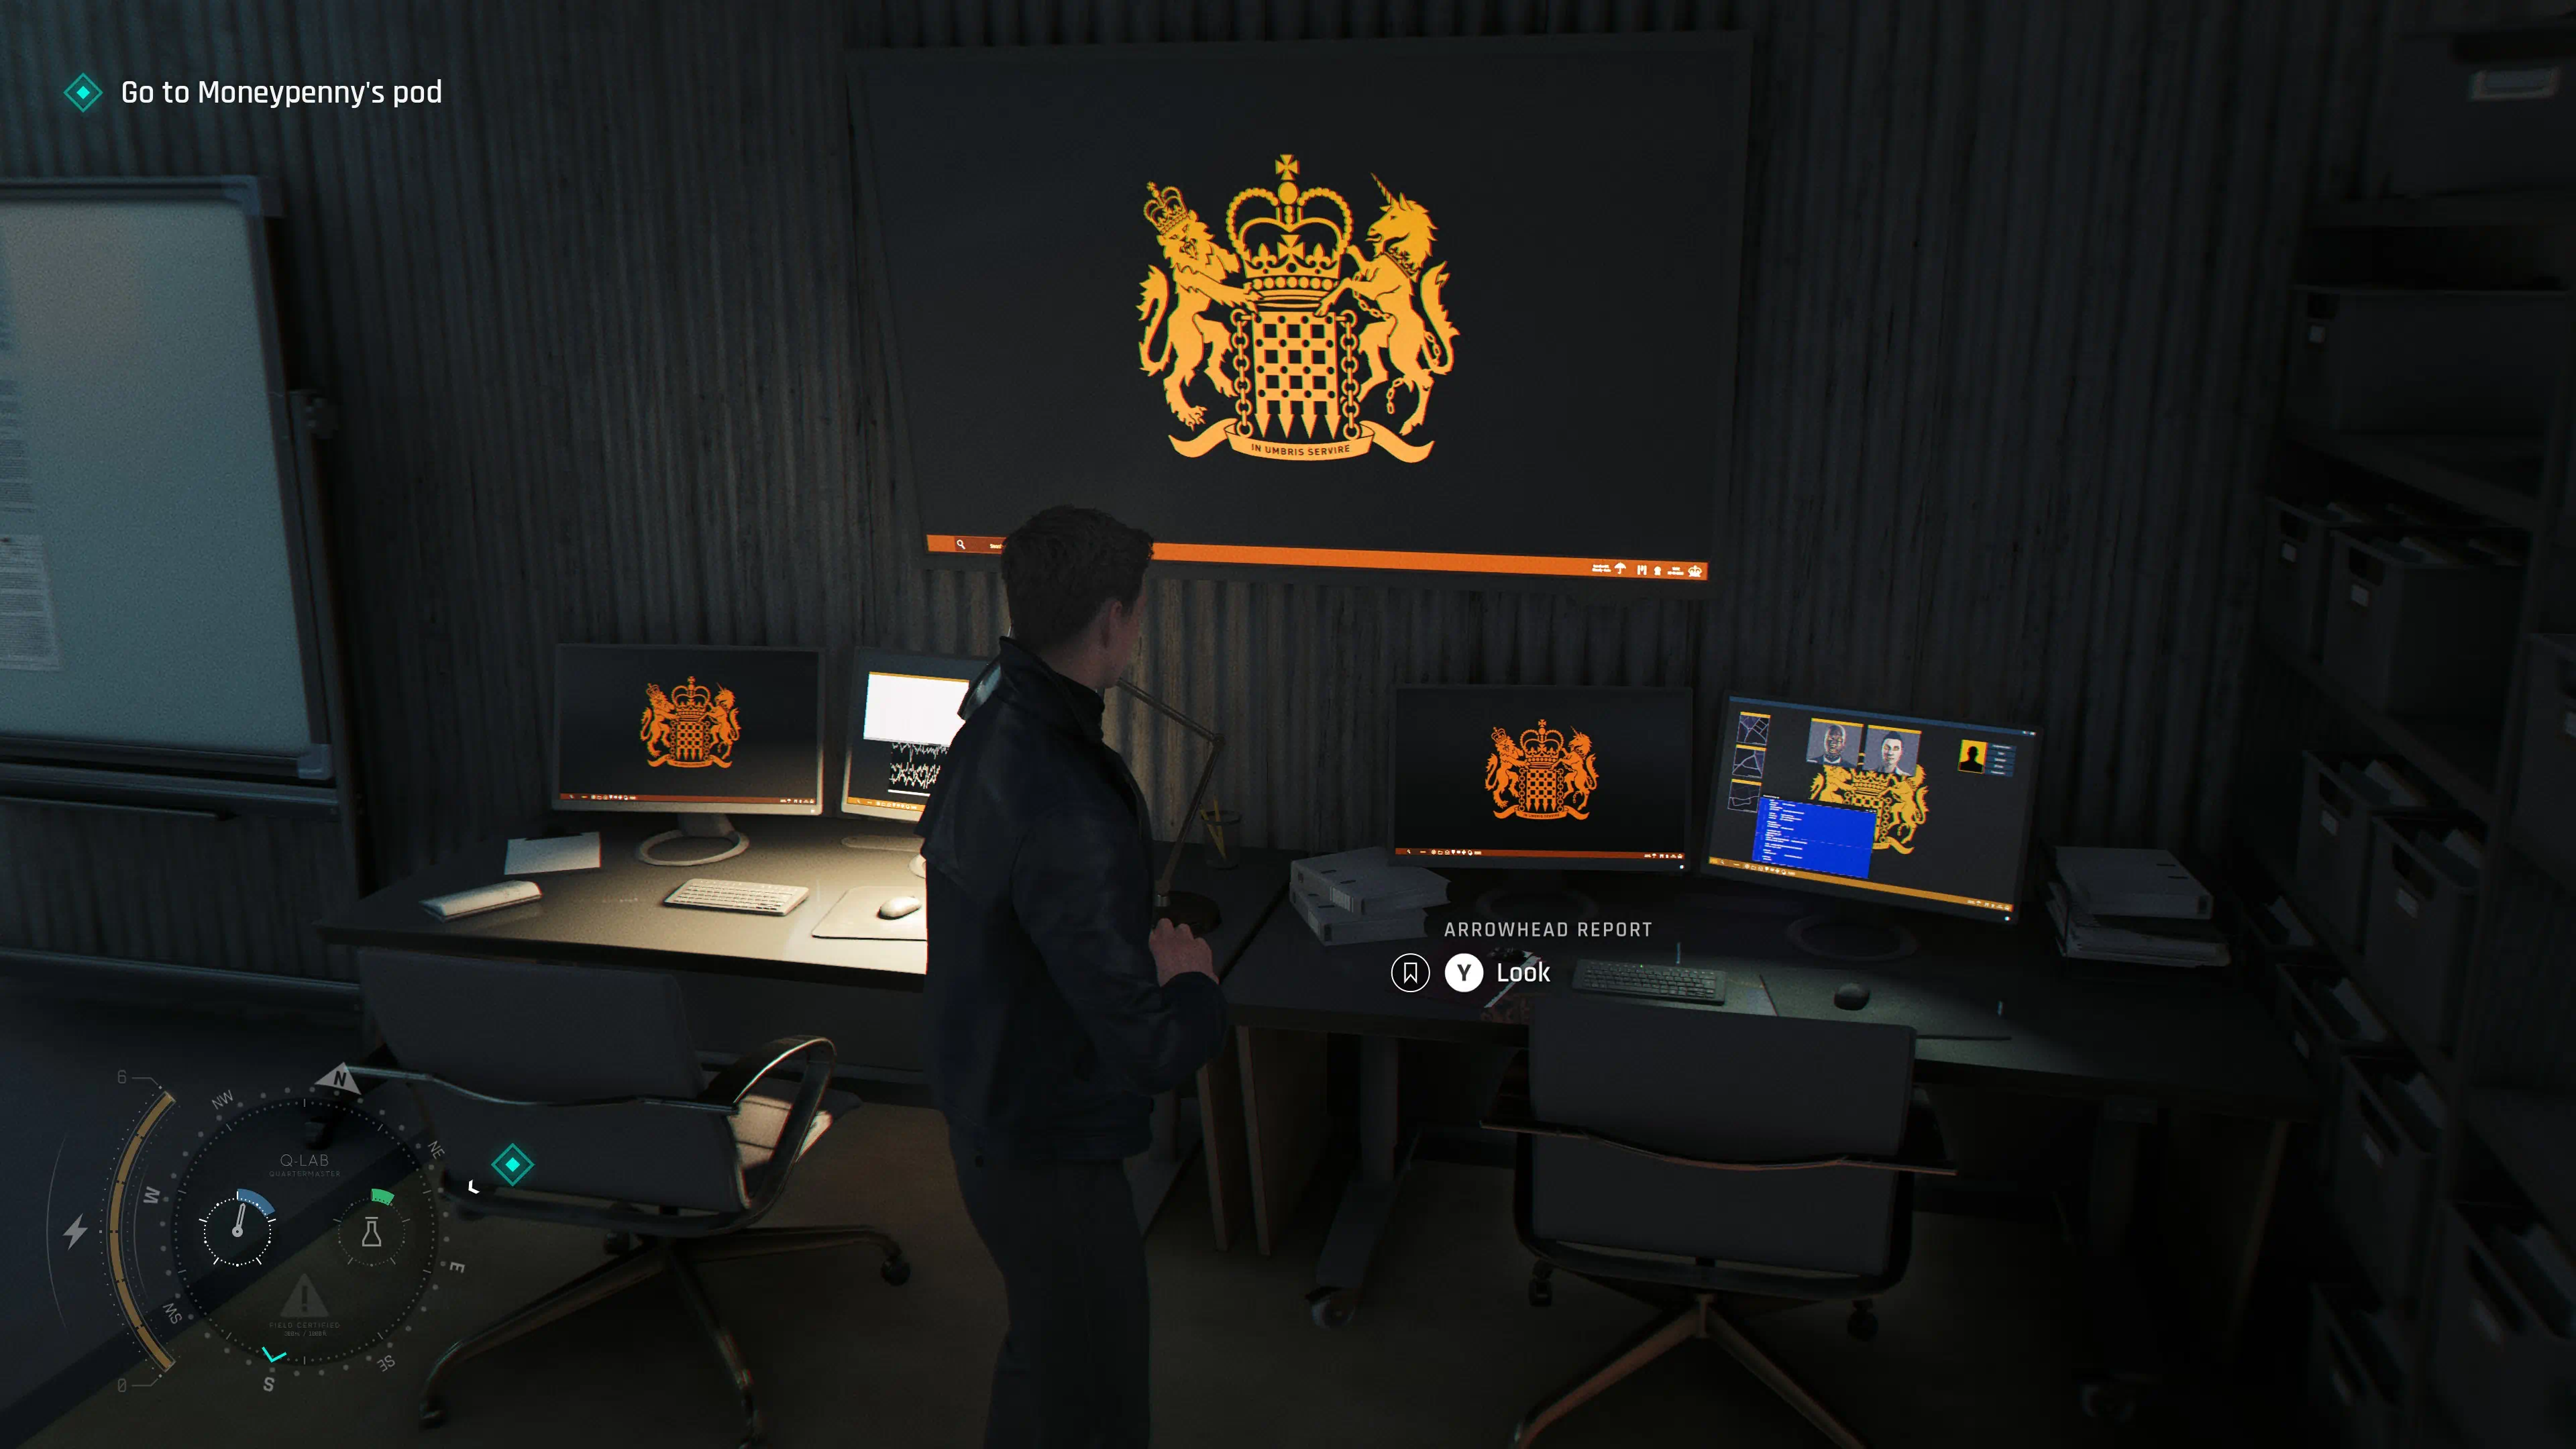
Intel: Arrowhead Report
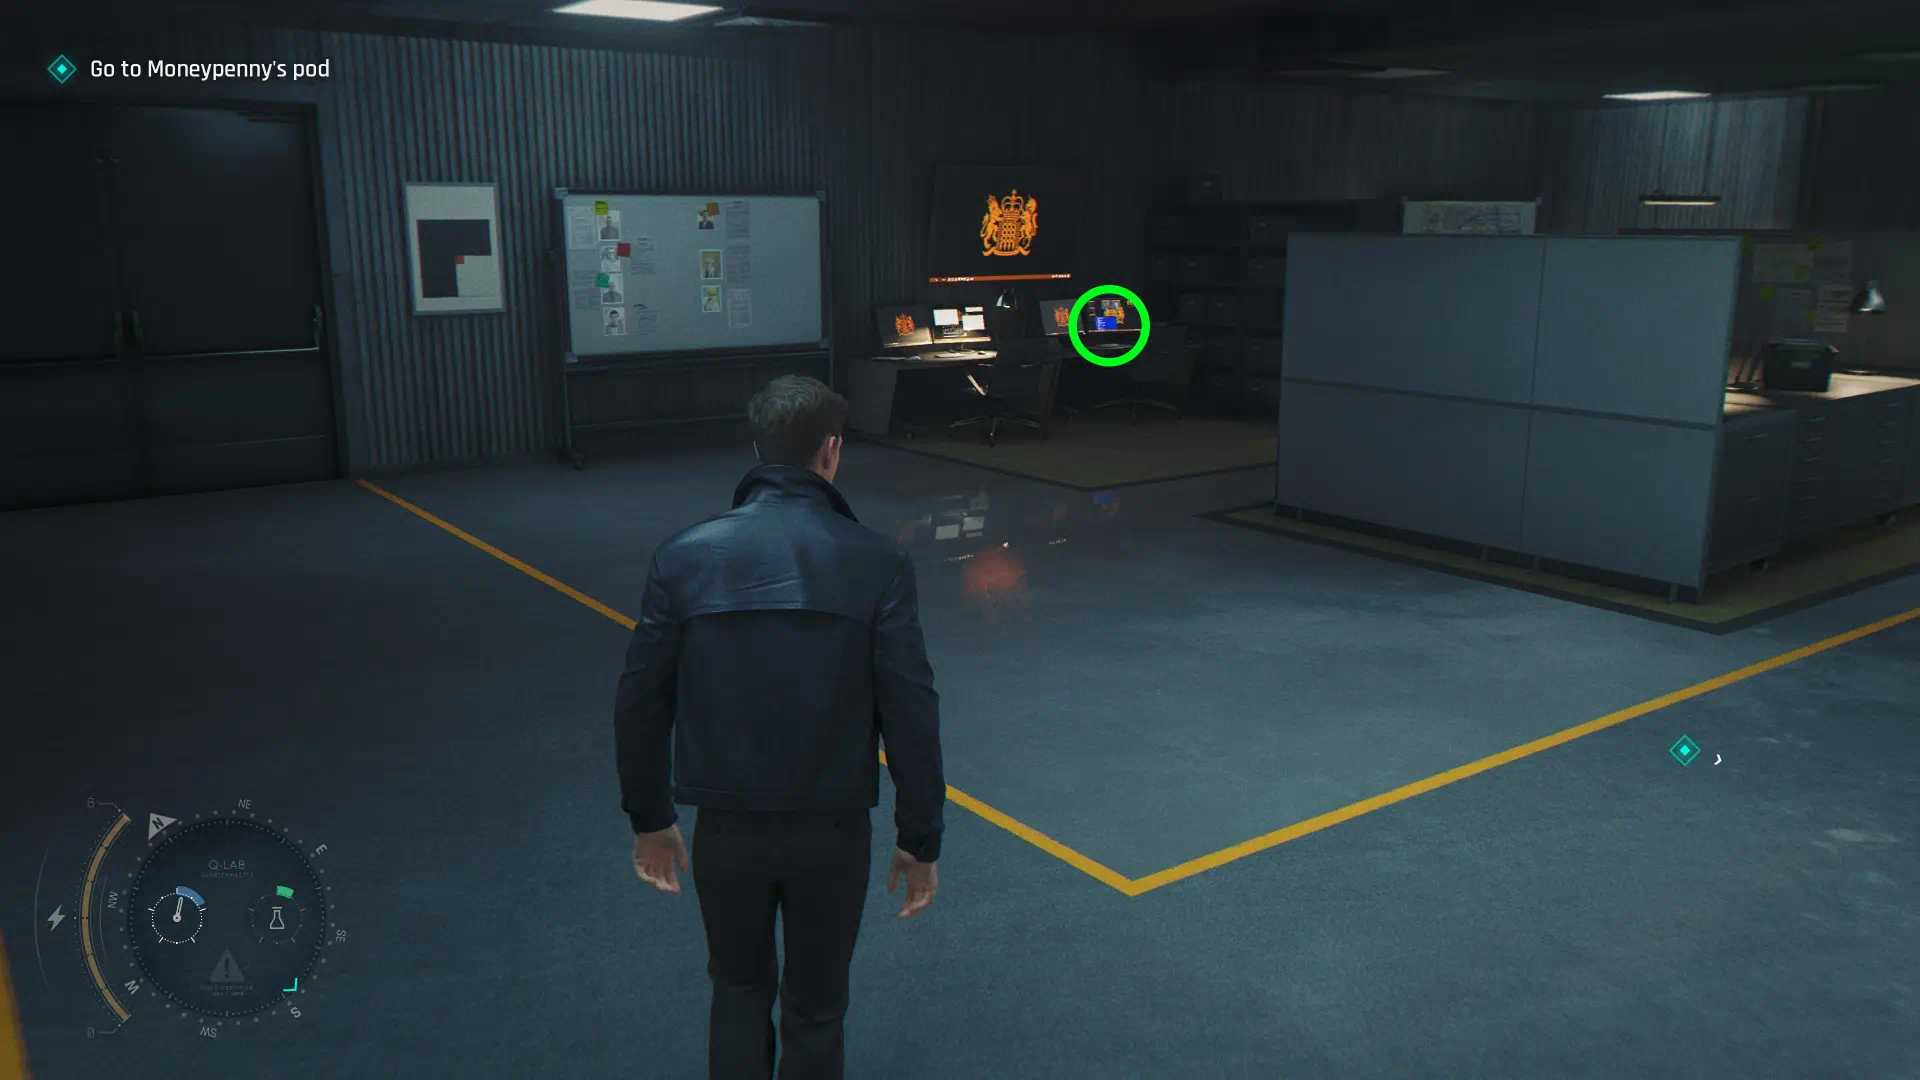
After you finish testing gadgets and are heading to Moneypenny’s Pod, once you have left the elevator, stop and turn around. On your right, head past the elevator with the “Out of Order” sign. Go all the way to the back. Next to a whiteboard, you will see two desks with dark orange symbols as the background and a TV mounted on the wall. There you will find the Arrowhead Report.
Chapter 9 - Intel
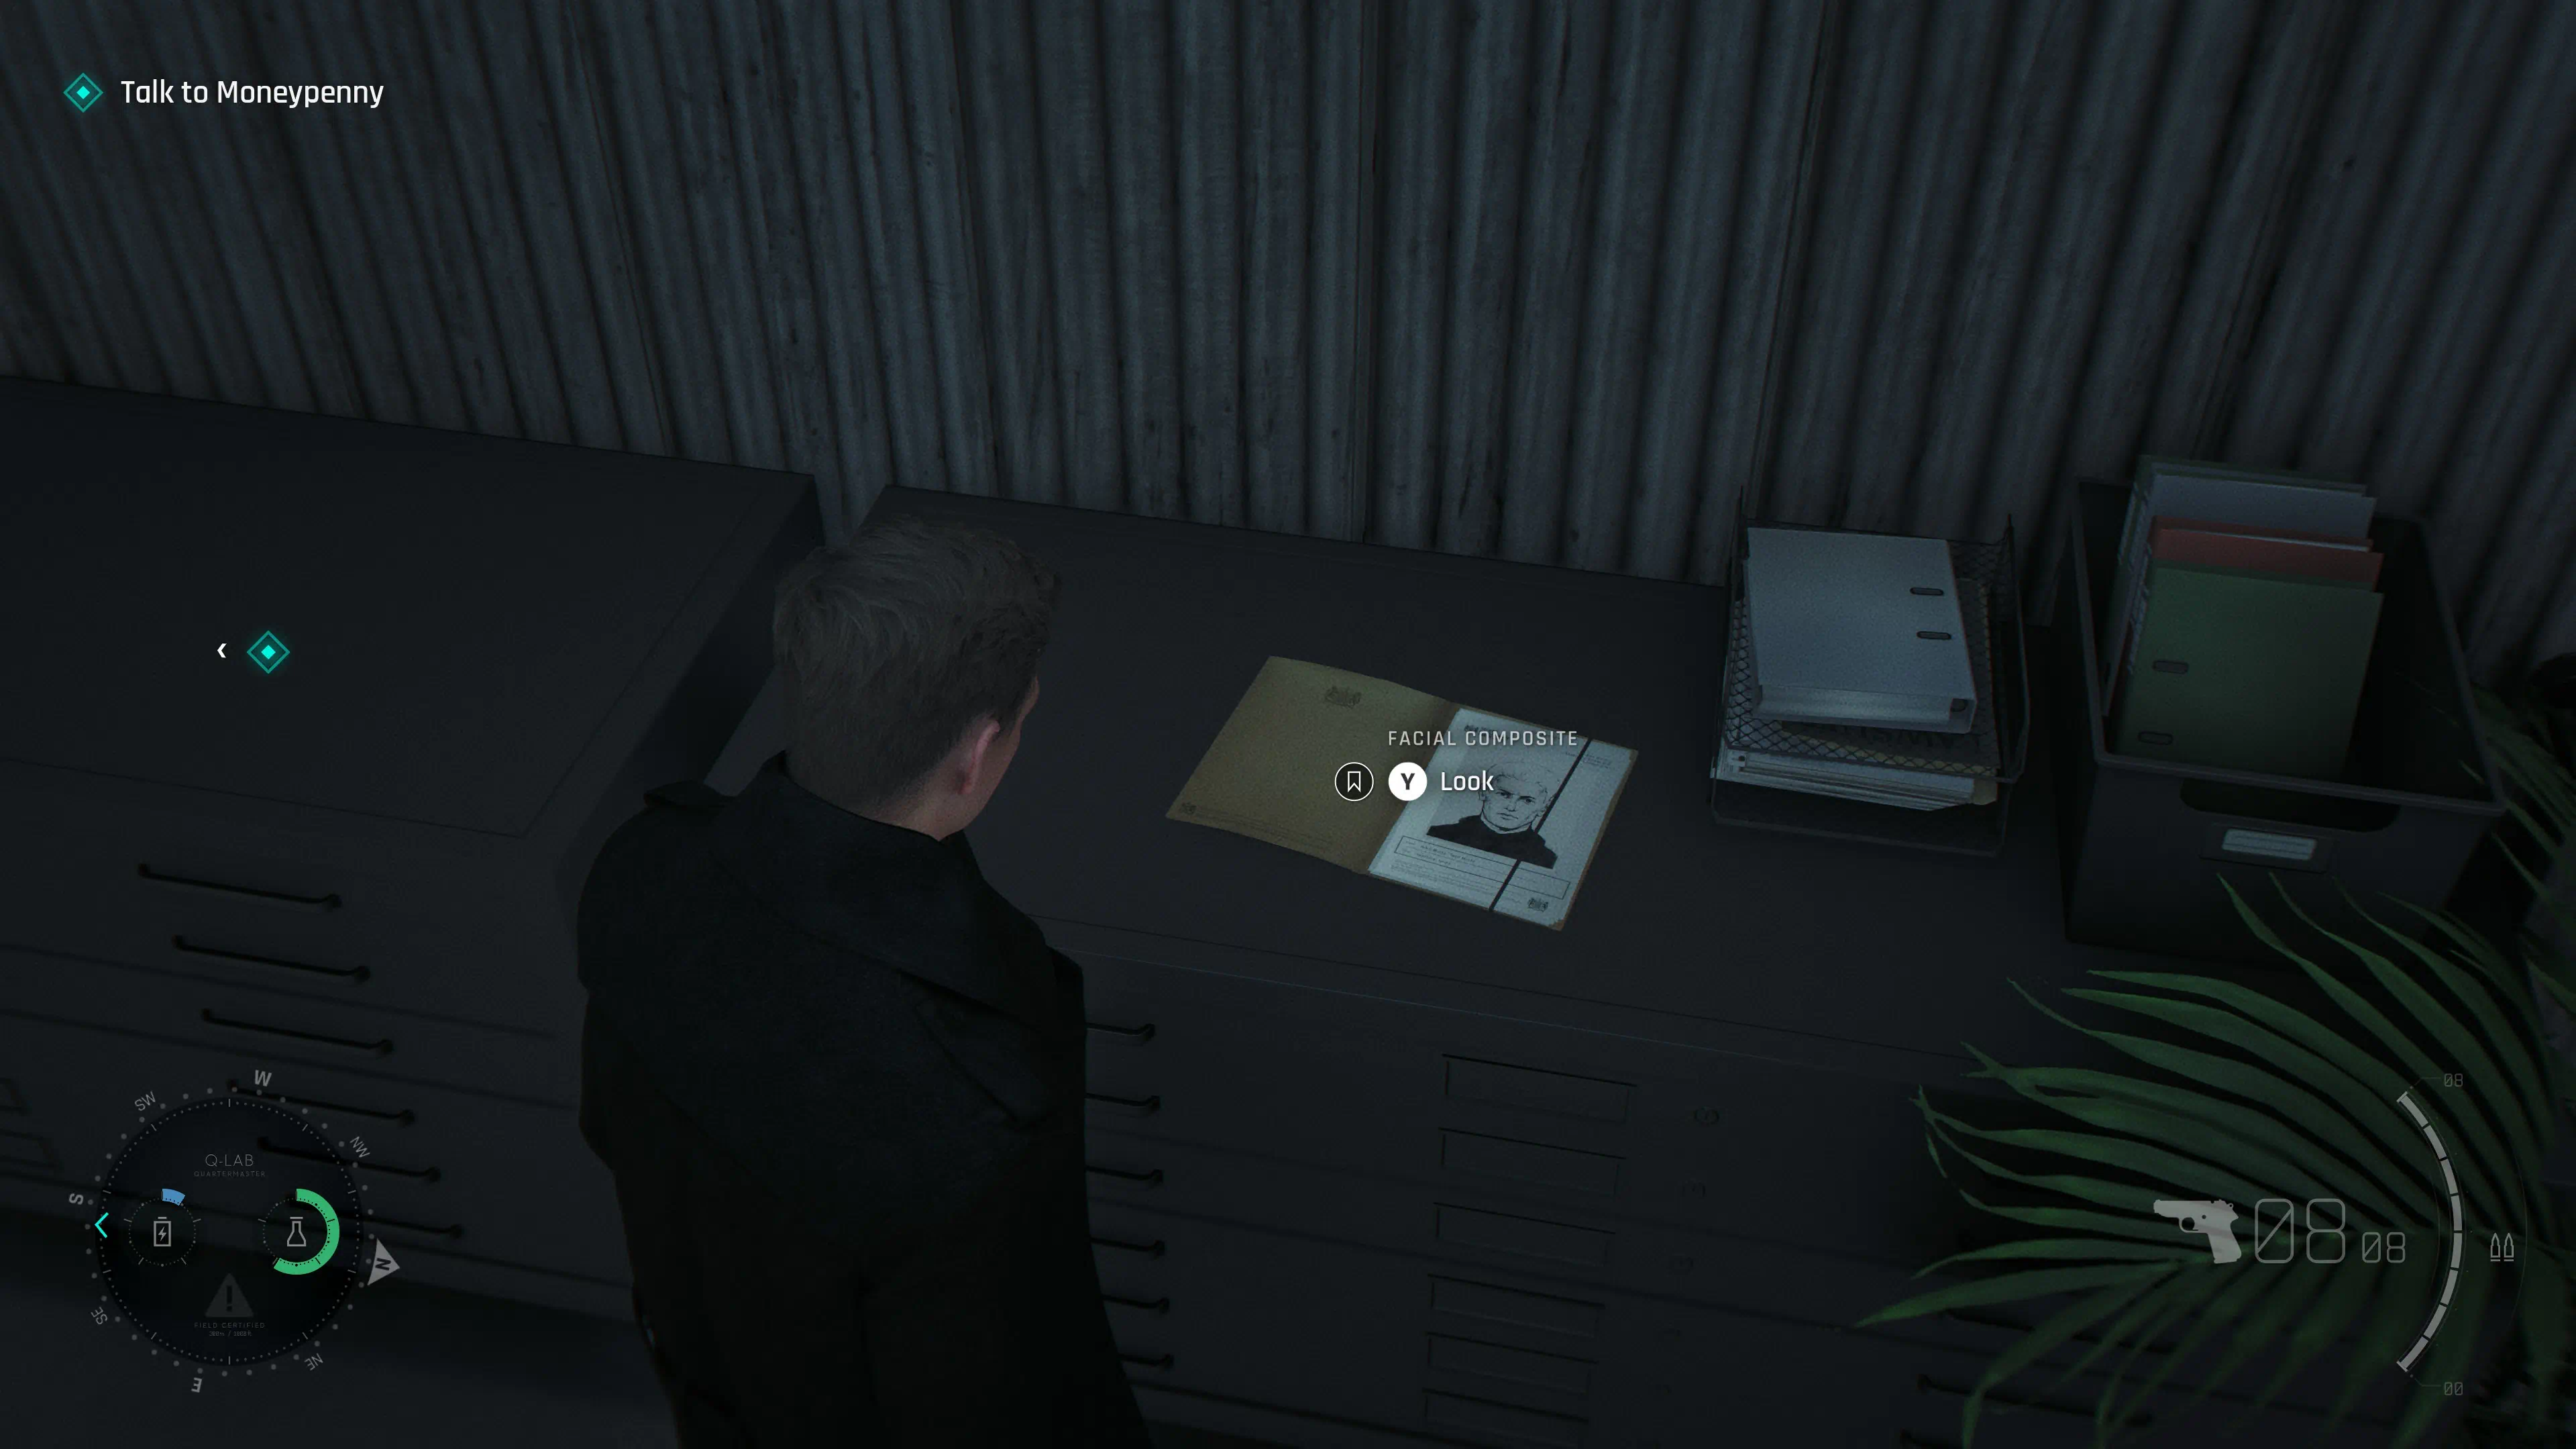
Intel: Facial Composite
Just after leaving Q-Lab to talk to Moneypenny, once you have left the elevator, stop and turn around. On your right, head past the elevator with the “Out of Order” sign. Go all the way to the back. On the far left side on the counter, you will find the Facial Composite.
Chapter 10 - Intel
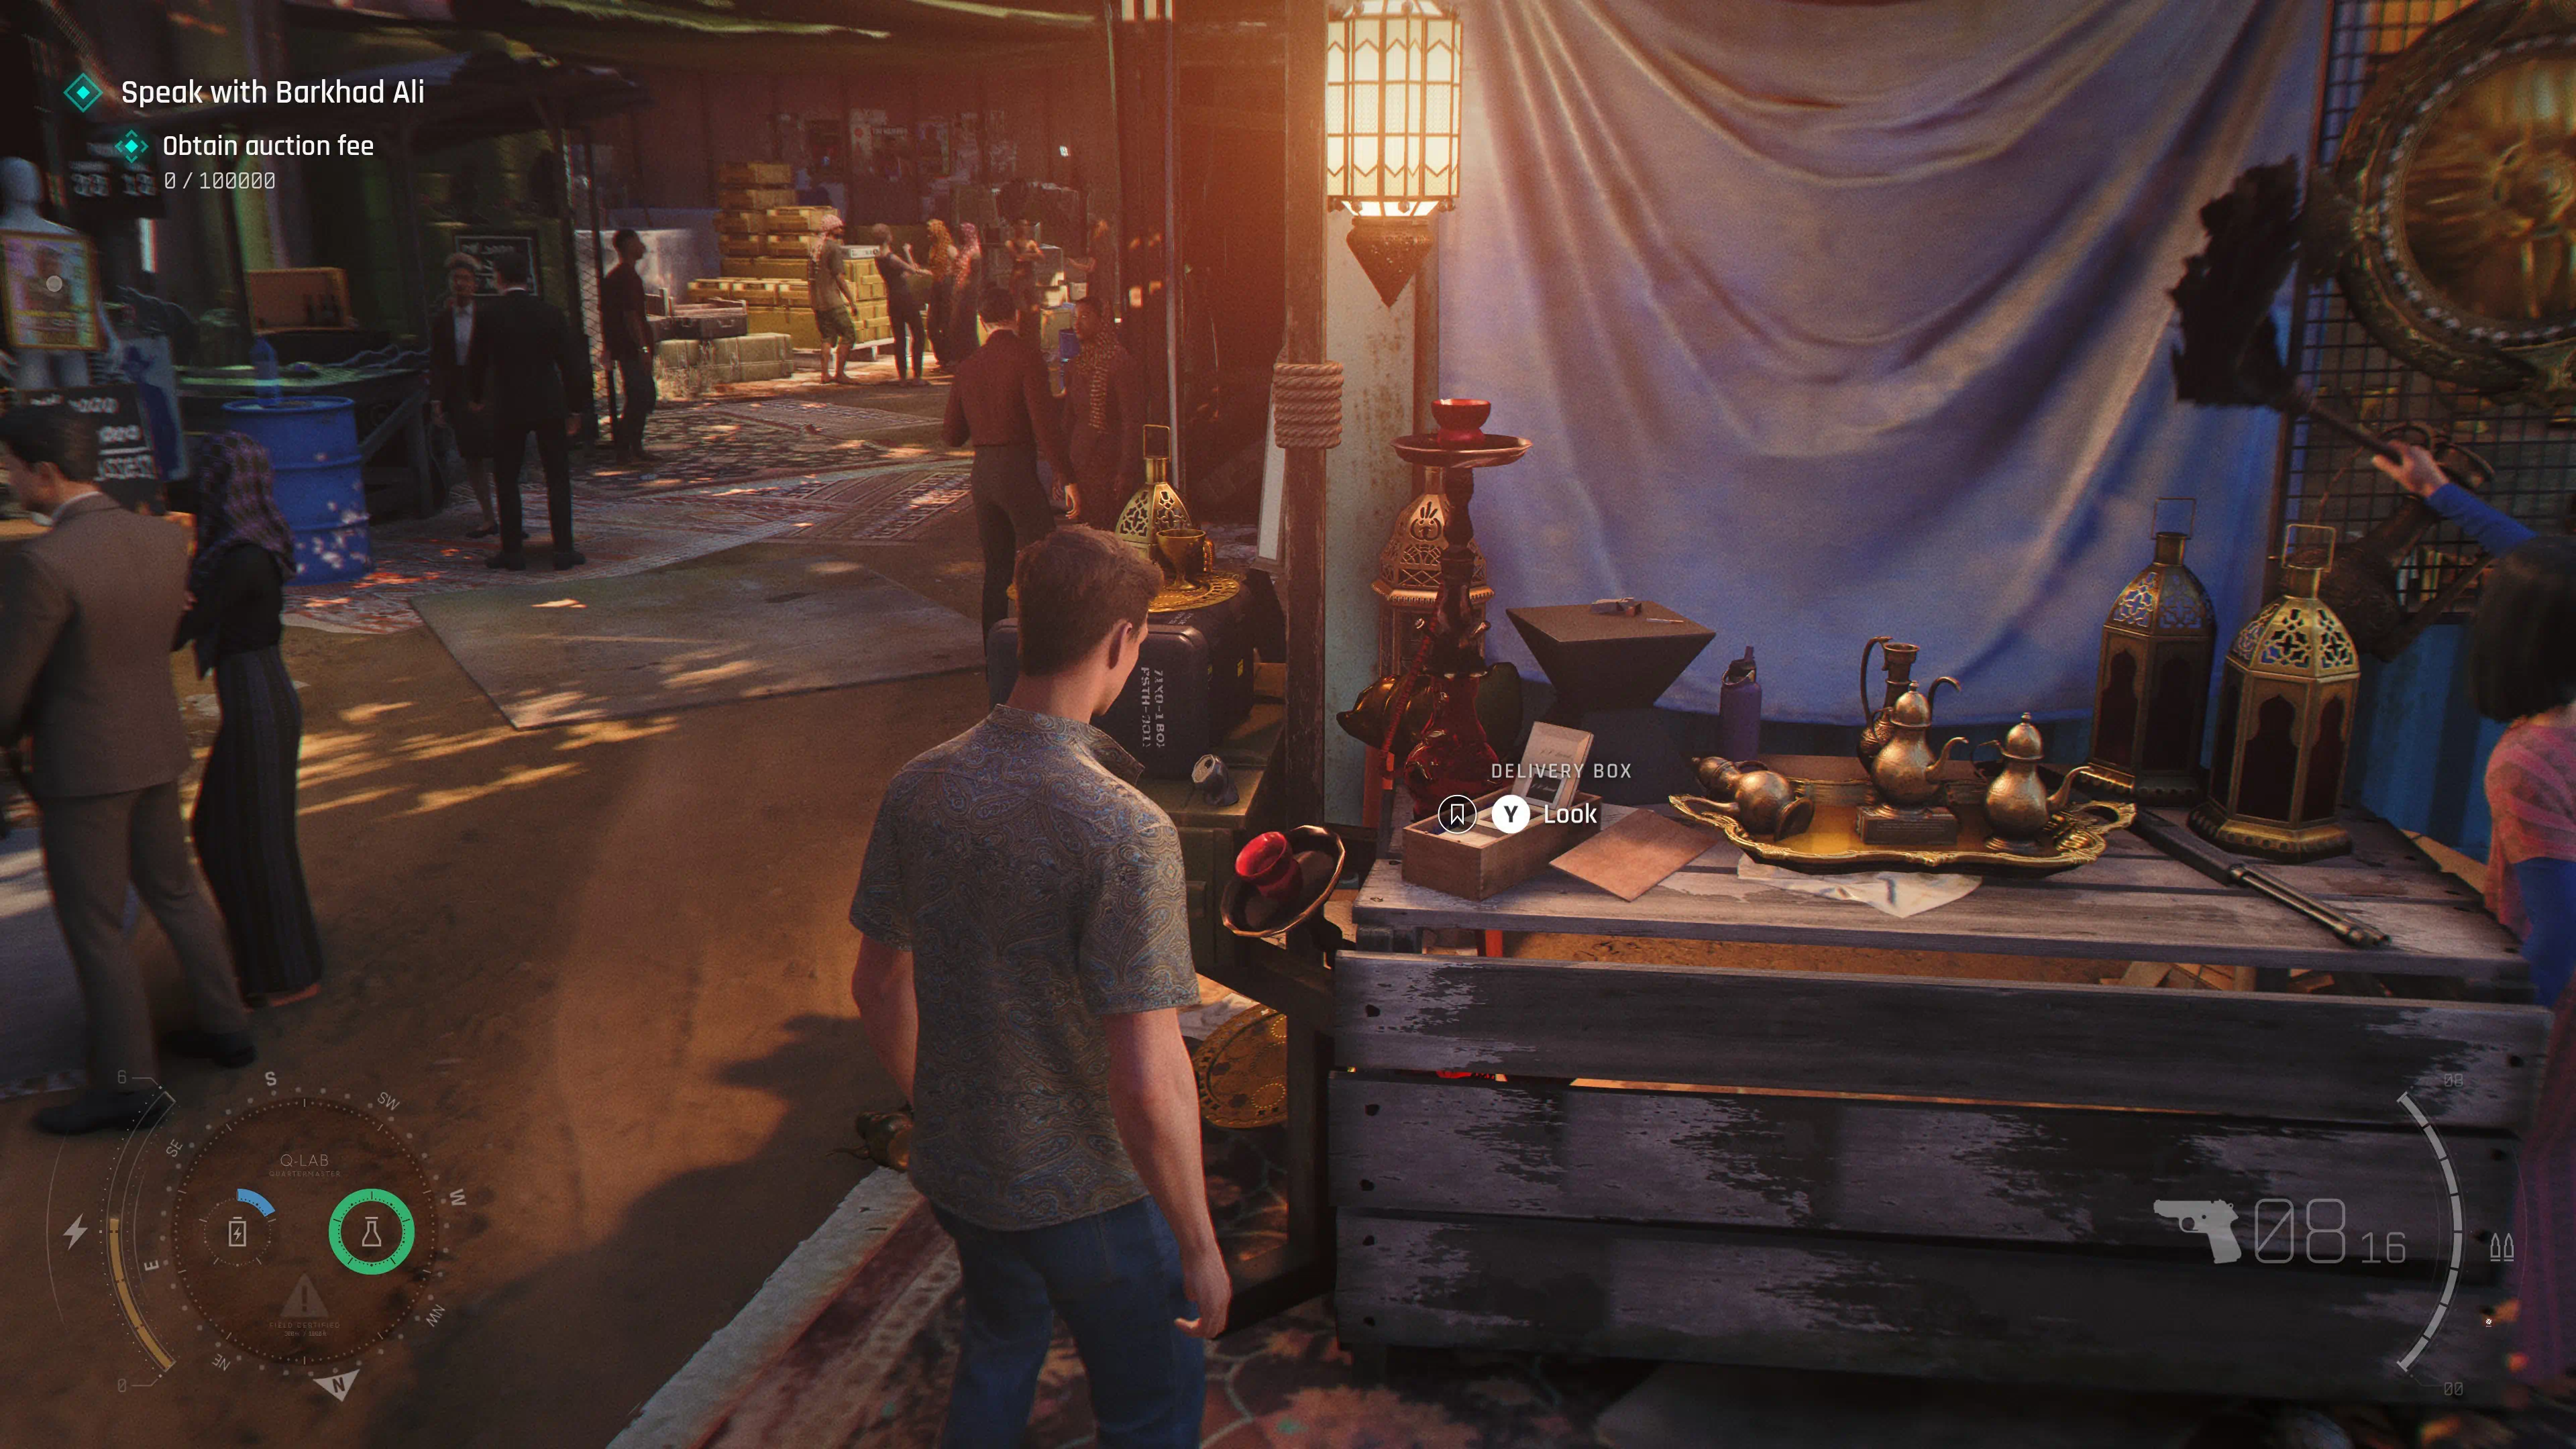
Intel: Delivery Box
Starting from the bottom of the stairs, after getting the objective "Obtain Auction Fee," head to the left and pass through the area with the large orange anchor in the center. Then turn right, pass the yellow storage container, and head through the opening past the truck. Just around the large red ocean buoy, on the table with lamps and a red hookah, you will find the Delivery Box.
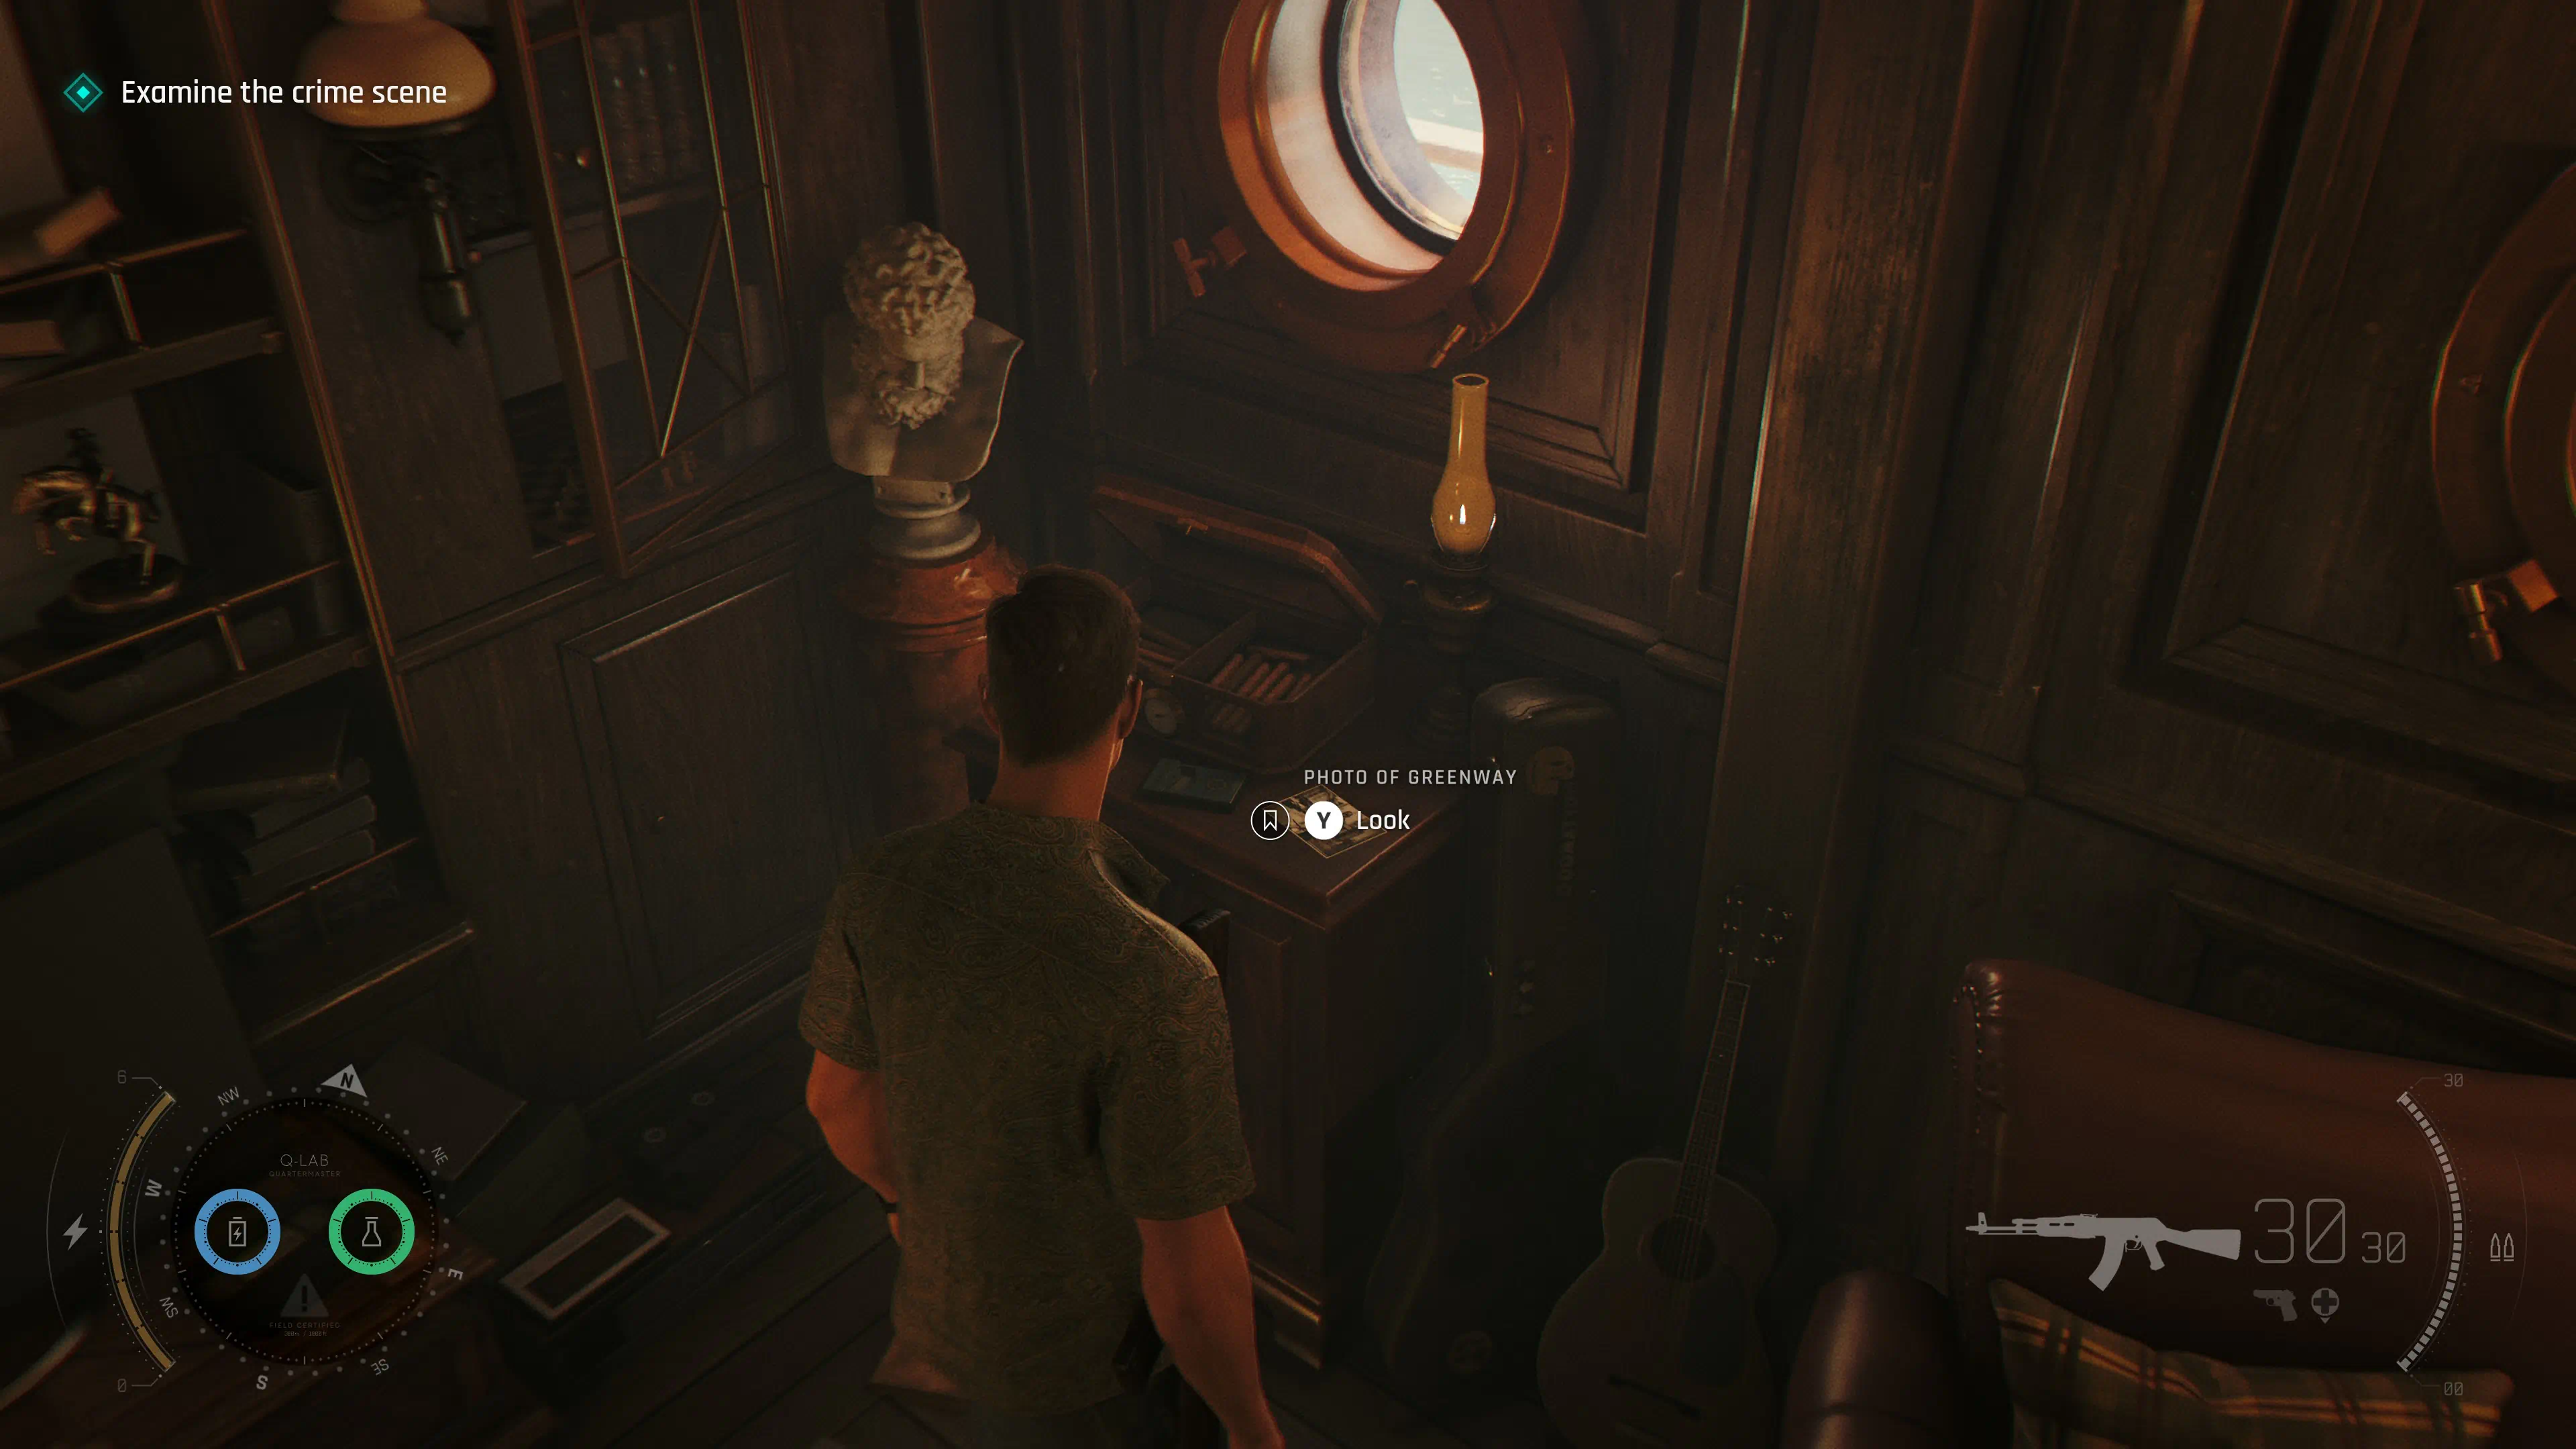
Intel: Photo of Greenway
Once inside 009's boathouse, go to the back room with the pages and red string on the wall. In the left corner, next to the humidor full of cigars, you will find the Photo of Greenway.
Chapter 11 - Intel
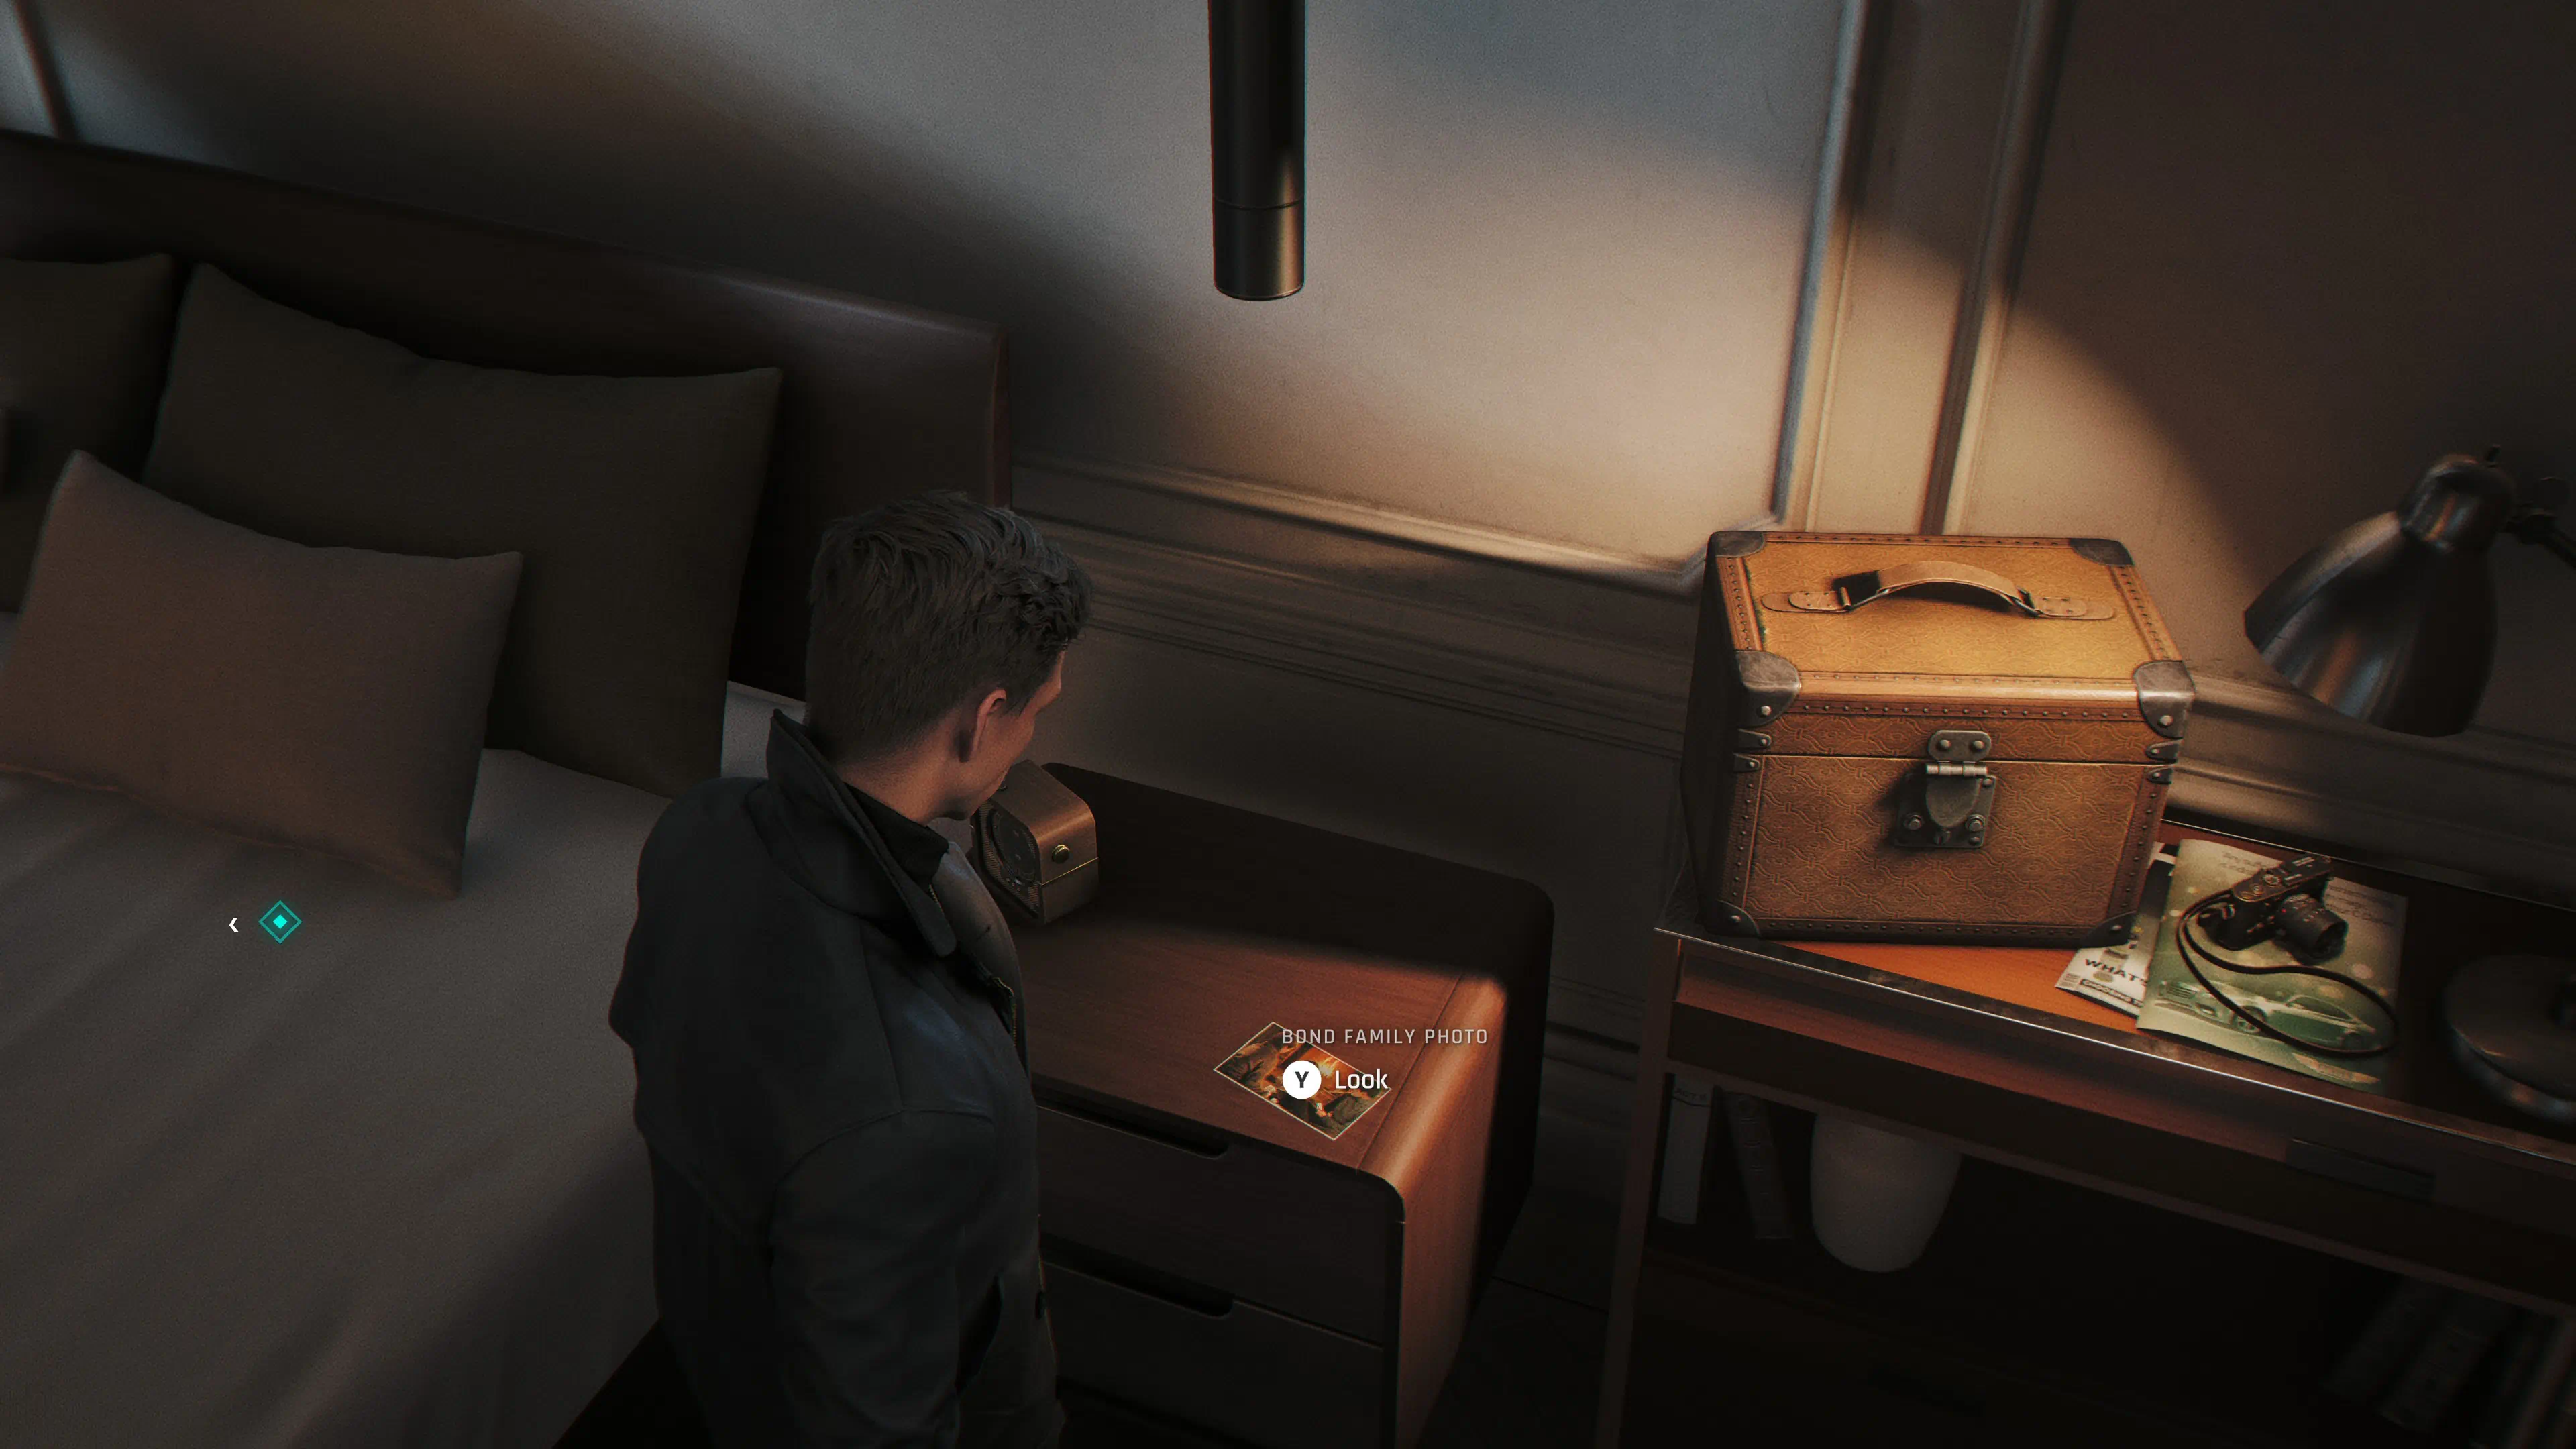
Intel: Bond Family Photo
After going back home in Chapter 11, head to Bond's bedroom. On the bedside table, you will find the Bond Family Photo.
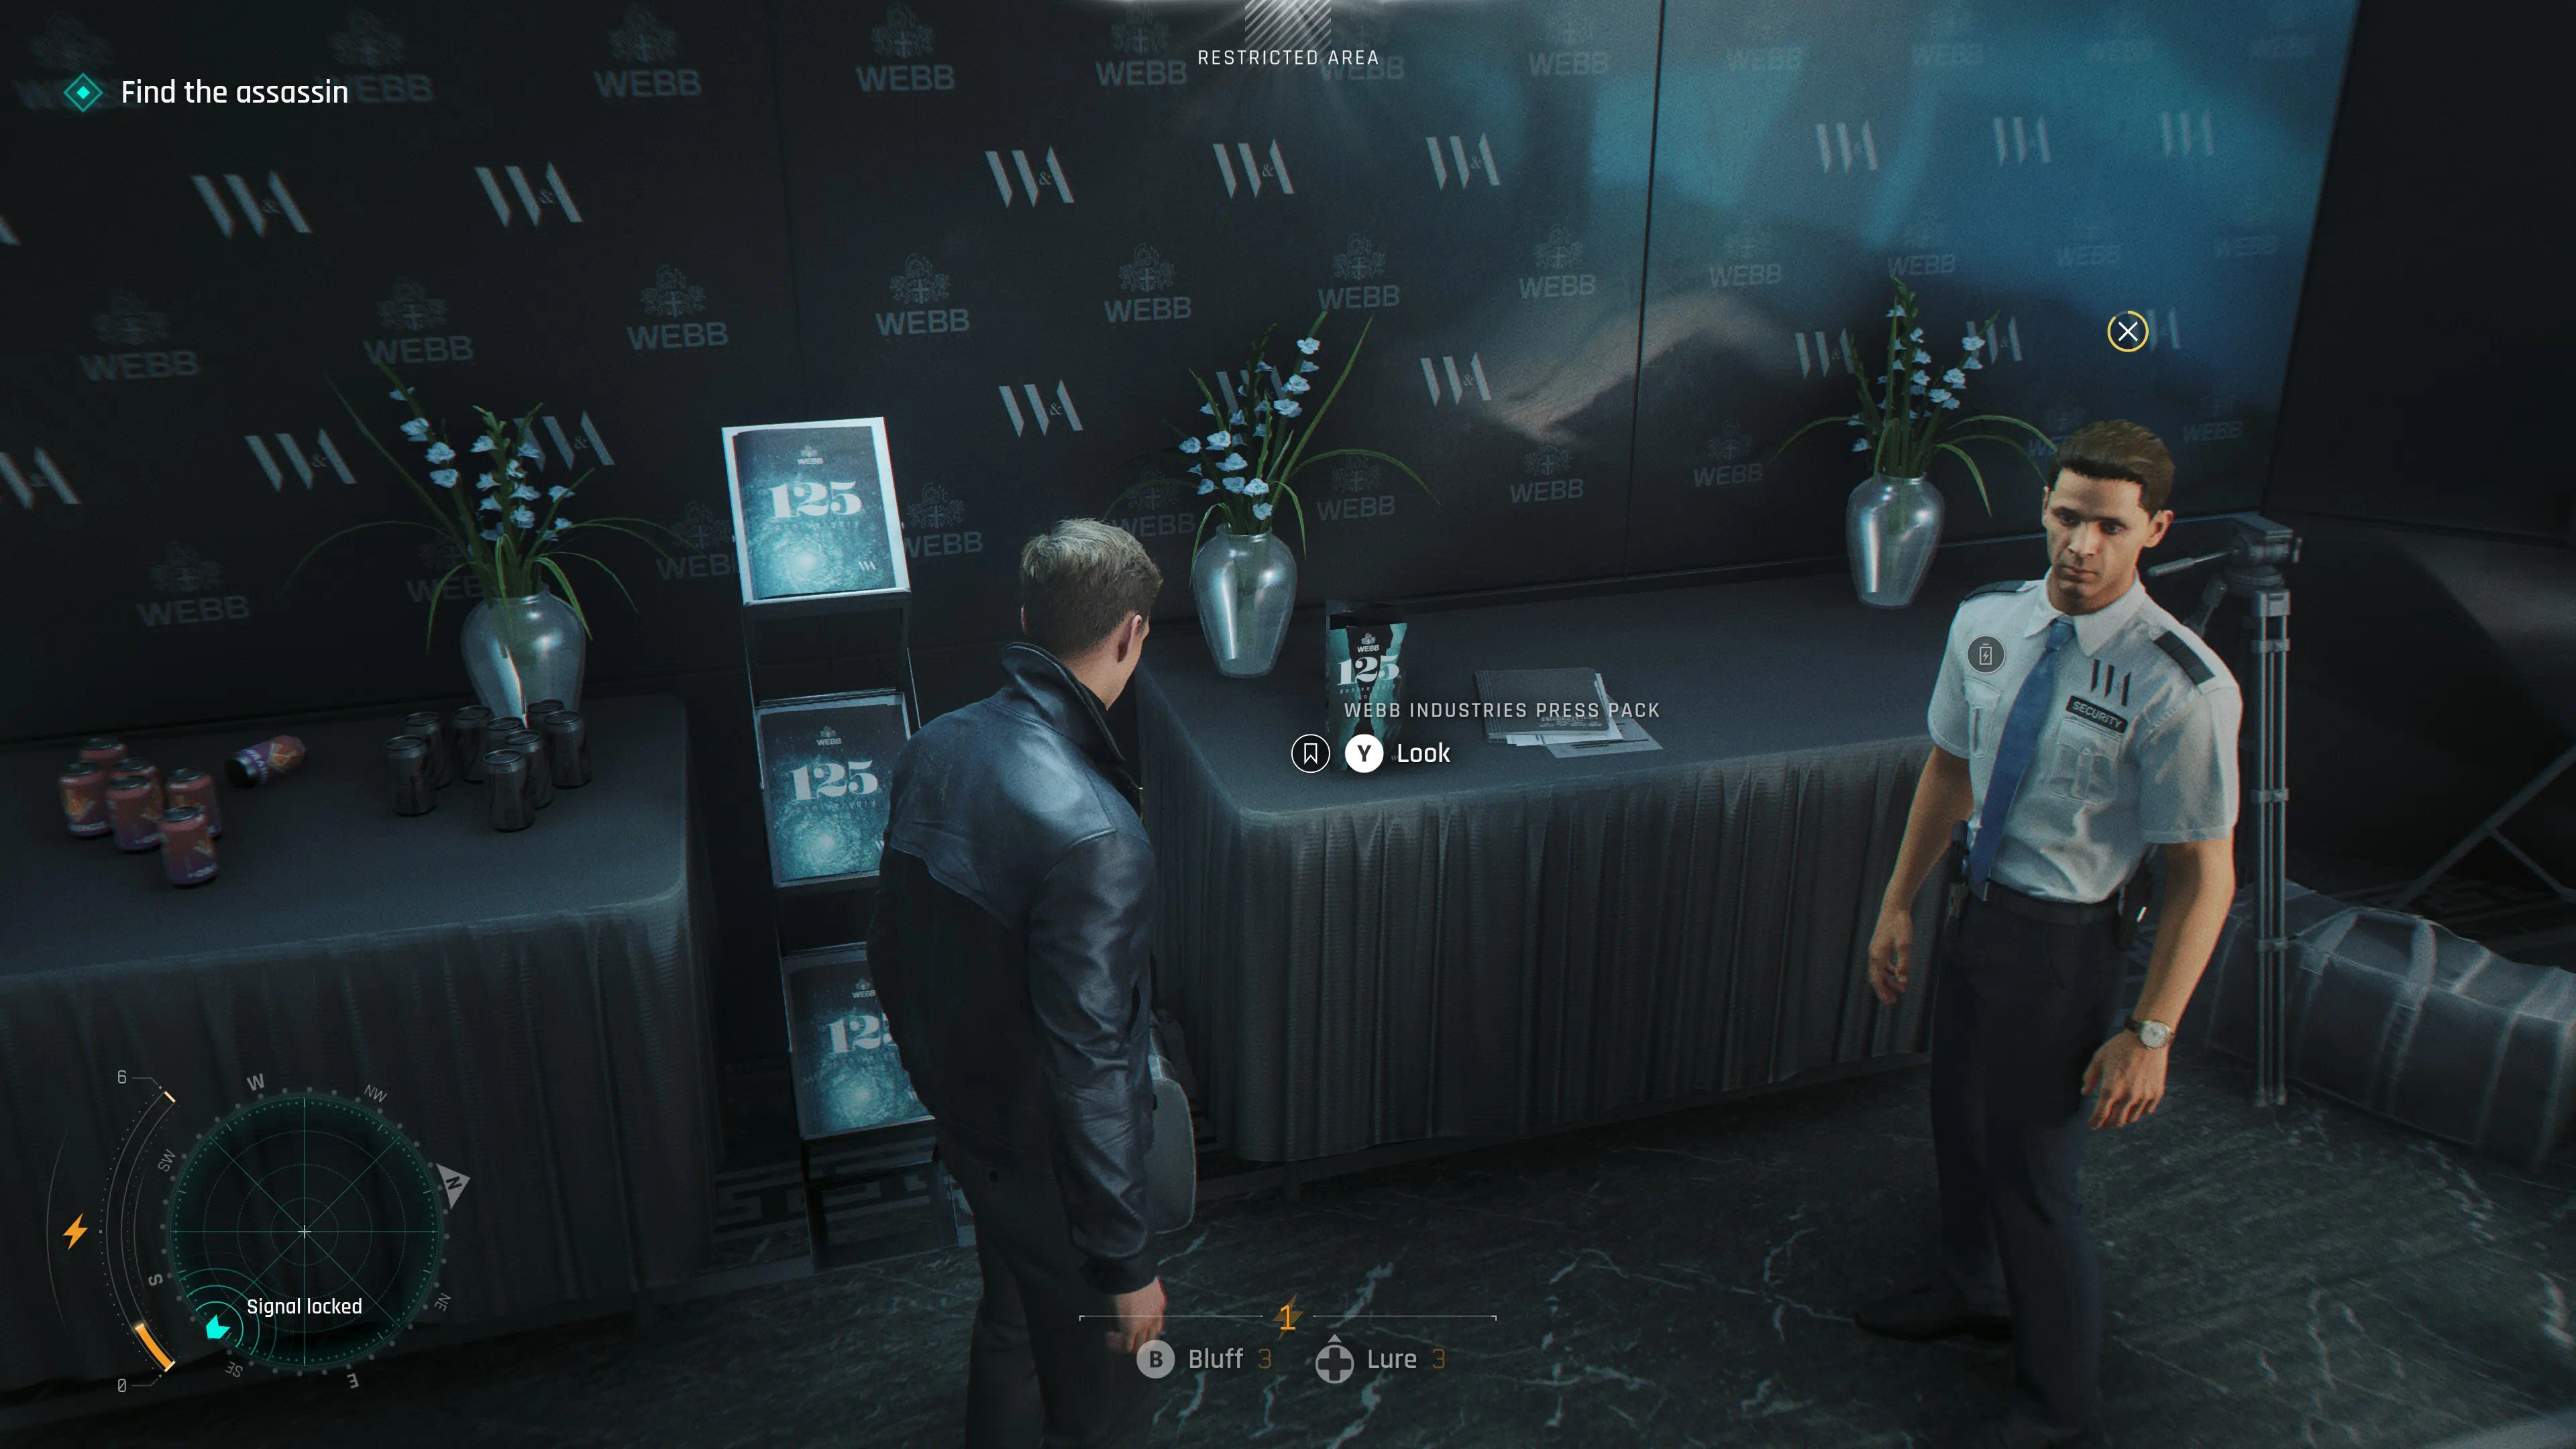
Intel: WEBB Industries Press Pack
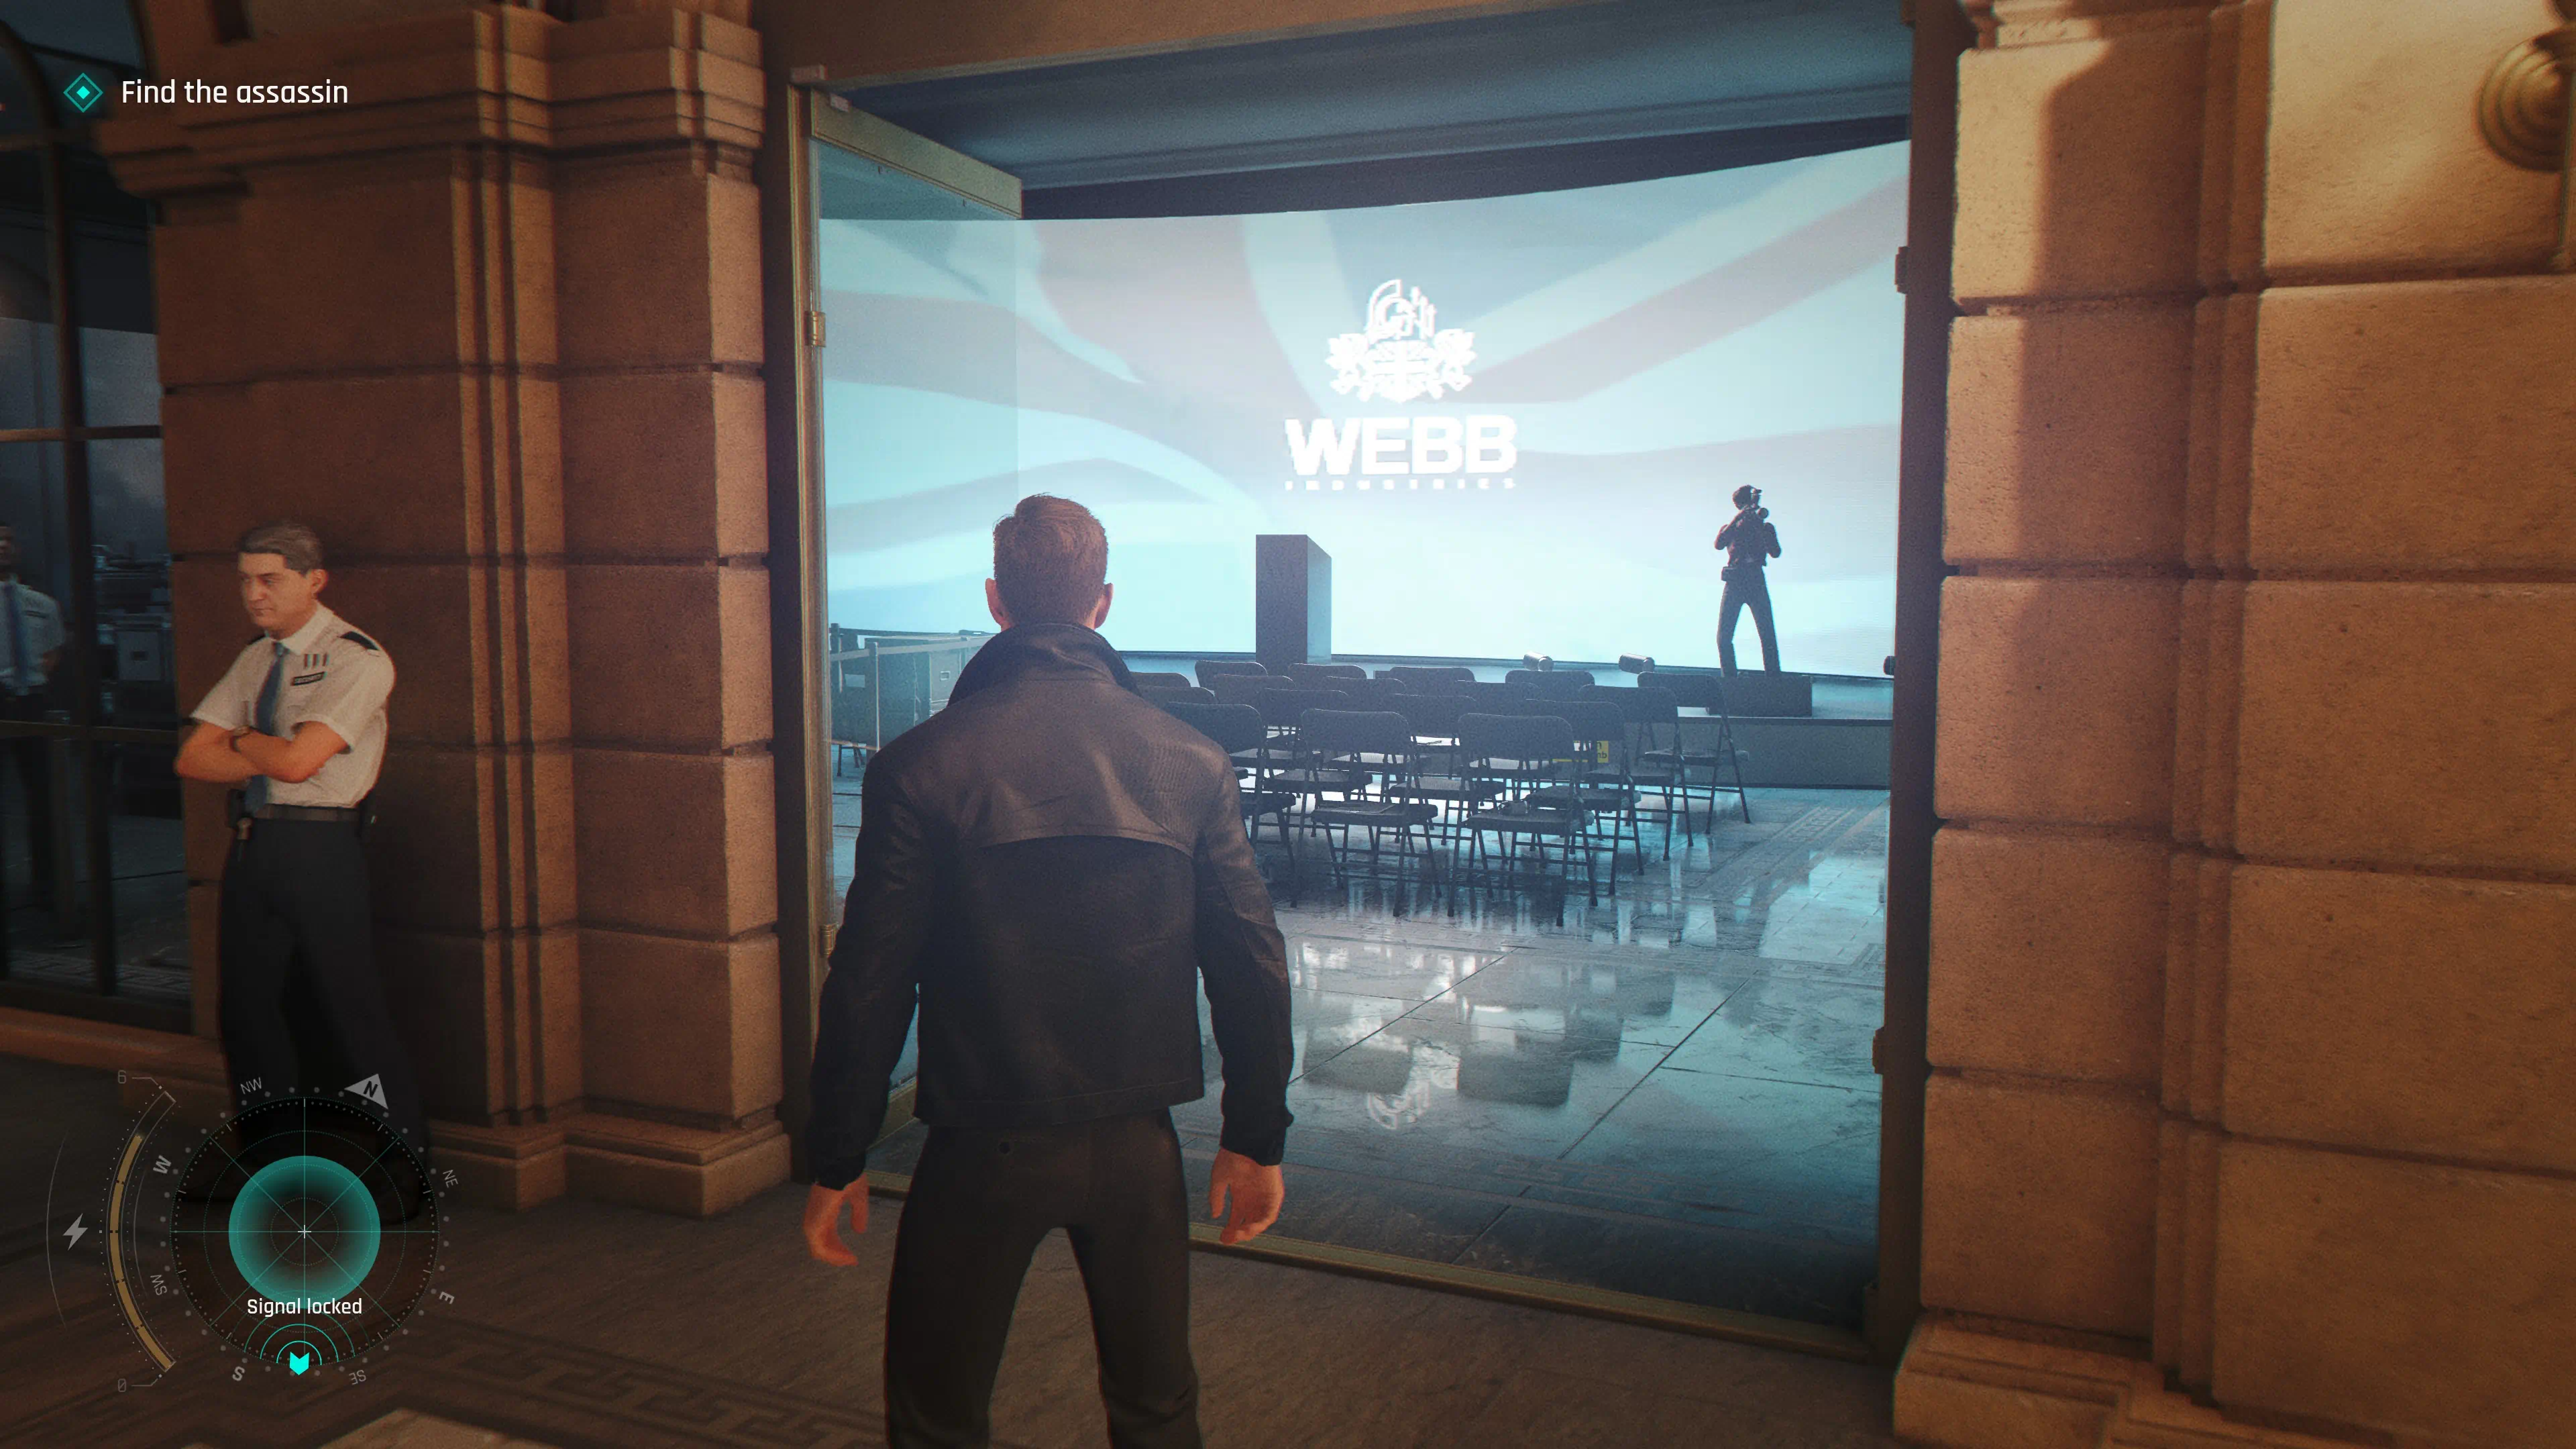
Once you get past the guards with a gala invitation, go left until you see three security guards, then take another left. At the end of the hall on the right, you will find the press room. Go inside, and on the left use your phone dart on the guard. Walk past him and bluff the woman. In the right corner on the table, you will find the WEBB Industries Press Pack.
Intel: Security Notice
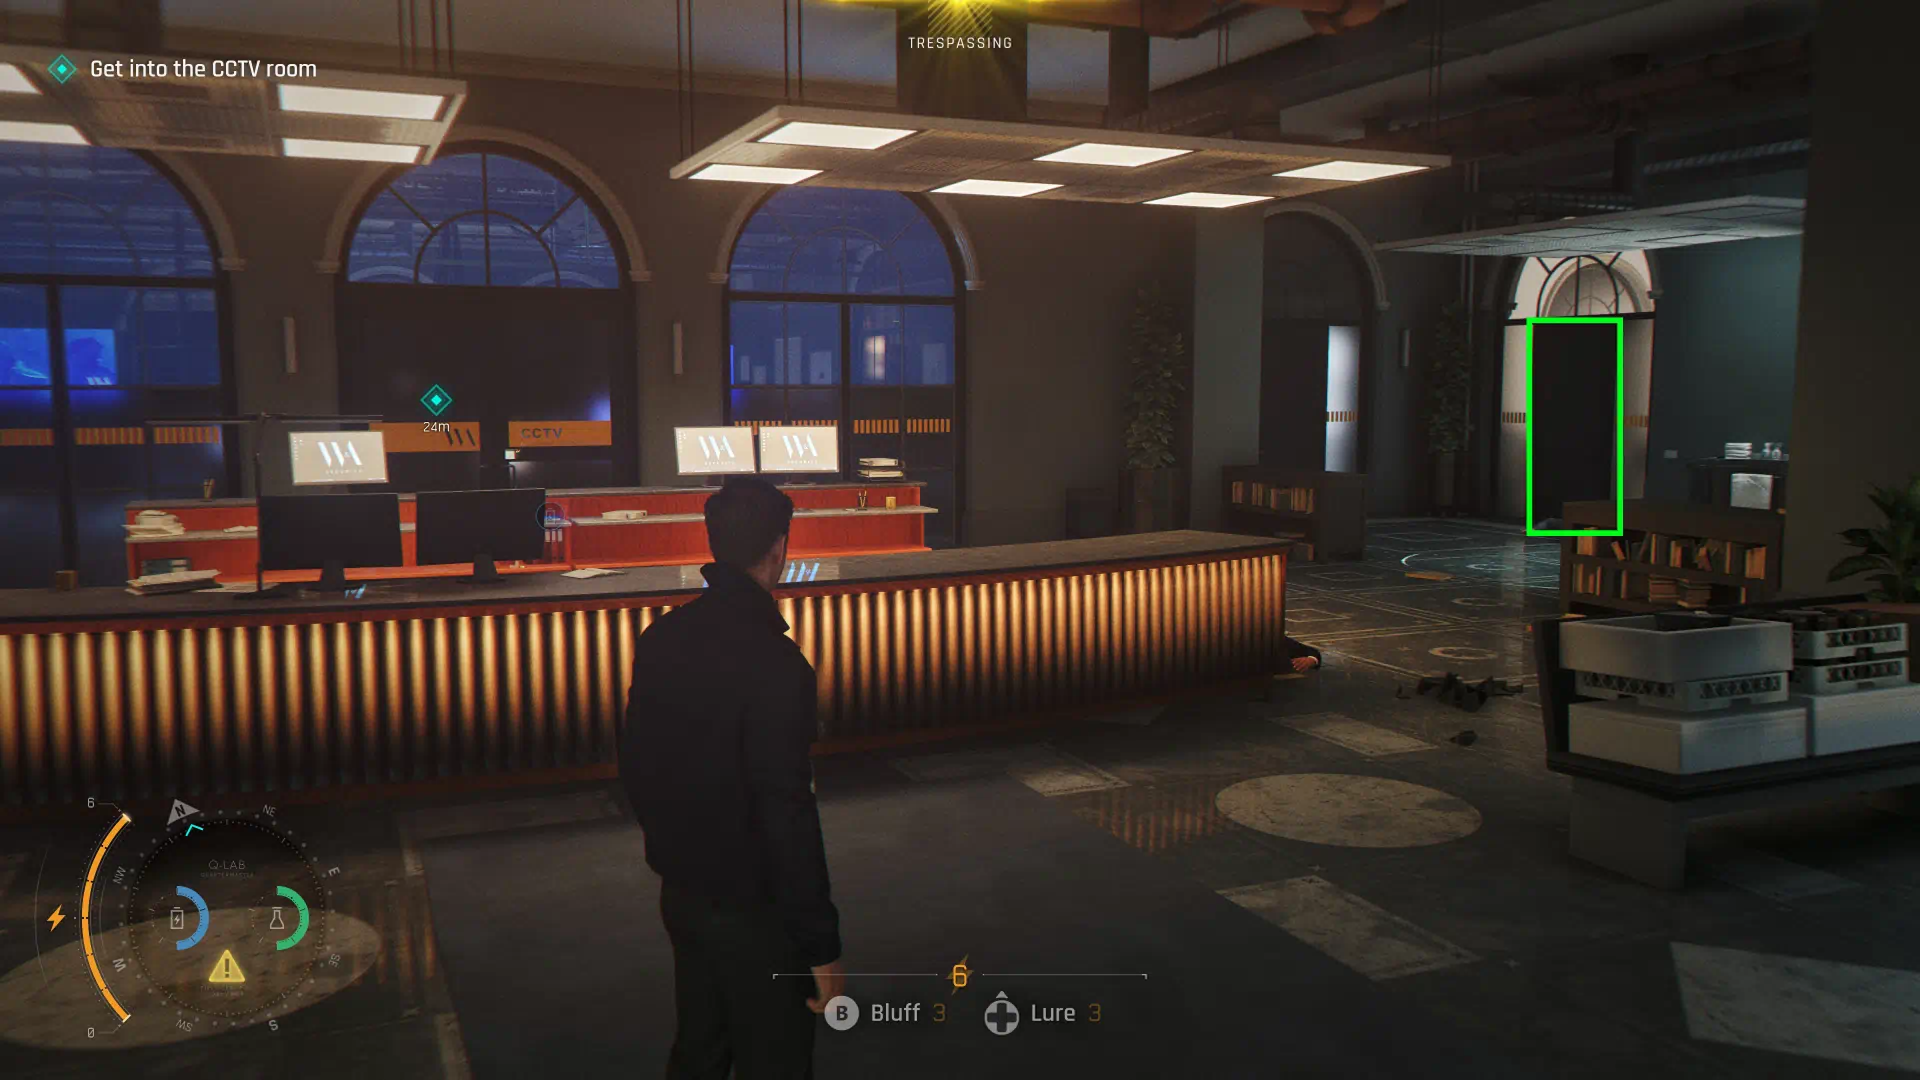
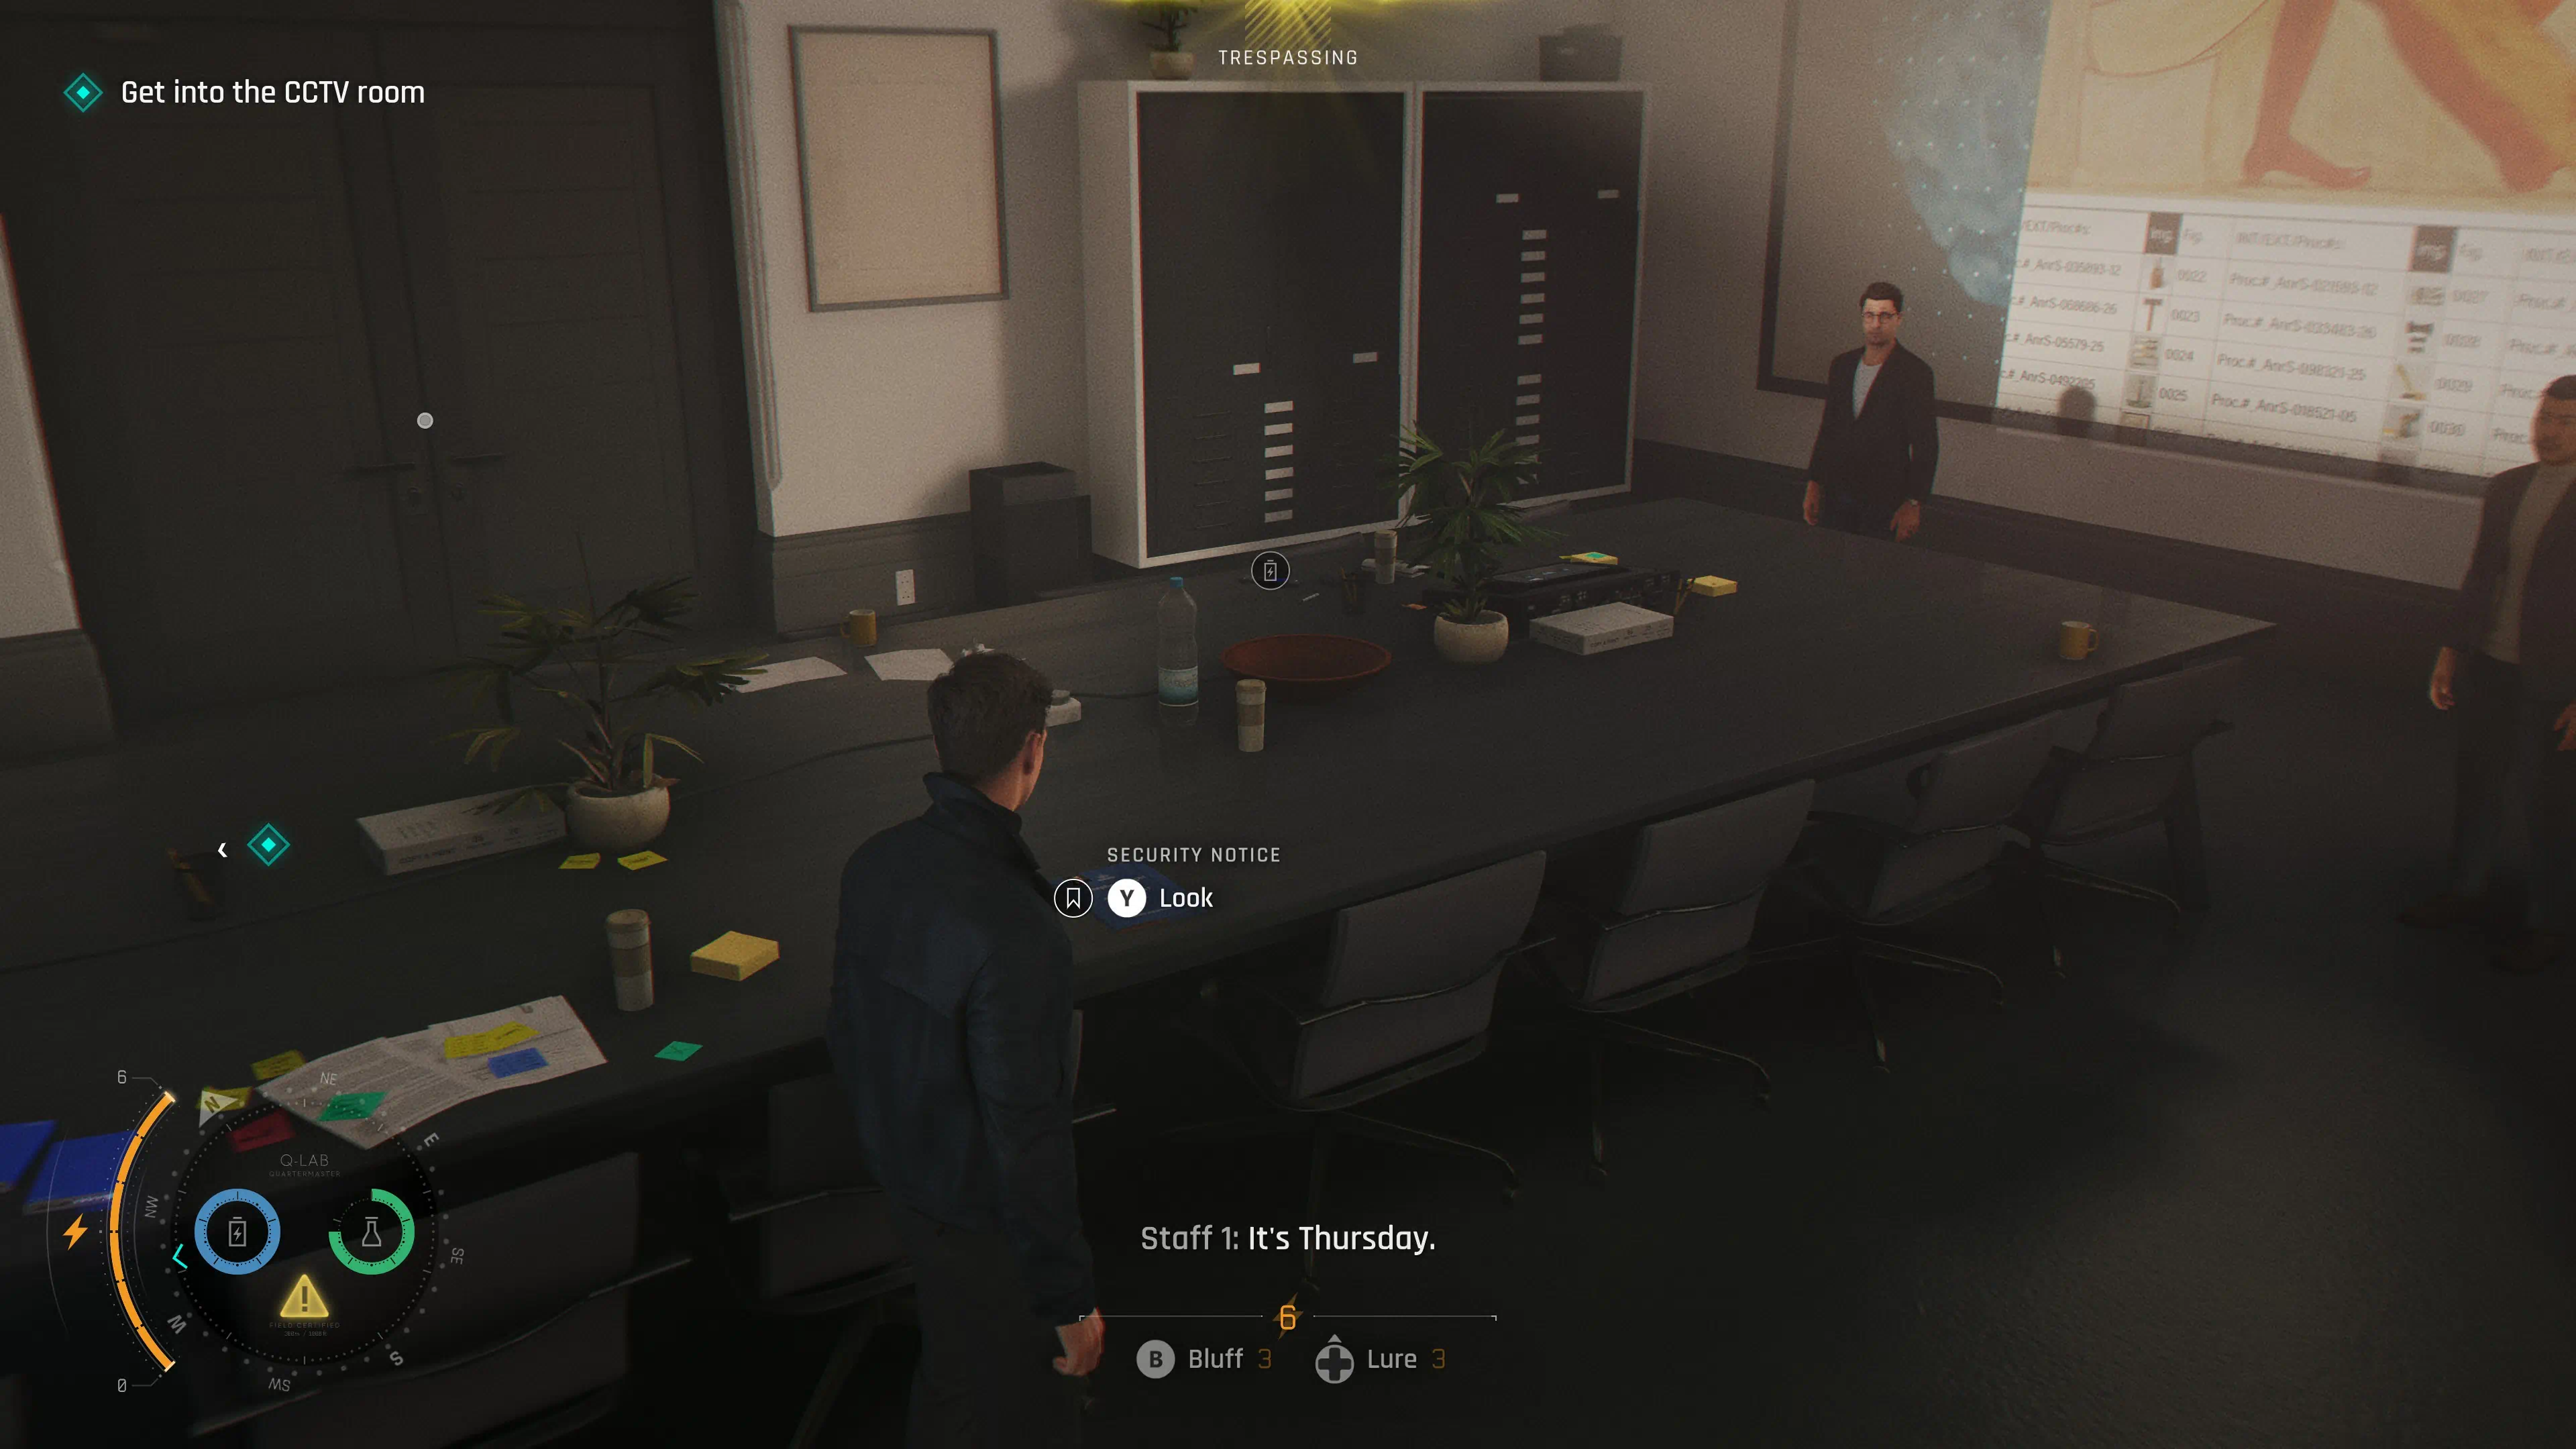
Once you have made your way to the lobby before the CCTV room, head to the right to the conference room. On the table, you will find the Security Notice.
Chapter 12 - Intel
Intel: Wooden Spoon
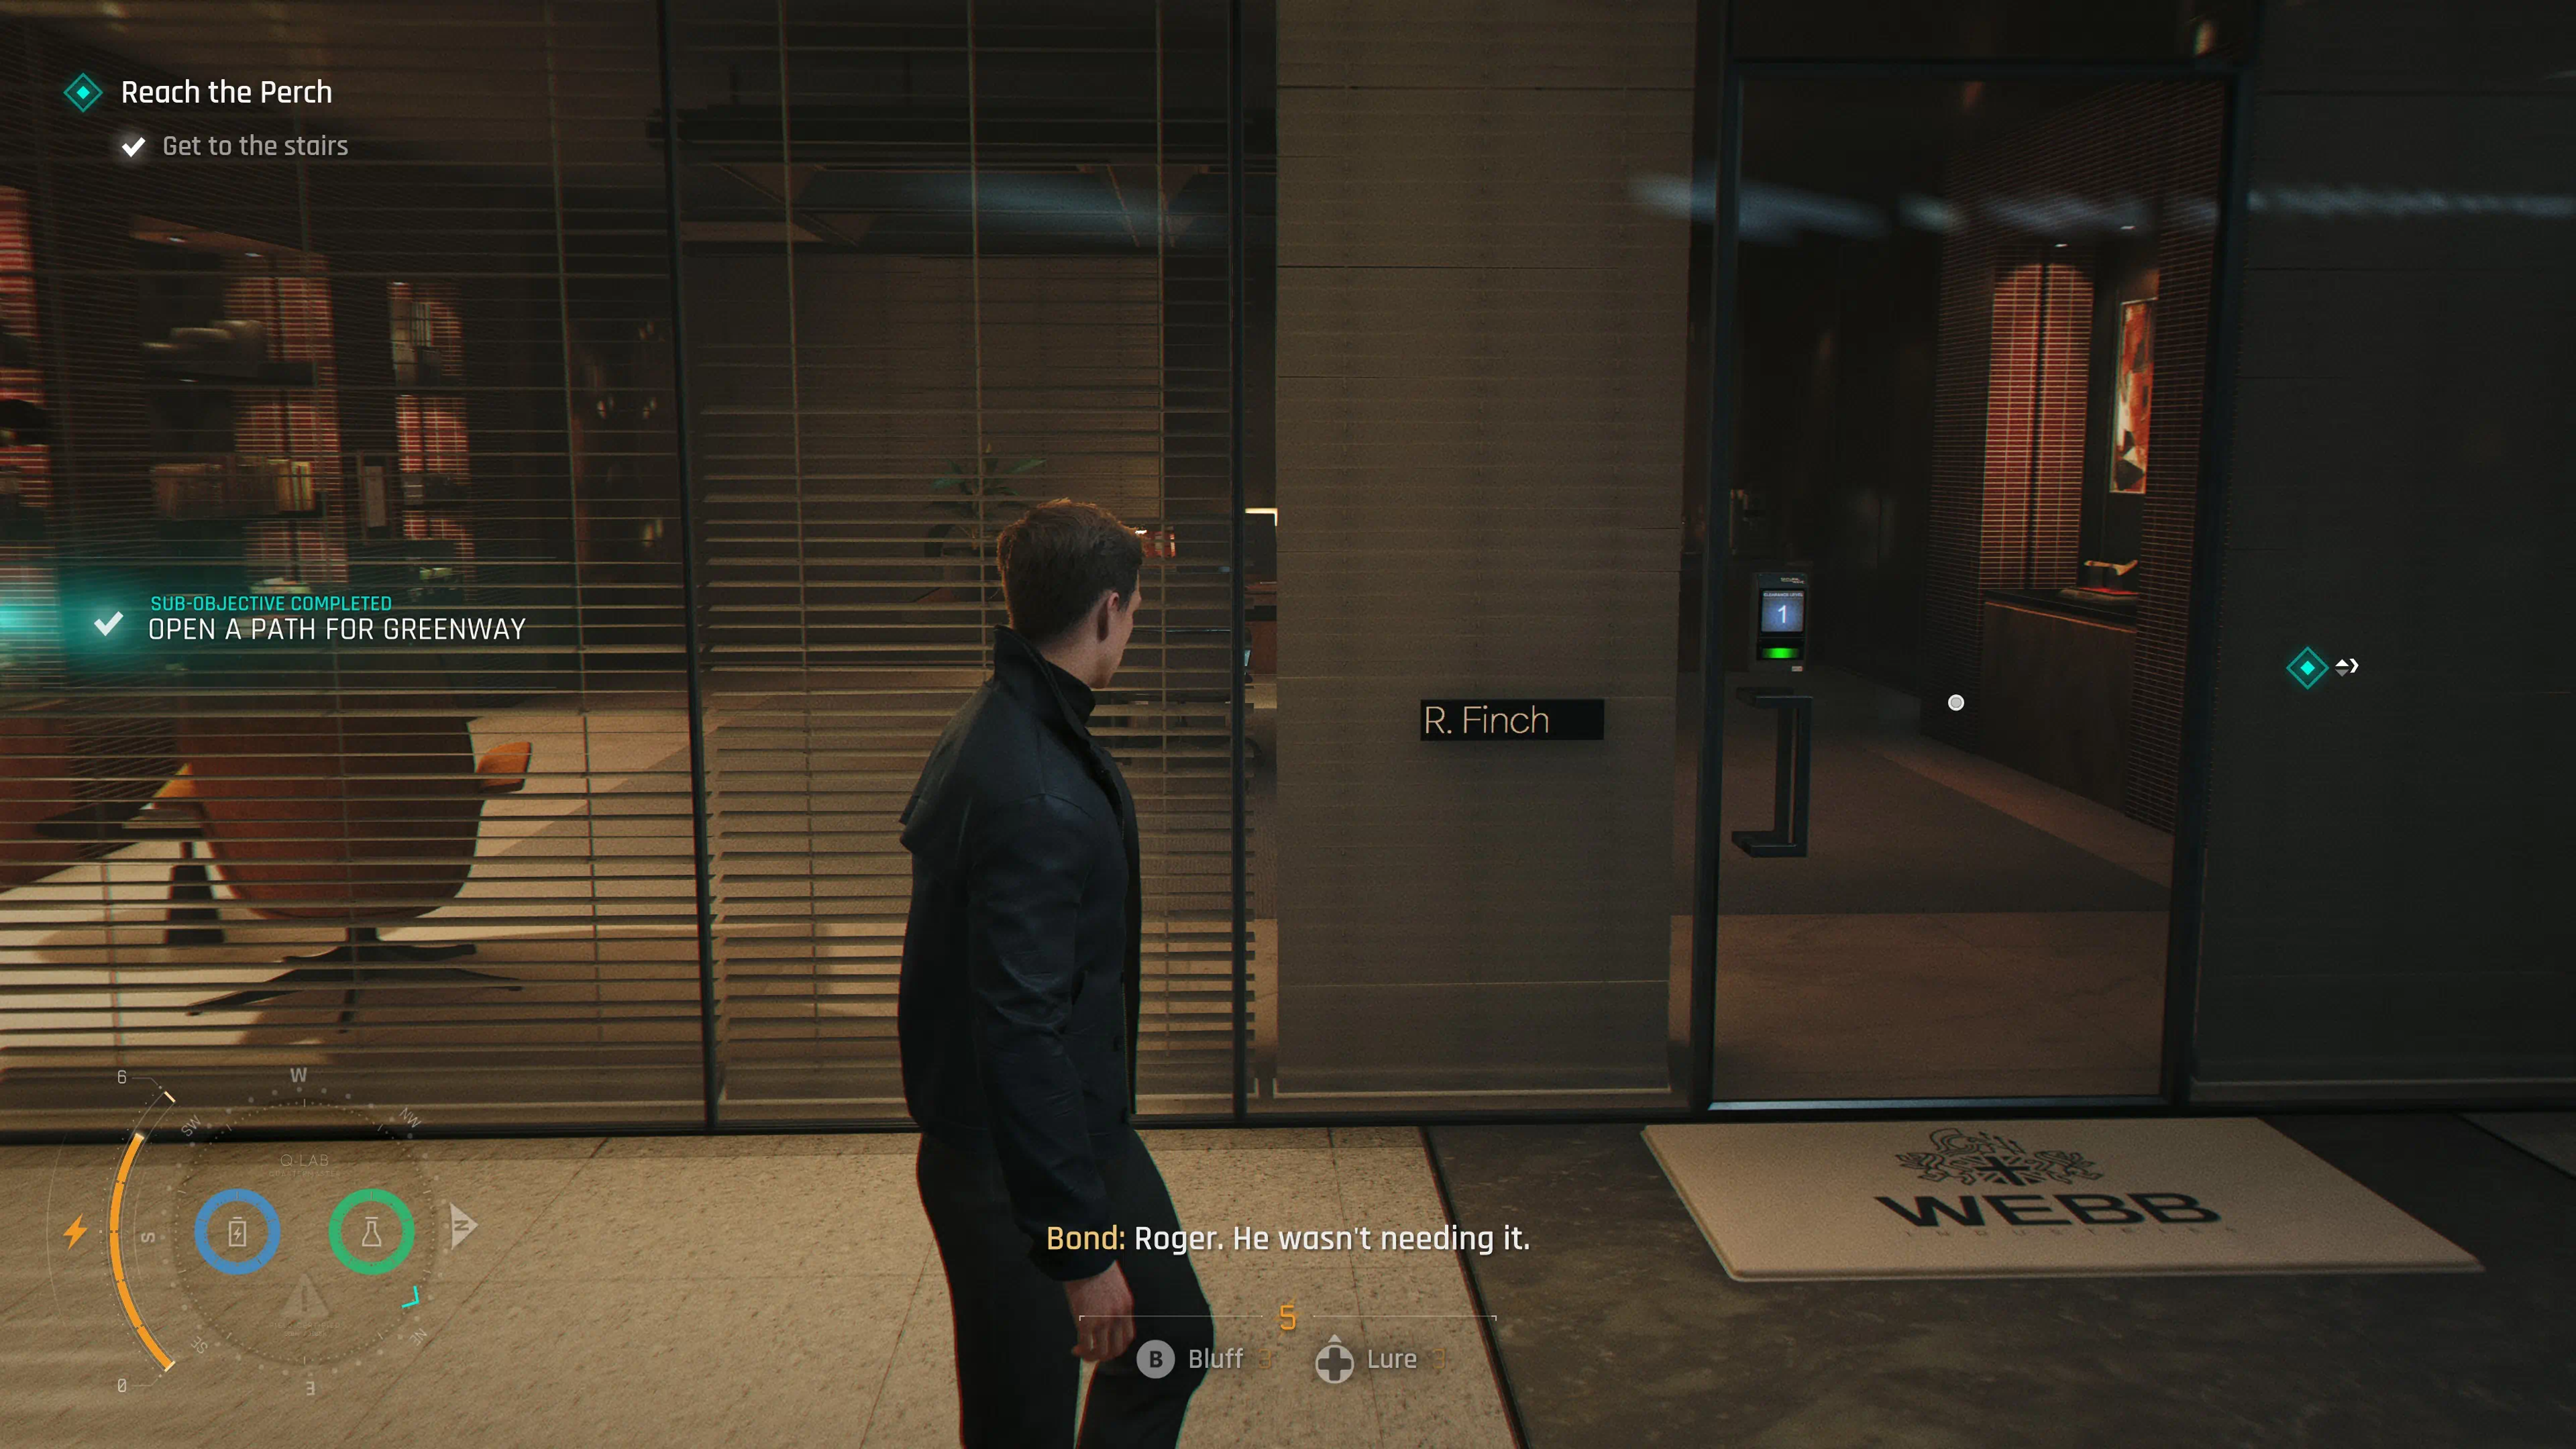
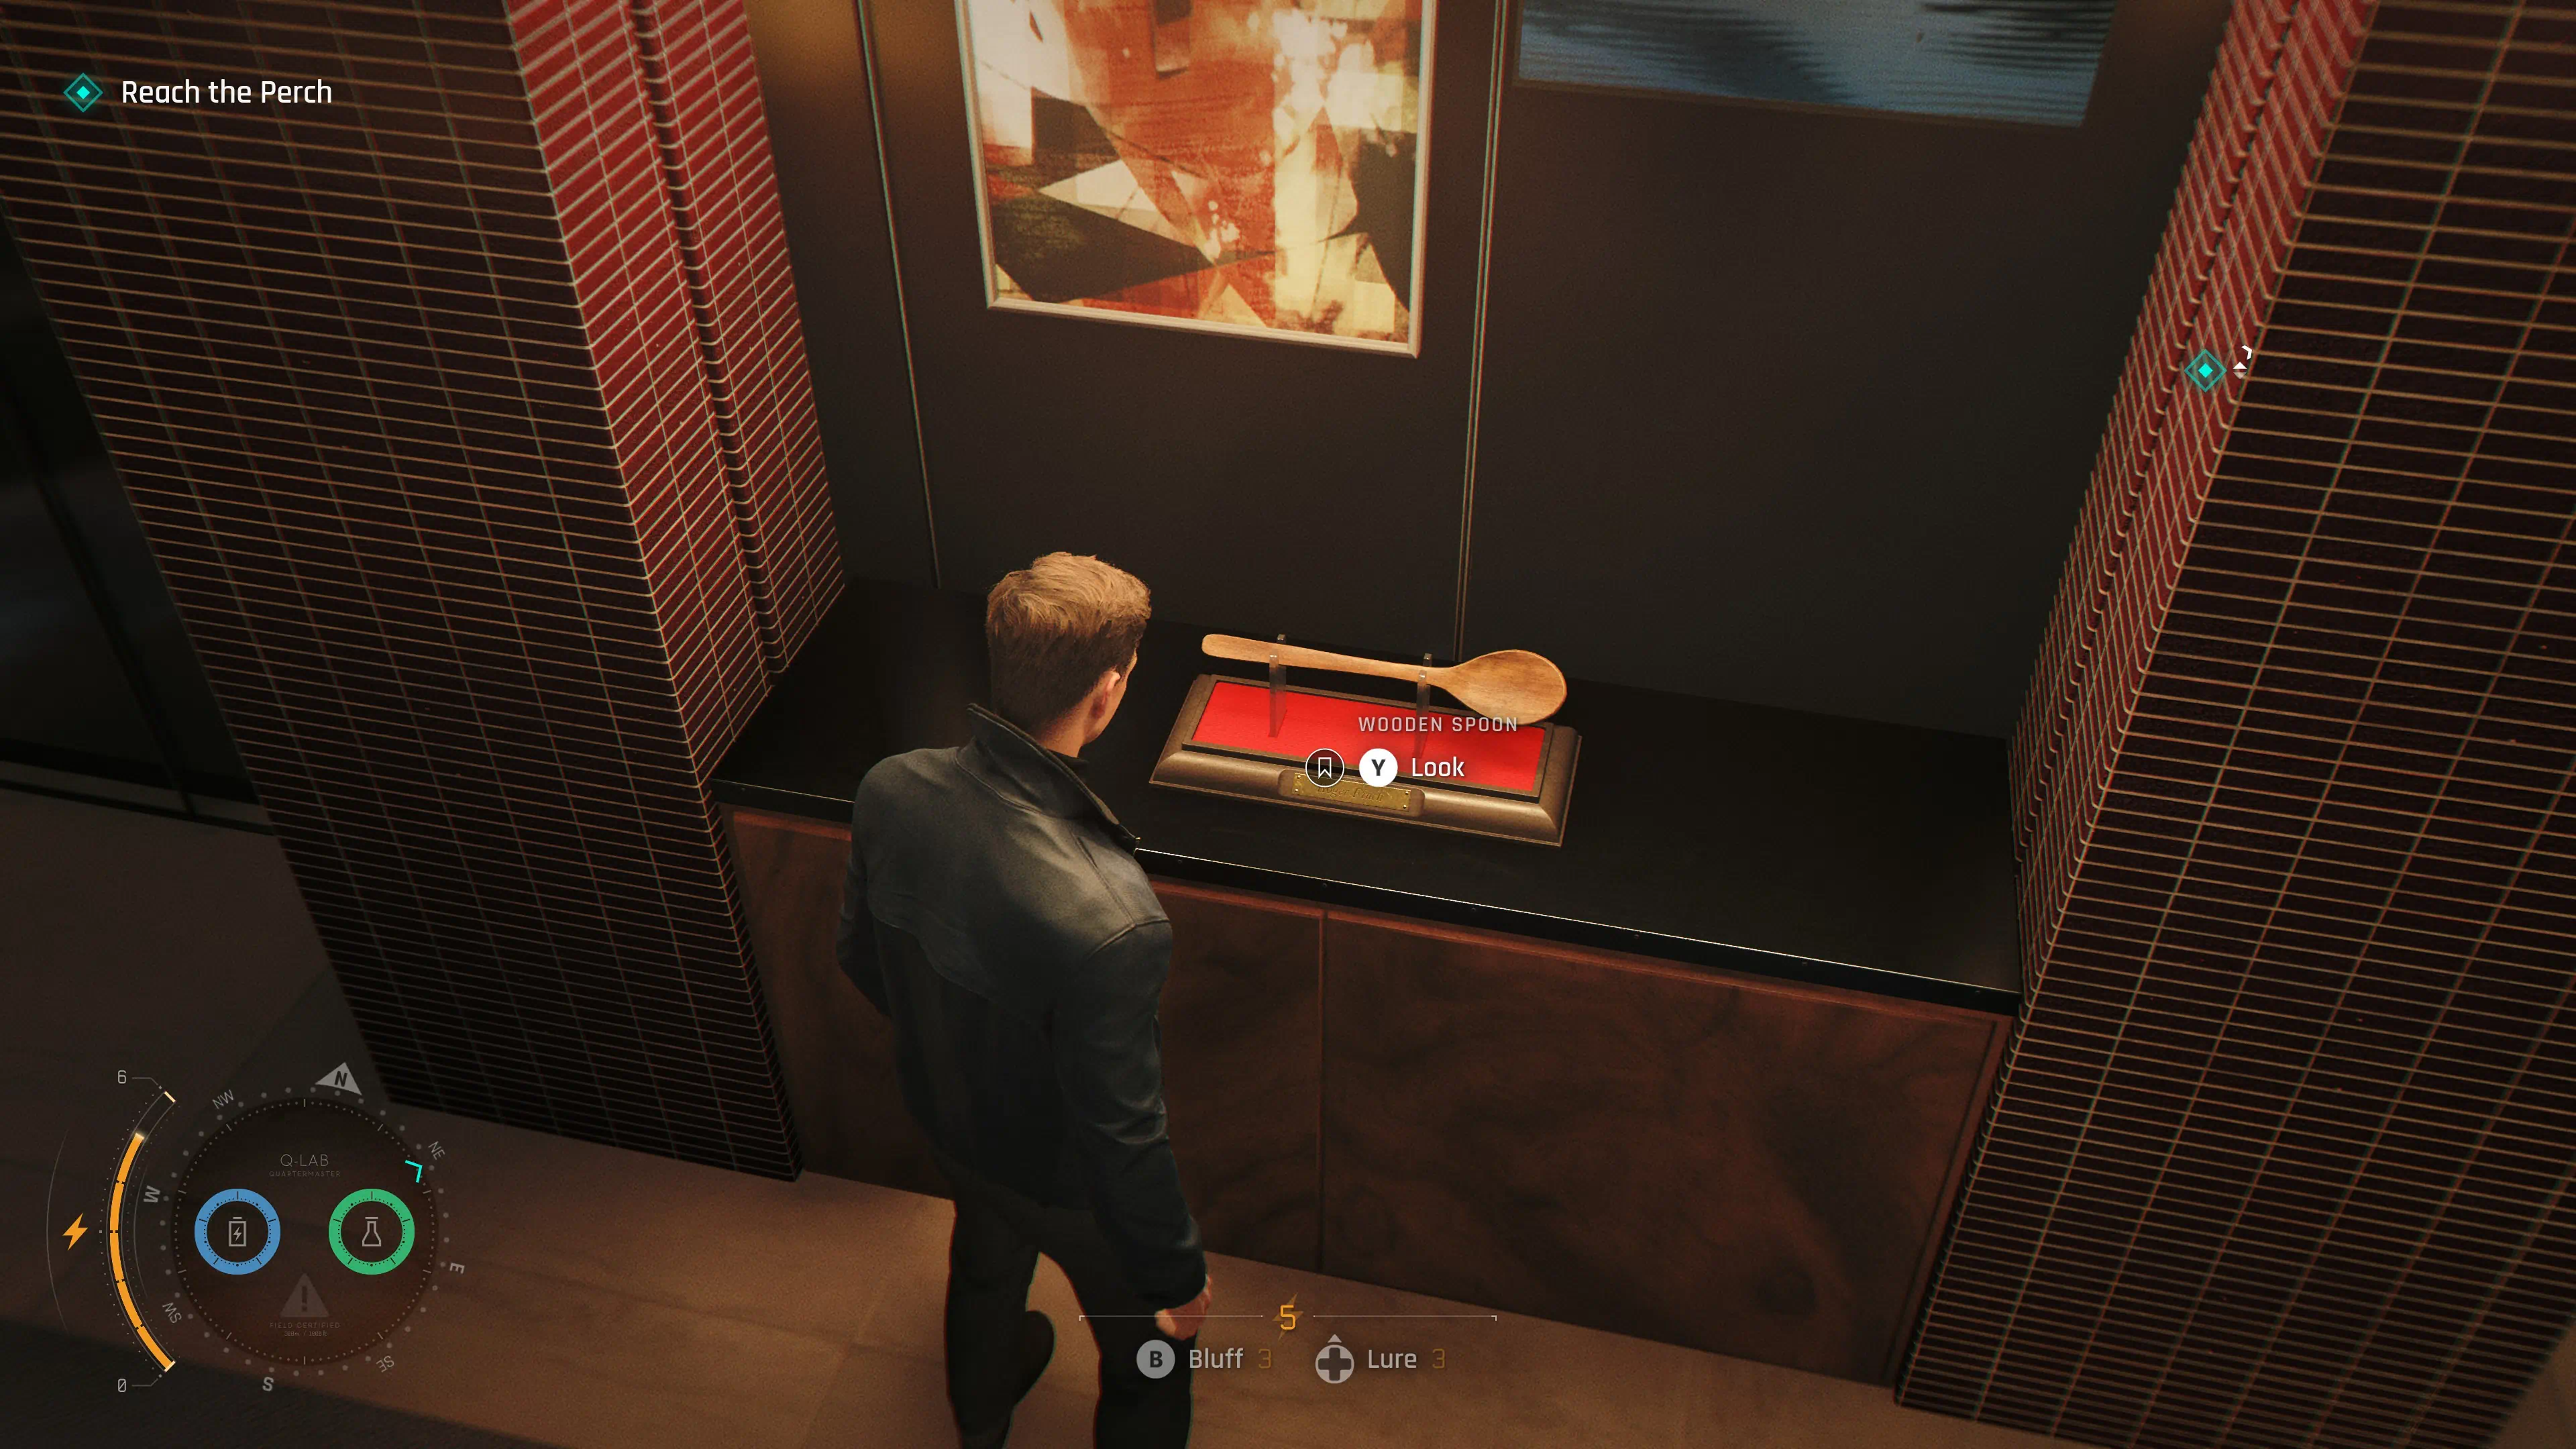
Progress through Chapter 12 until you reach the objective "Get to the Stairs," where Greenway lifts you on the sculpture. Once at the balcony, continue to the left. Hang over the railing and shimmy to the open window, then enter. Head down the stairs and enter the restroom on the right. Kick open the door to the leftmost stall and grab Mr. Finch’s Office Keycard. Head back out, go to the left, and proceed through both sets of doors until you see Mr. Finch’s office. Head inside, and on the counter to the right, you will find the Wooden Spoon.
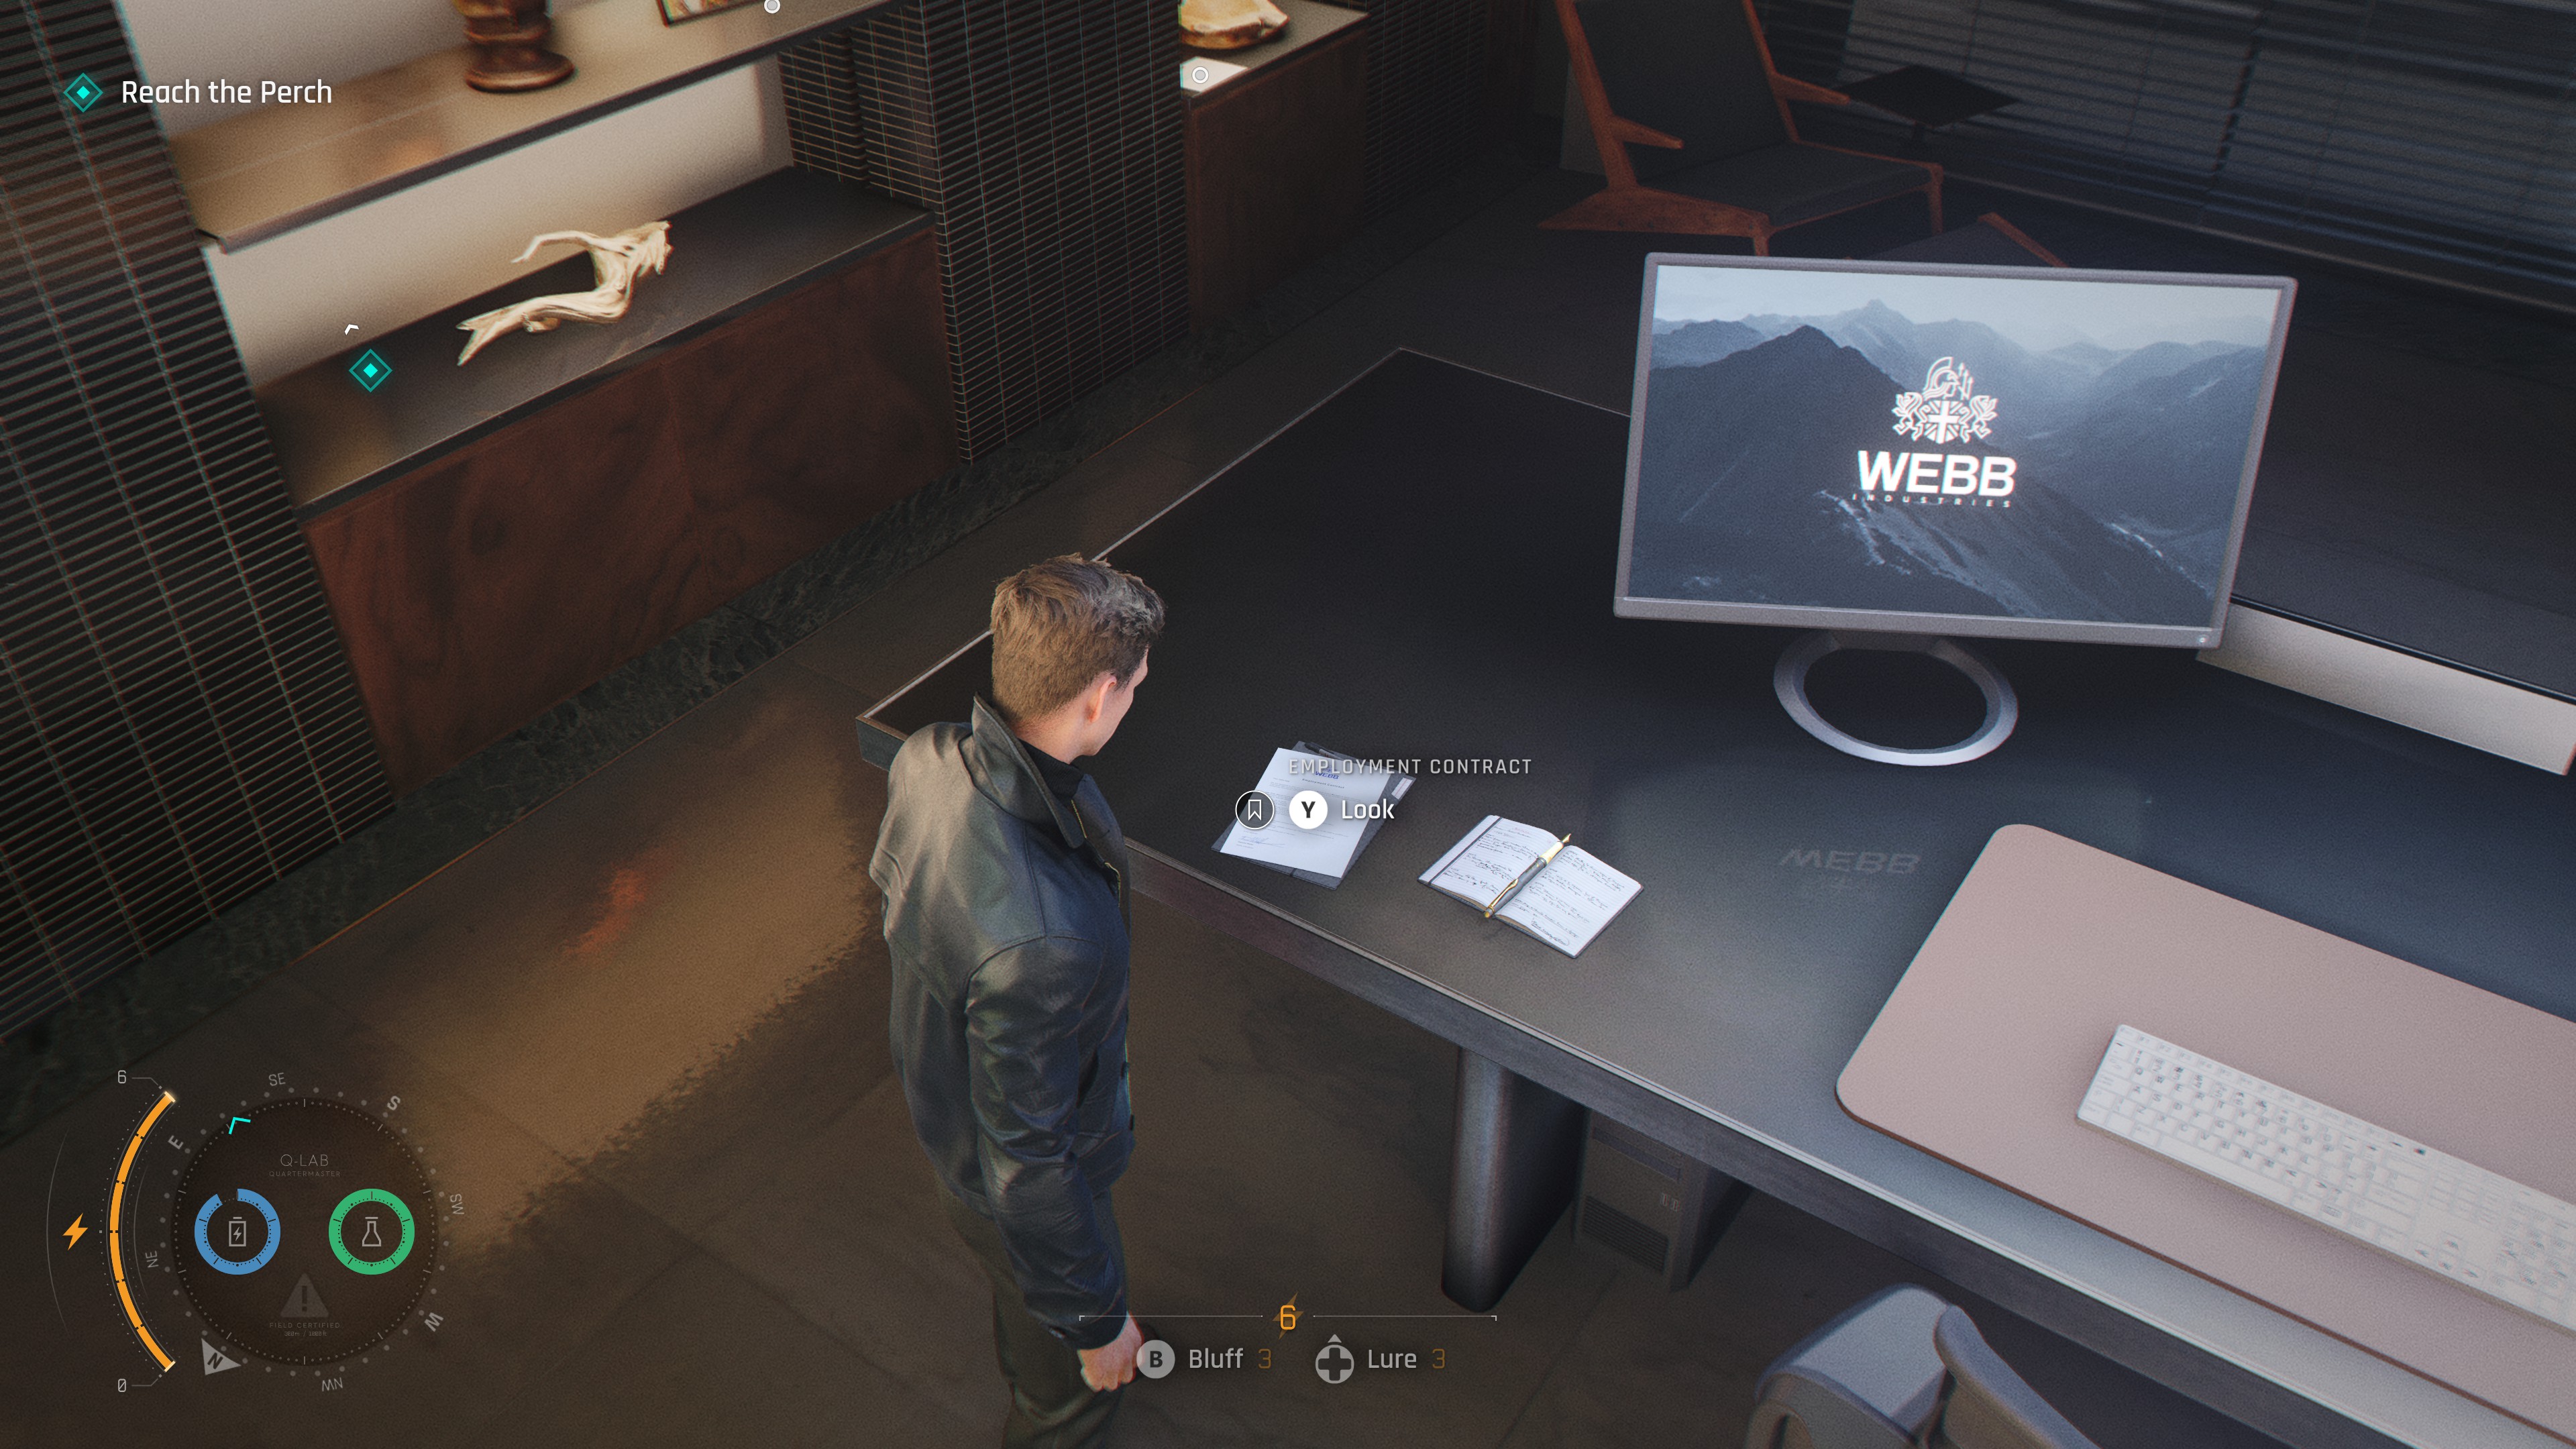
Intel: Employment Contract
Continue through the chapter until you reach the section where you move the Fragile Glass Box. Once it is moved, head into the vent and continue straight through to Webb’s office. Once there, on the desk you will find the Employment Contract.
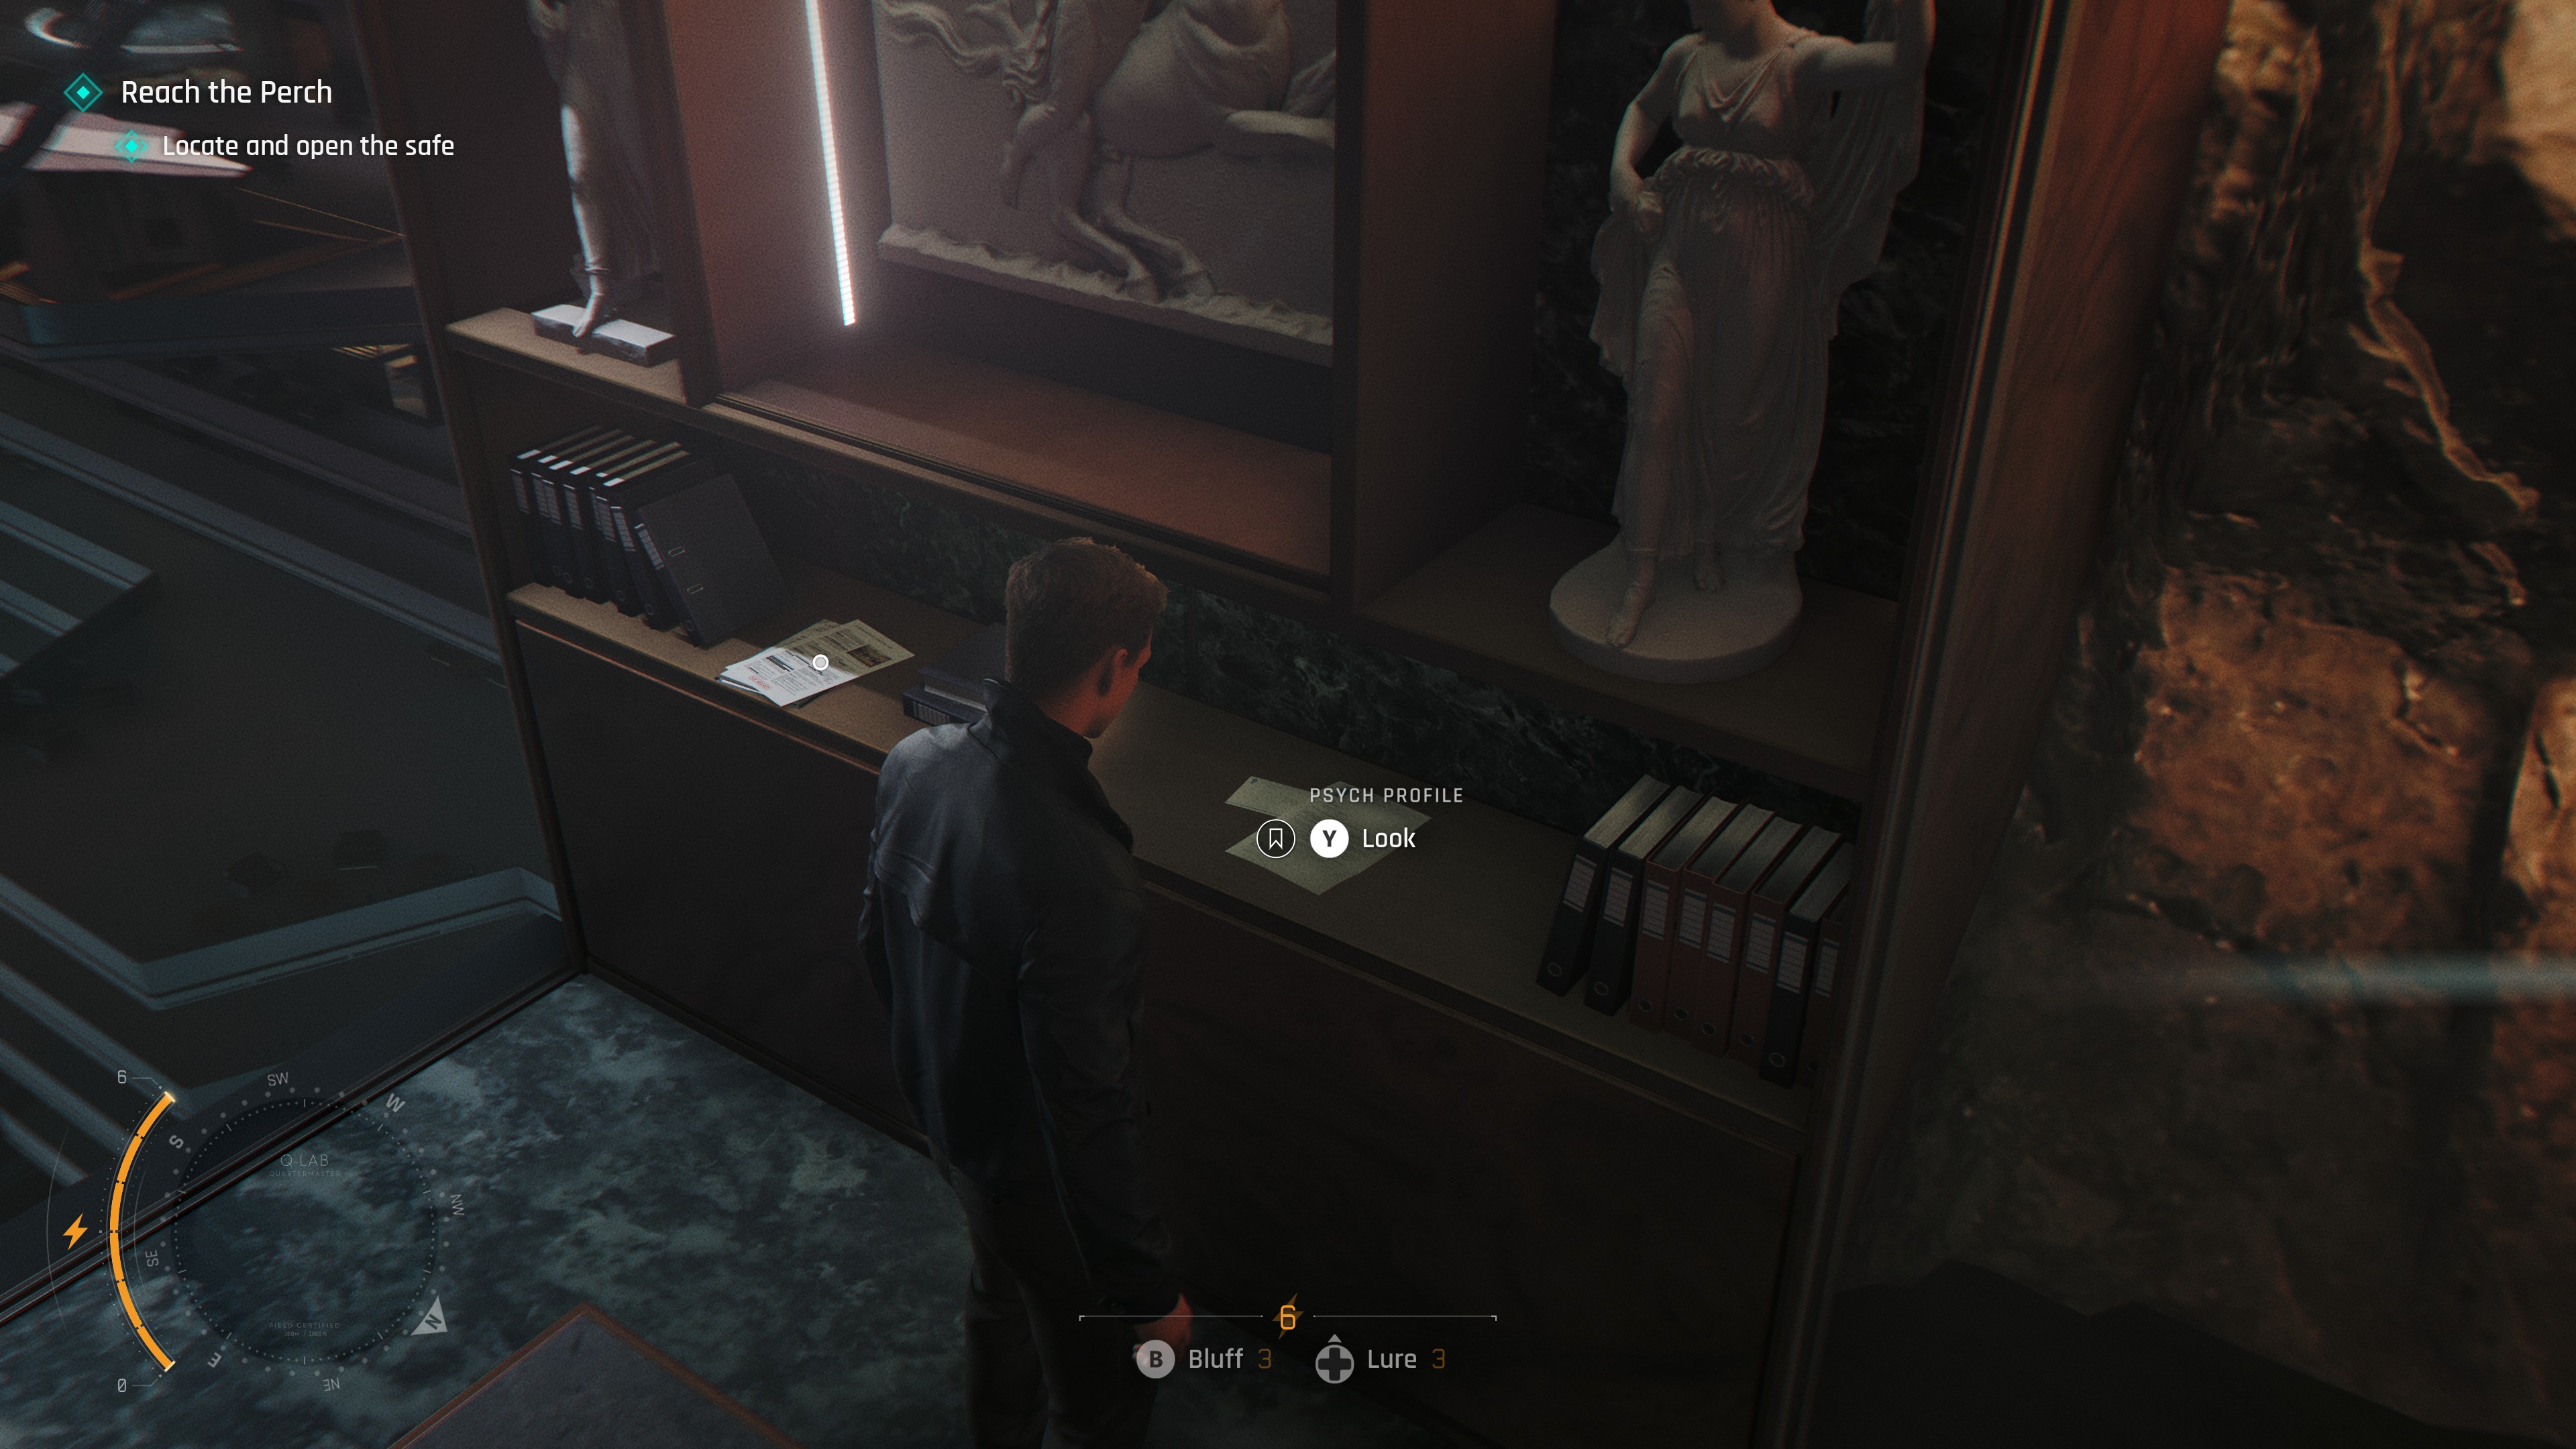
Intel: Psych Profile
Head straight to the far right corner of Webb's penthouse, and you will find the Psych Profile.
Chapter 13 - Intel
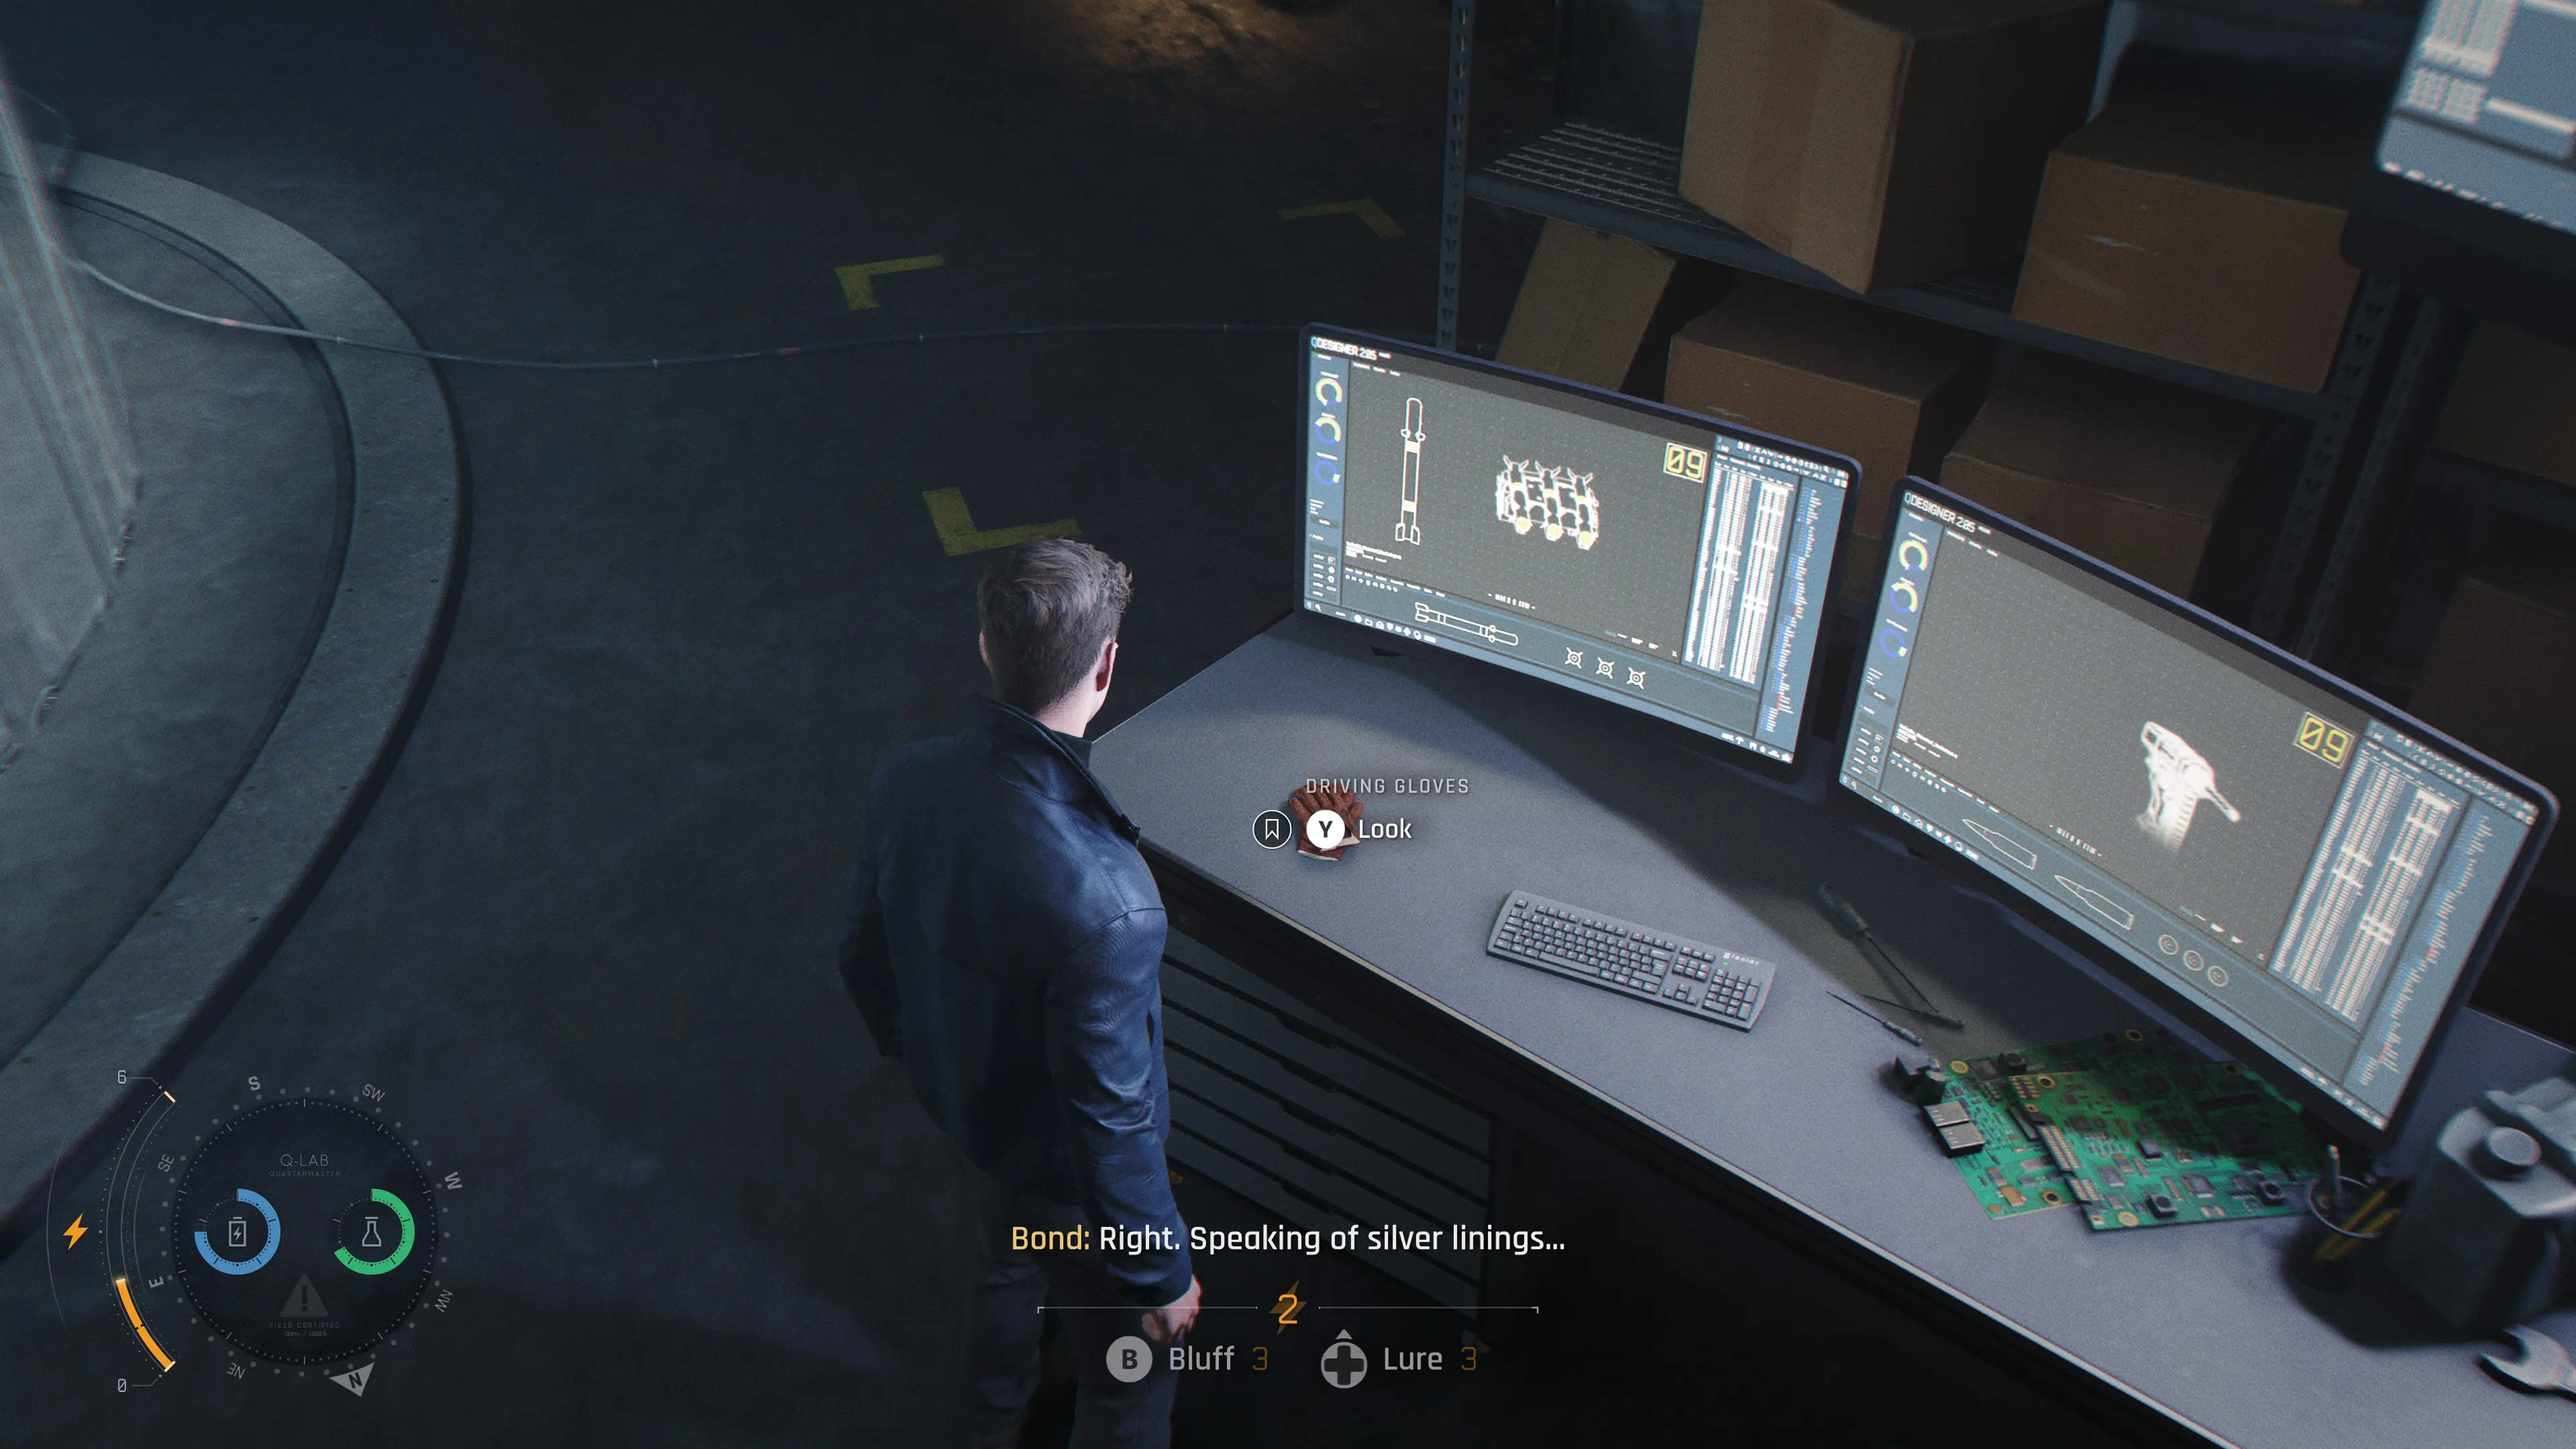
Intel: Driving Gloves
Once you get back to Q's lab during the "Collect Field Equipment" objective, on the table to the right you will find Q's Driving Gloves.
Chapter 14 - Intel
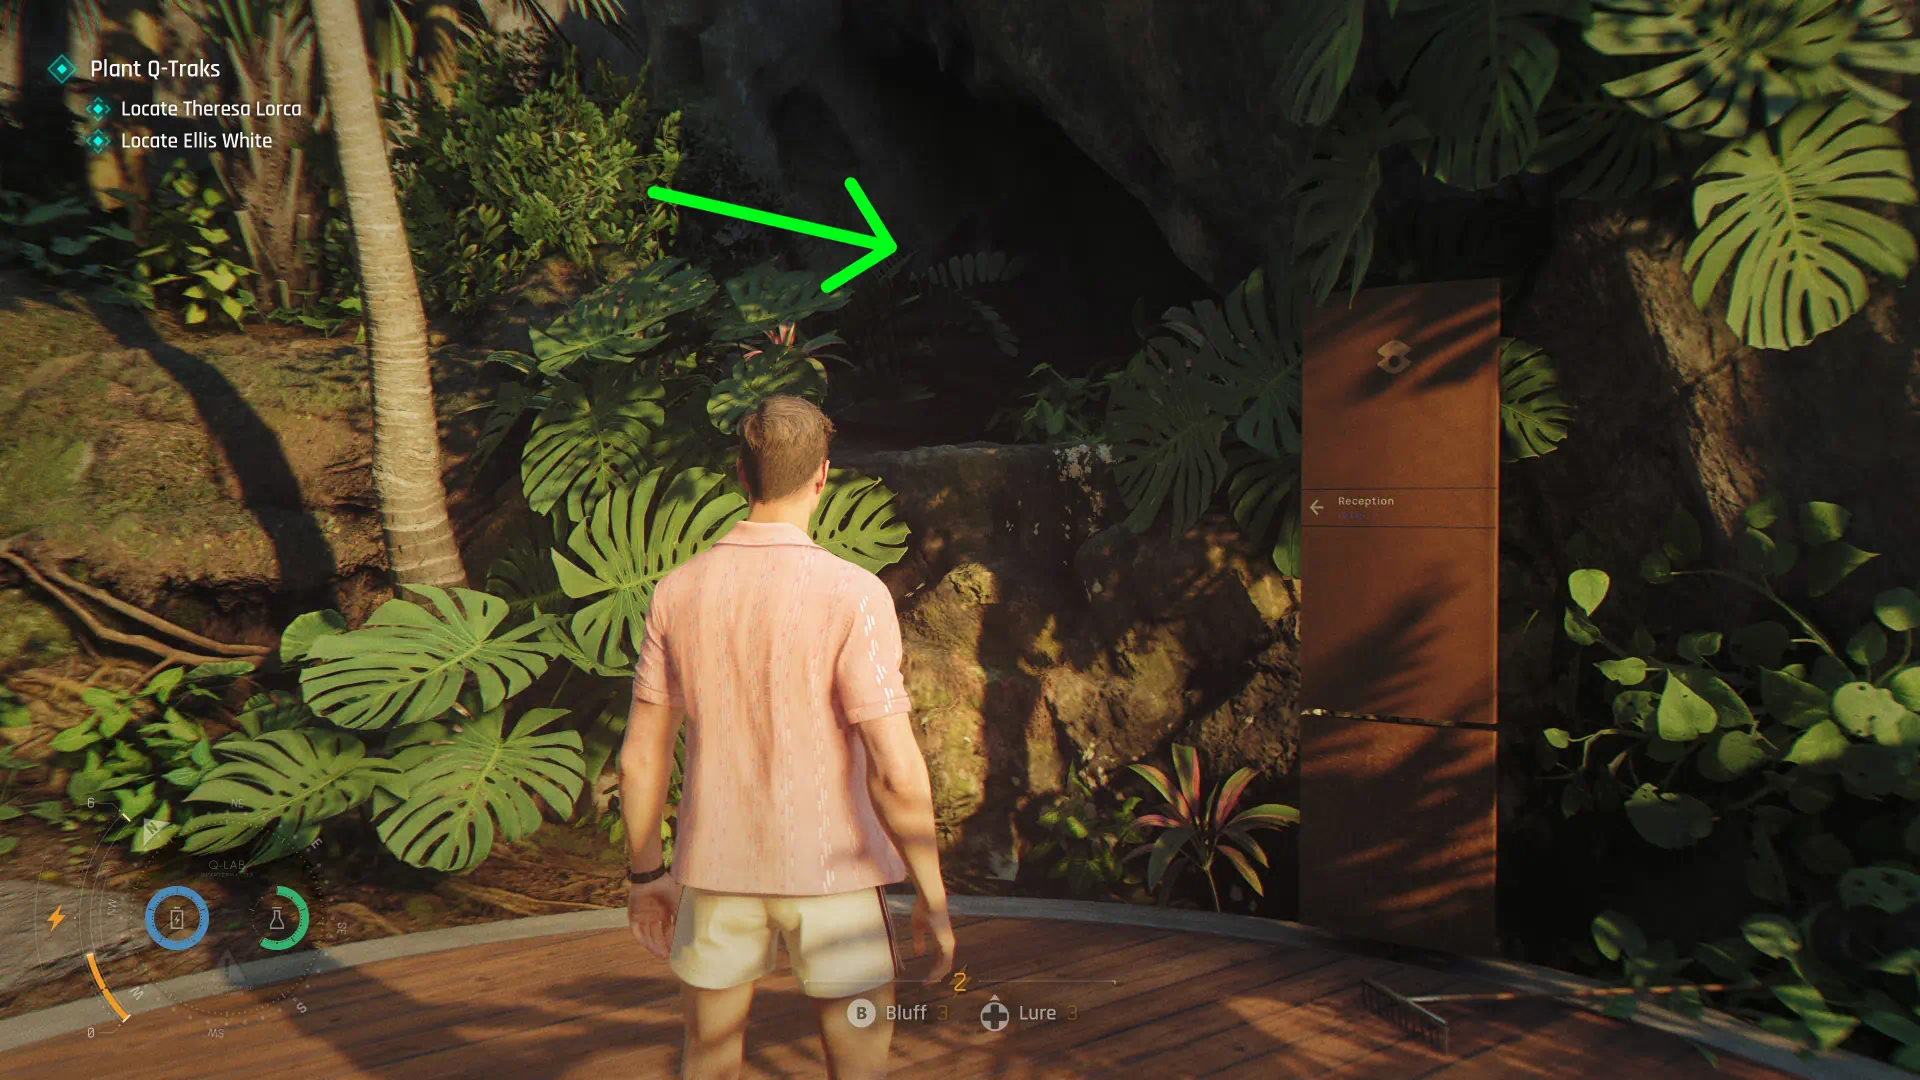
Intel: Keynote Presentation
After leaving Ramon Hernandez’s apartment, go back out the front doors, and continue up the path. Keep left until you see one of the signposts on your right. Climb up and make your way to Theresa Lorca. After speaking with her, she will have left the Keynote Presentation on the ground.
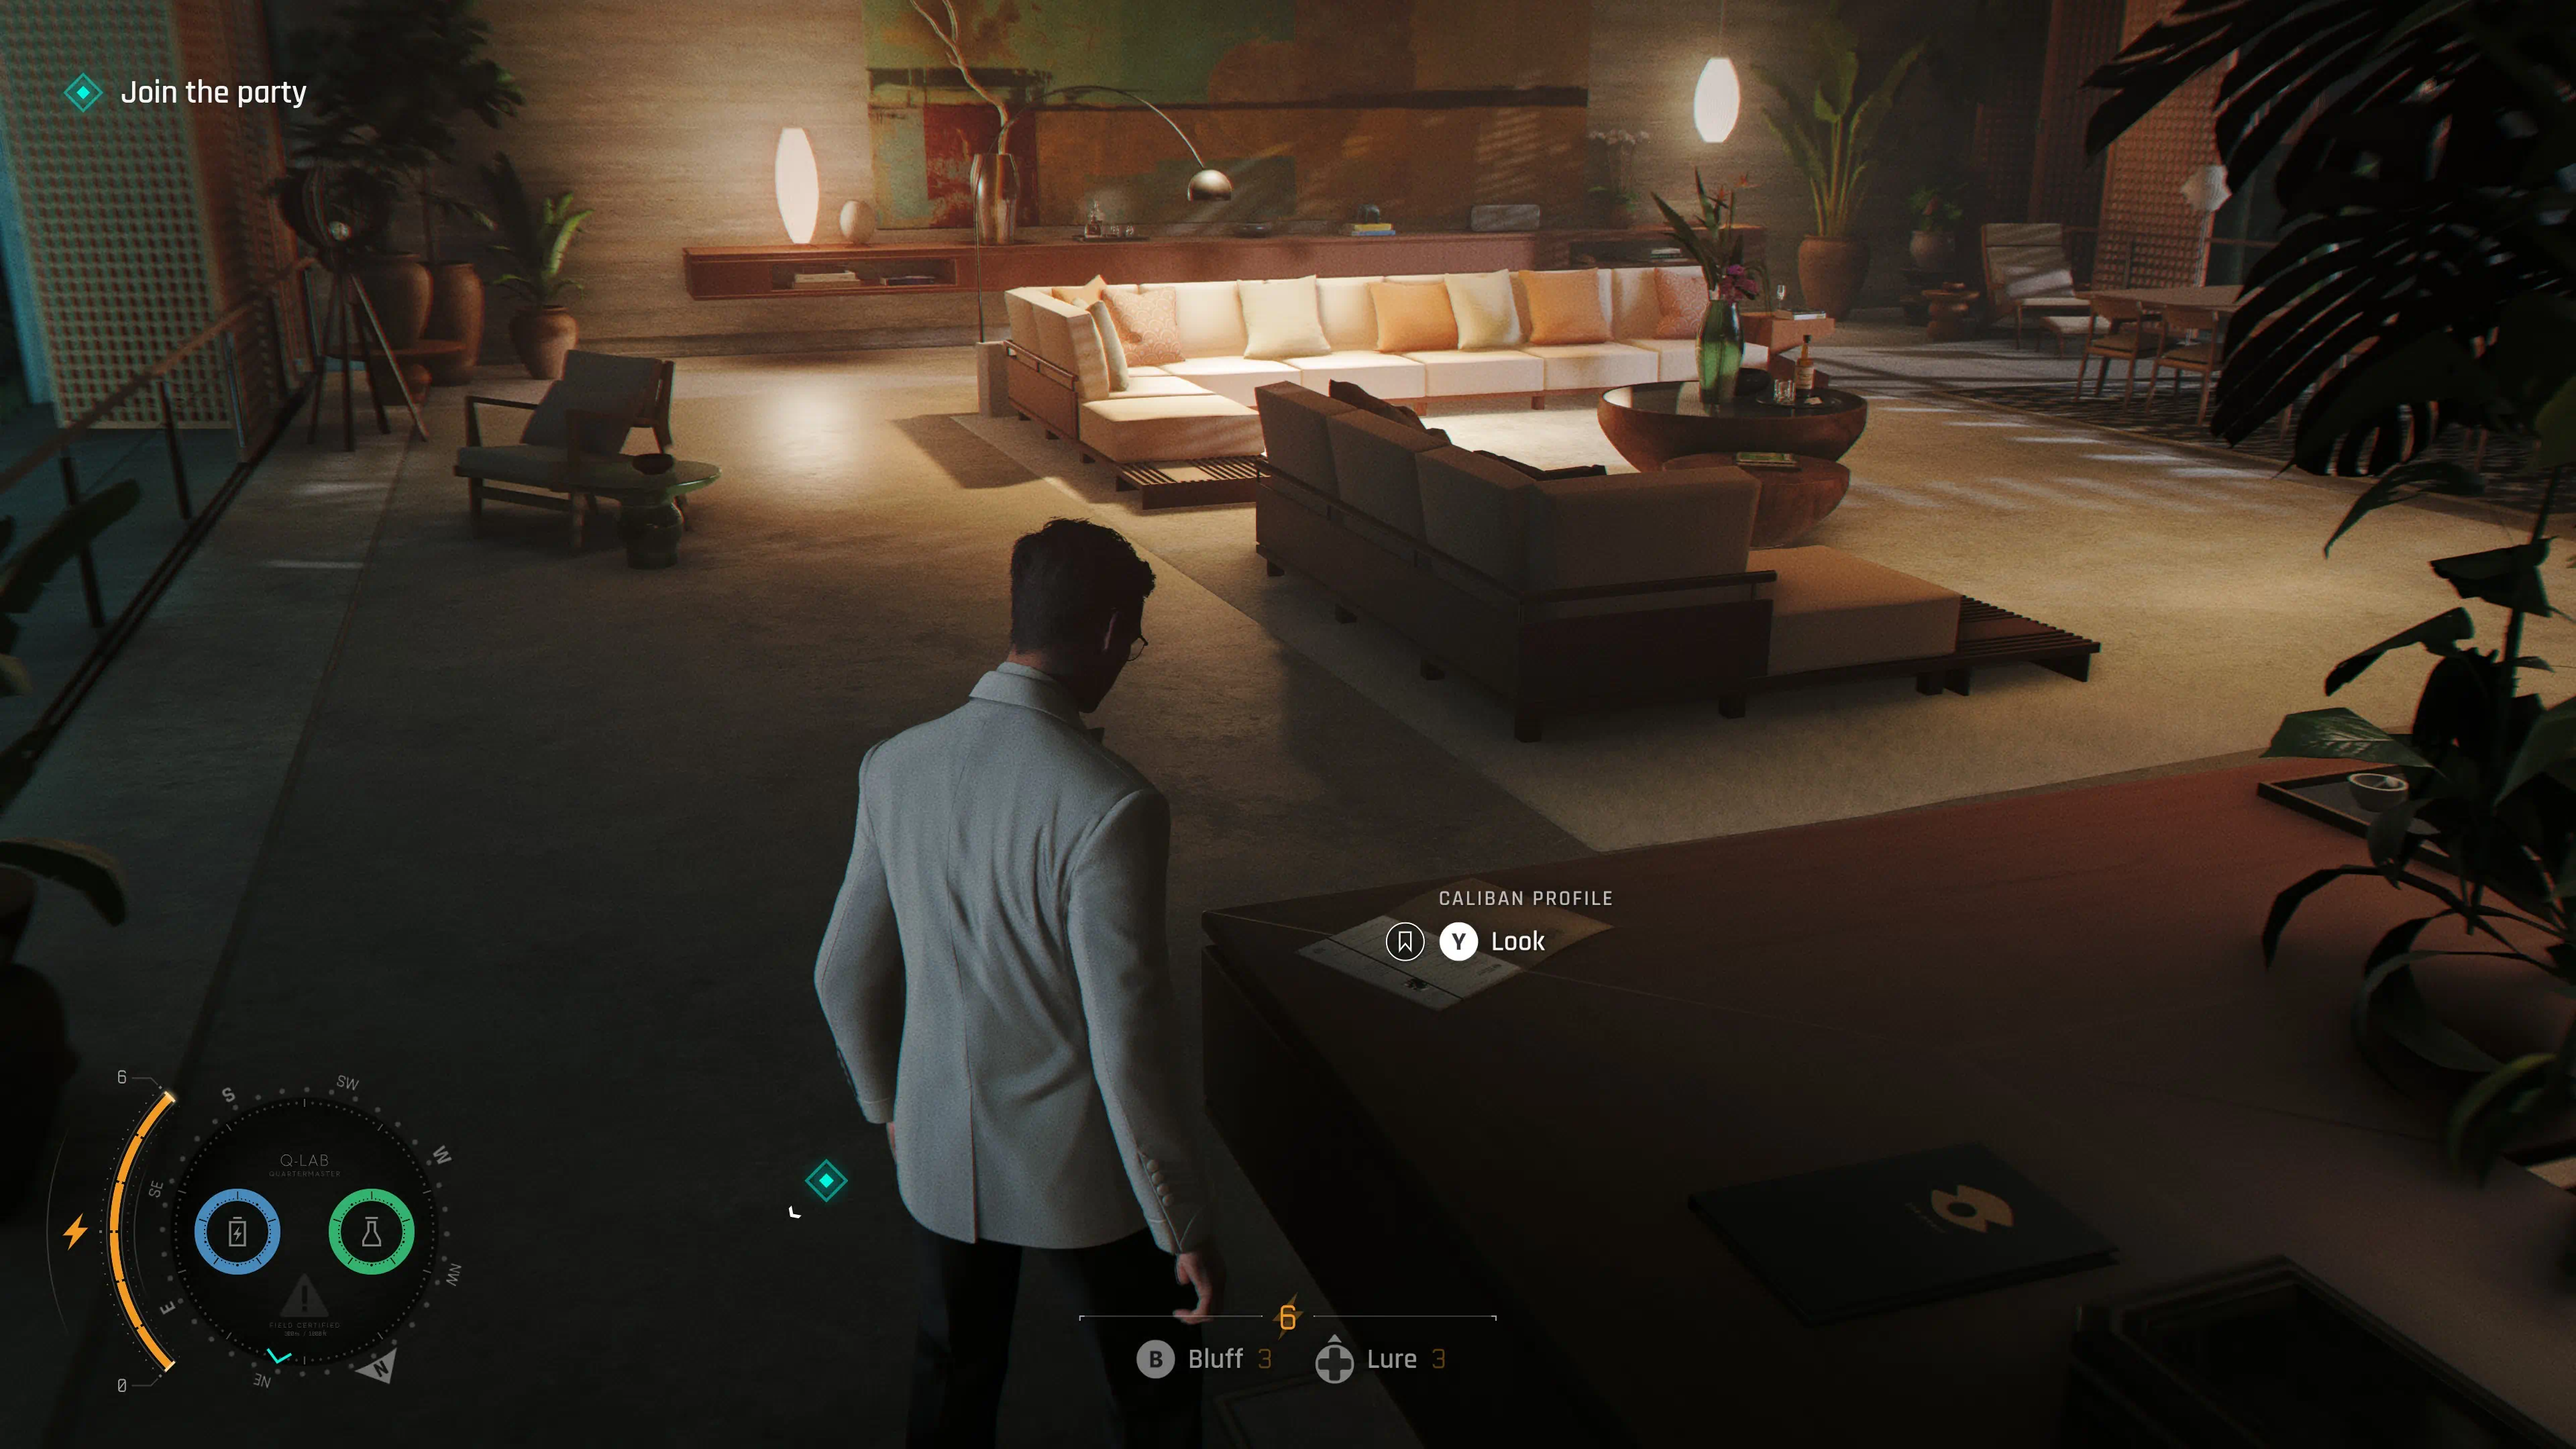
Intel: Caliban Profile
After getting ready to "Join the Party". Head down the hall to the living room. on the corner of the bar, you will find the Caliban Profile.
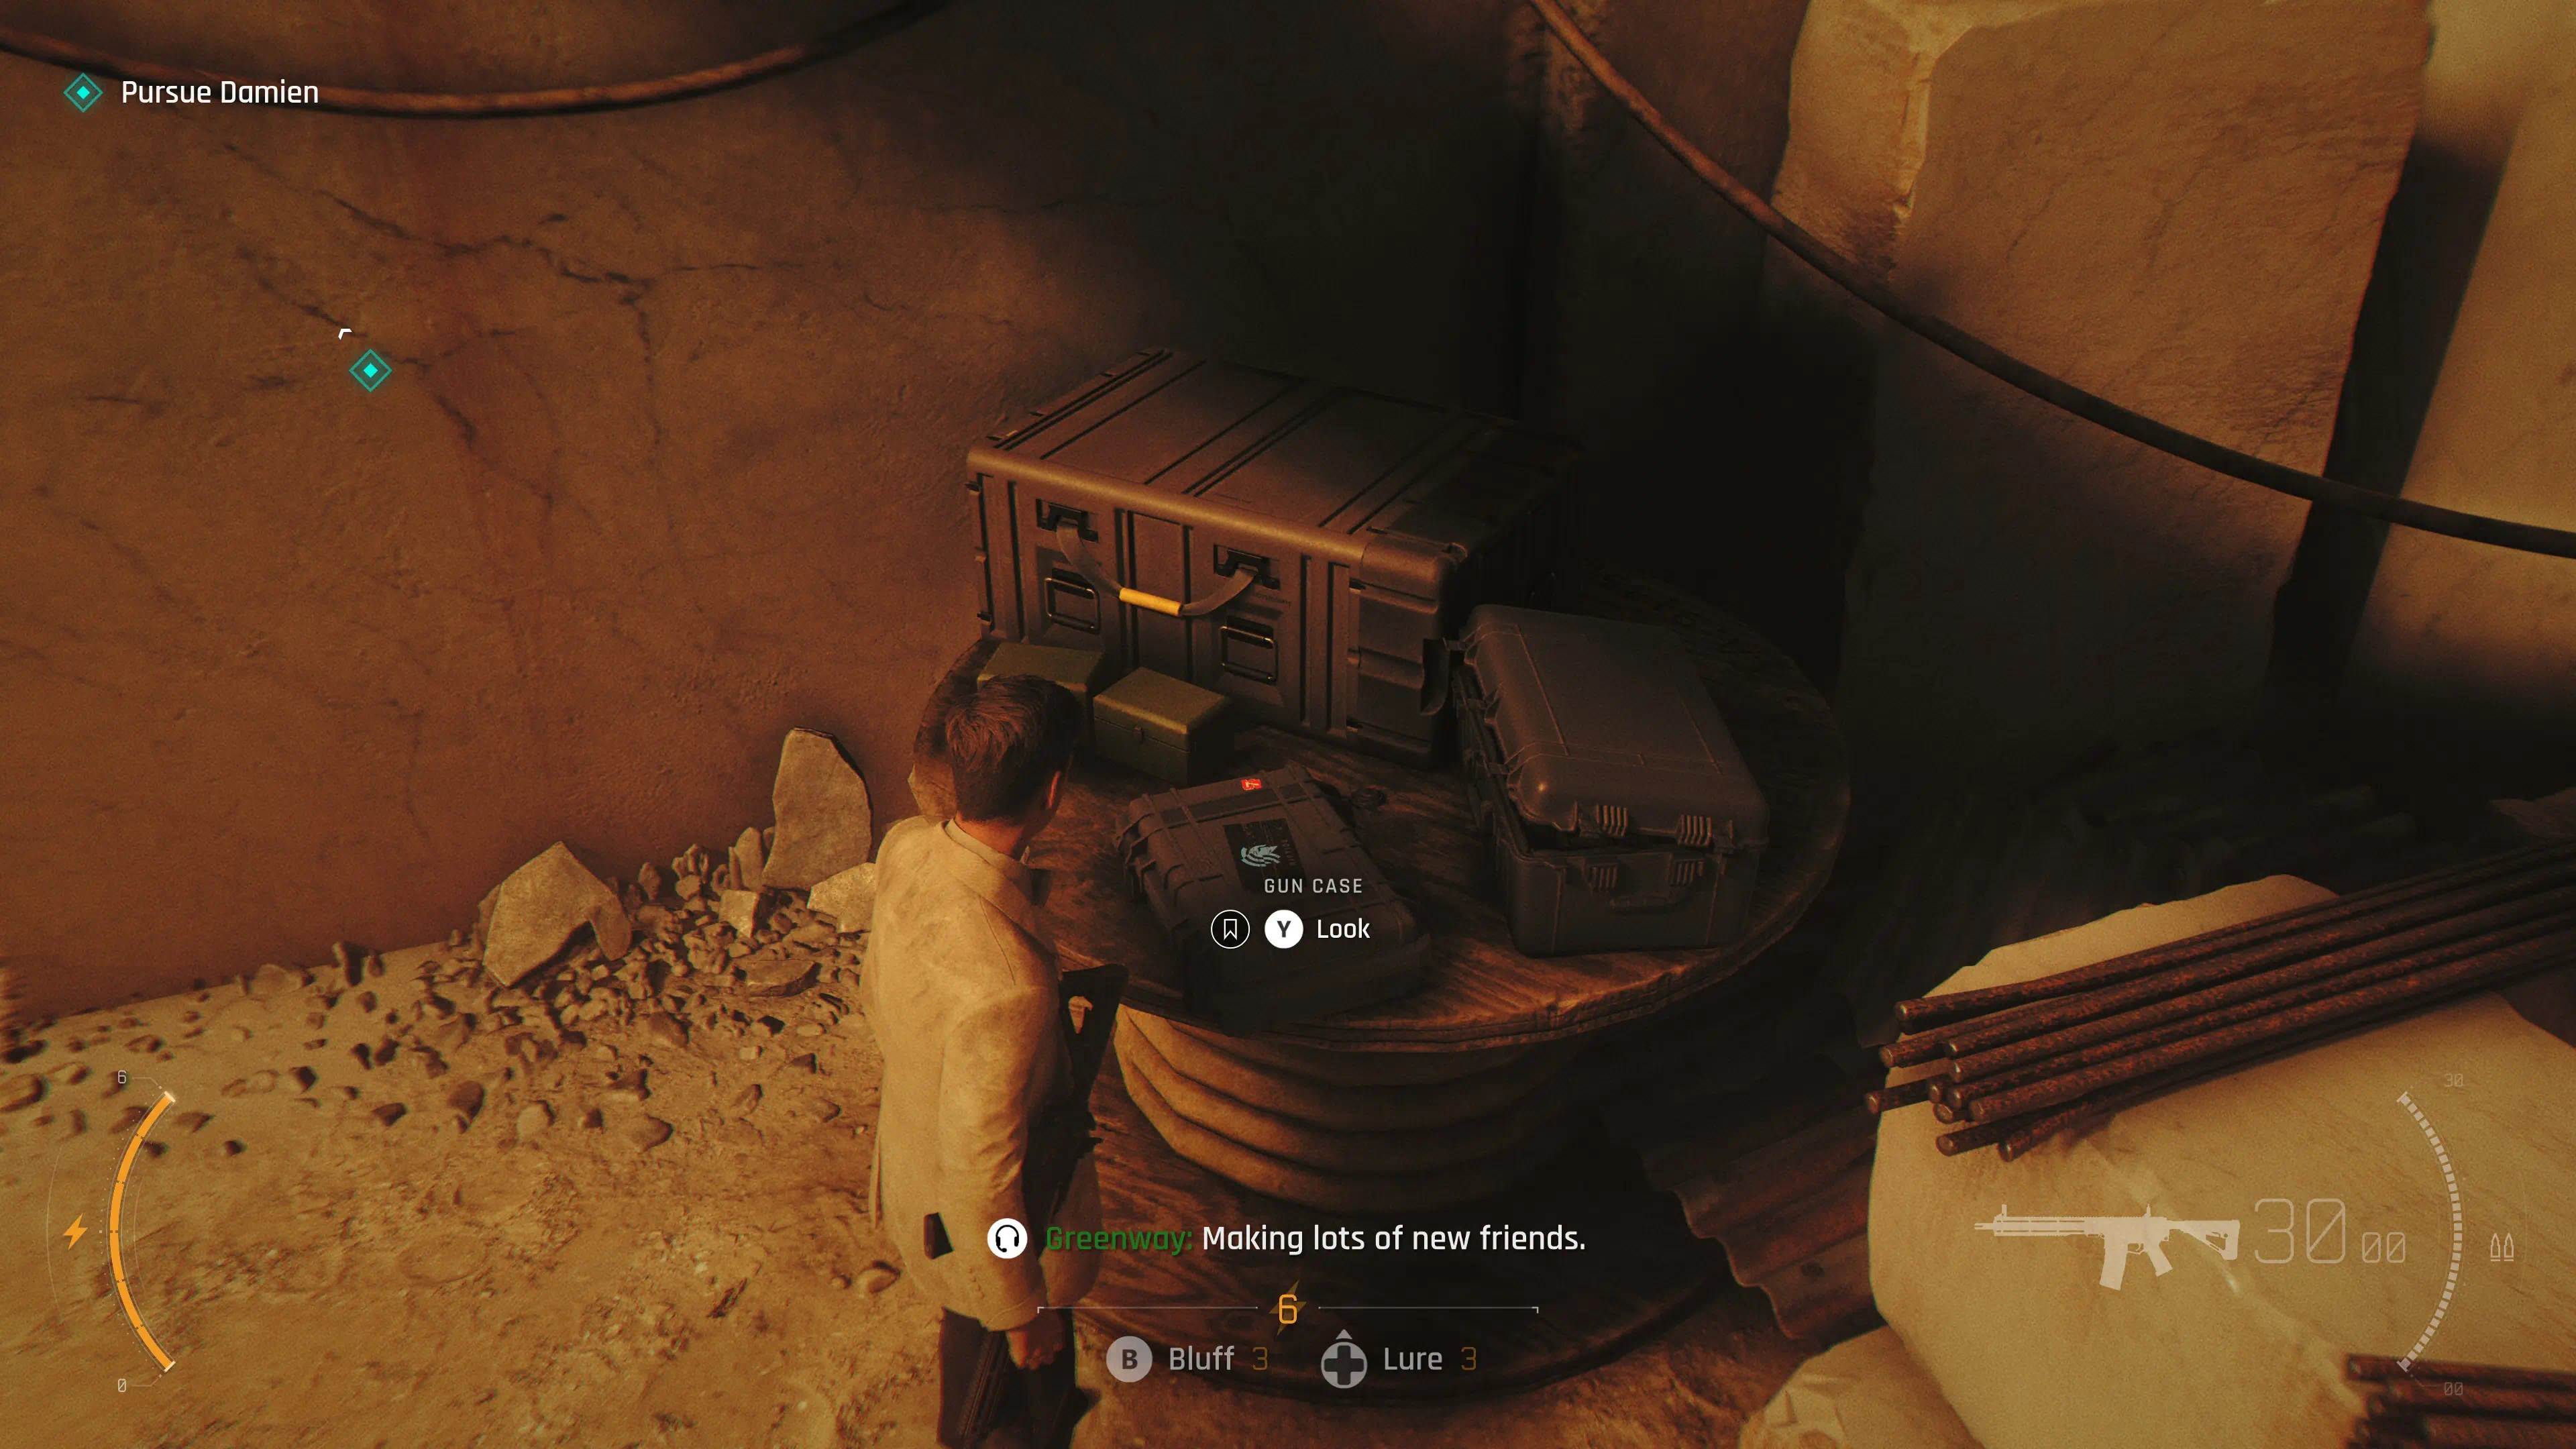
Intel: Gun Case
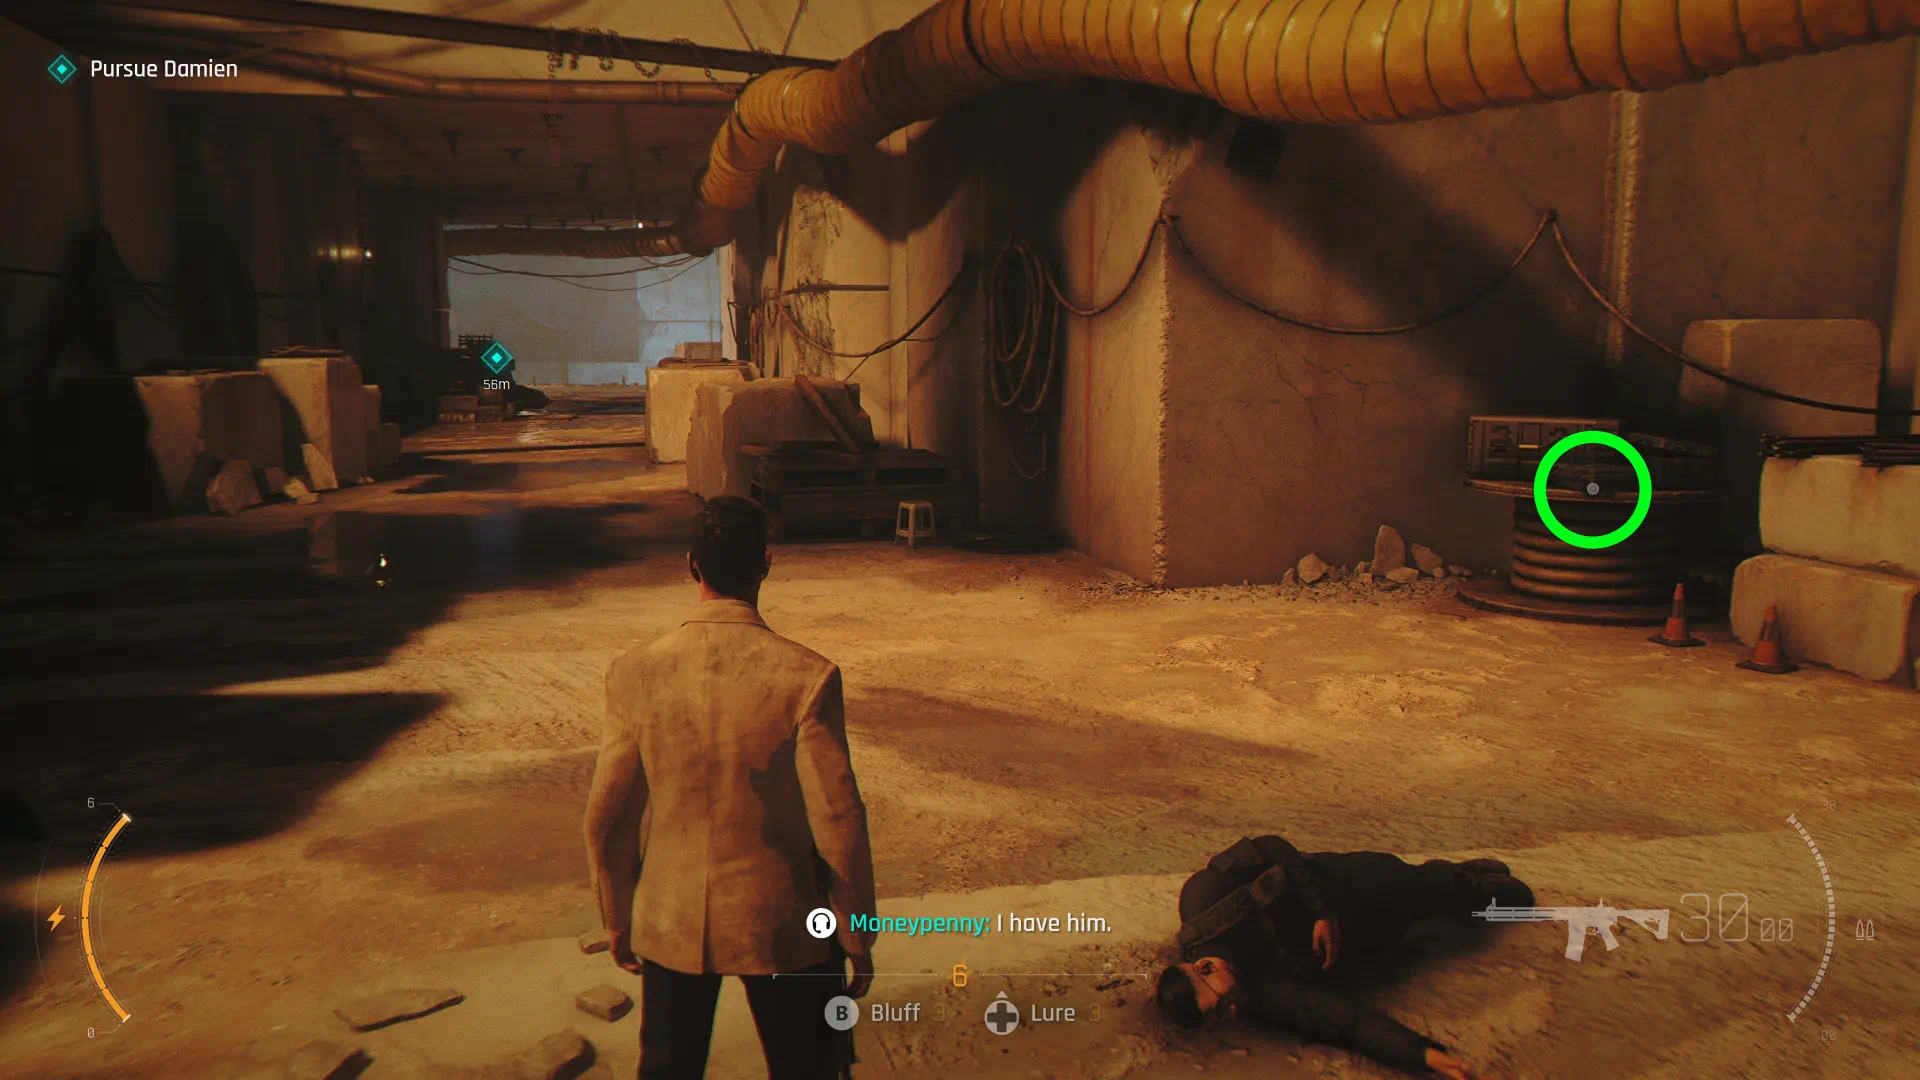
After meeting back up with Greenway and taking the cuffs off Bond, turn right. On the large wooden wire spool, you will find the Gun Case.
Chapter 15 - Intel
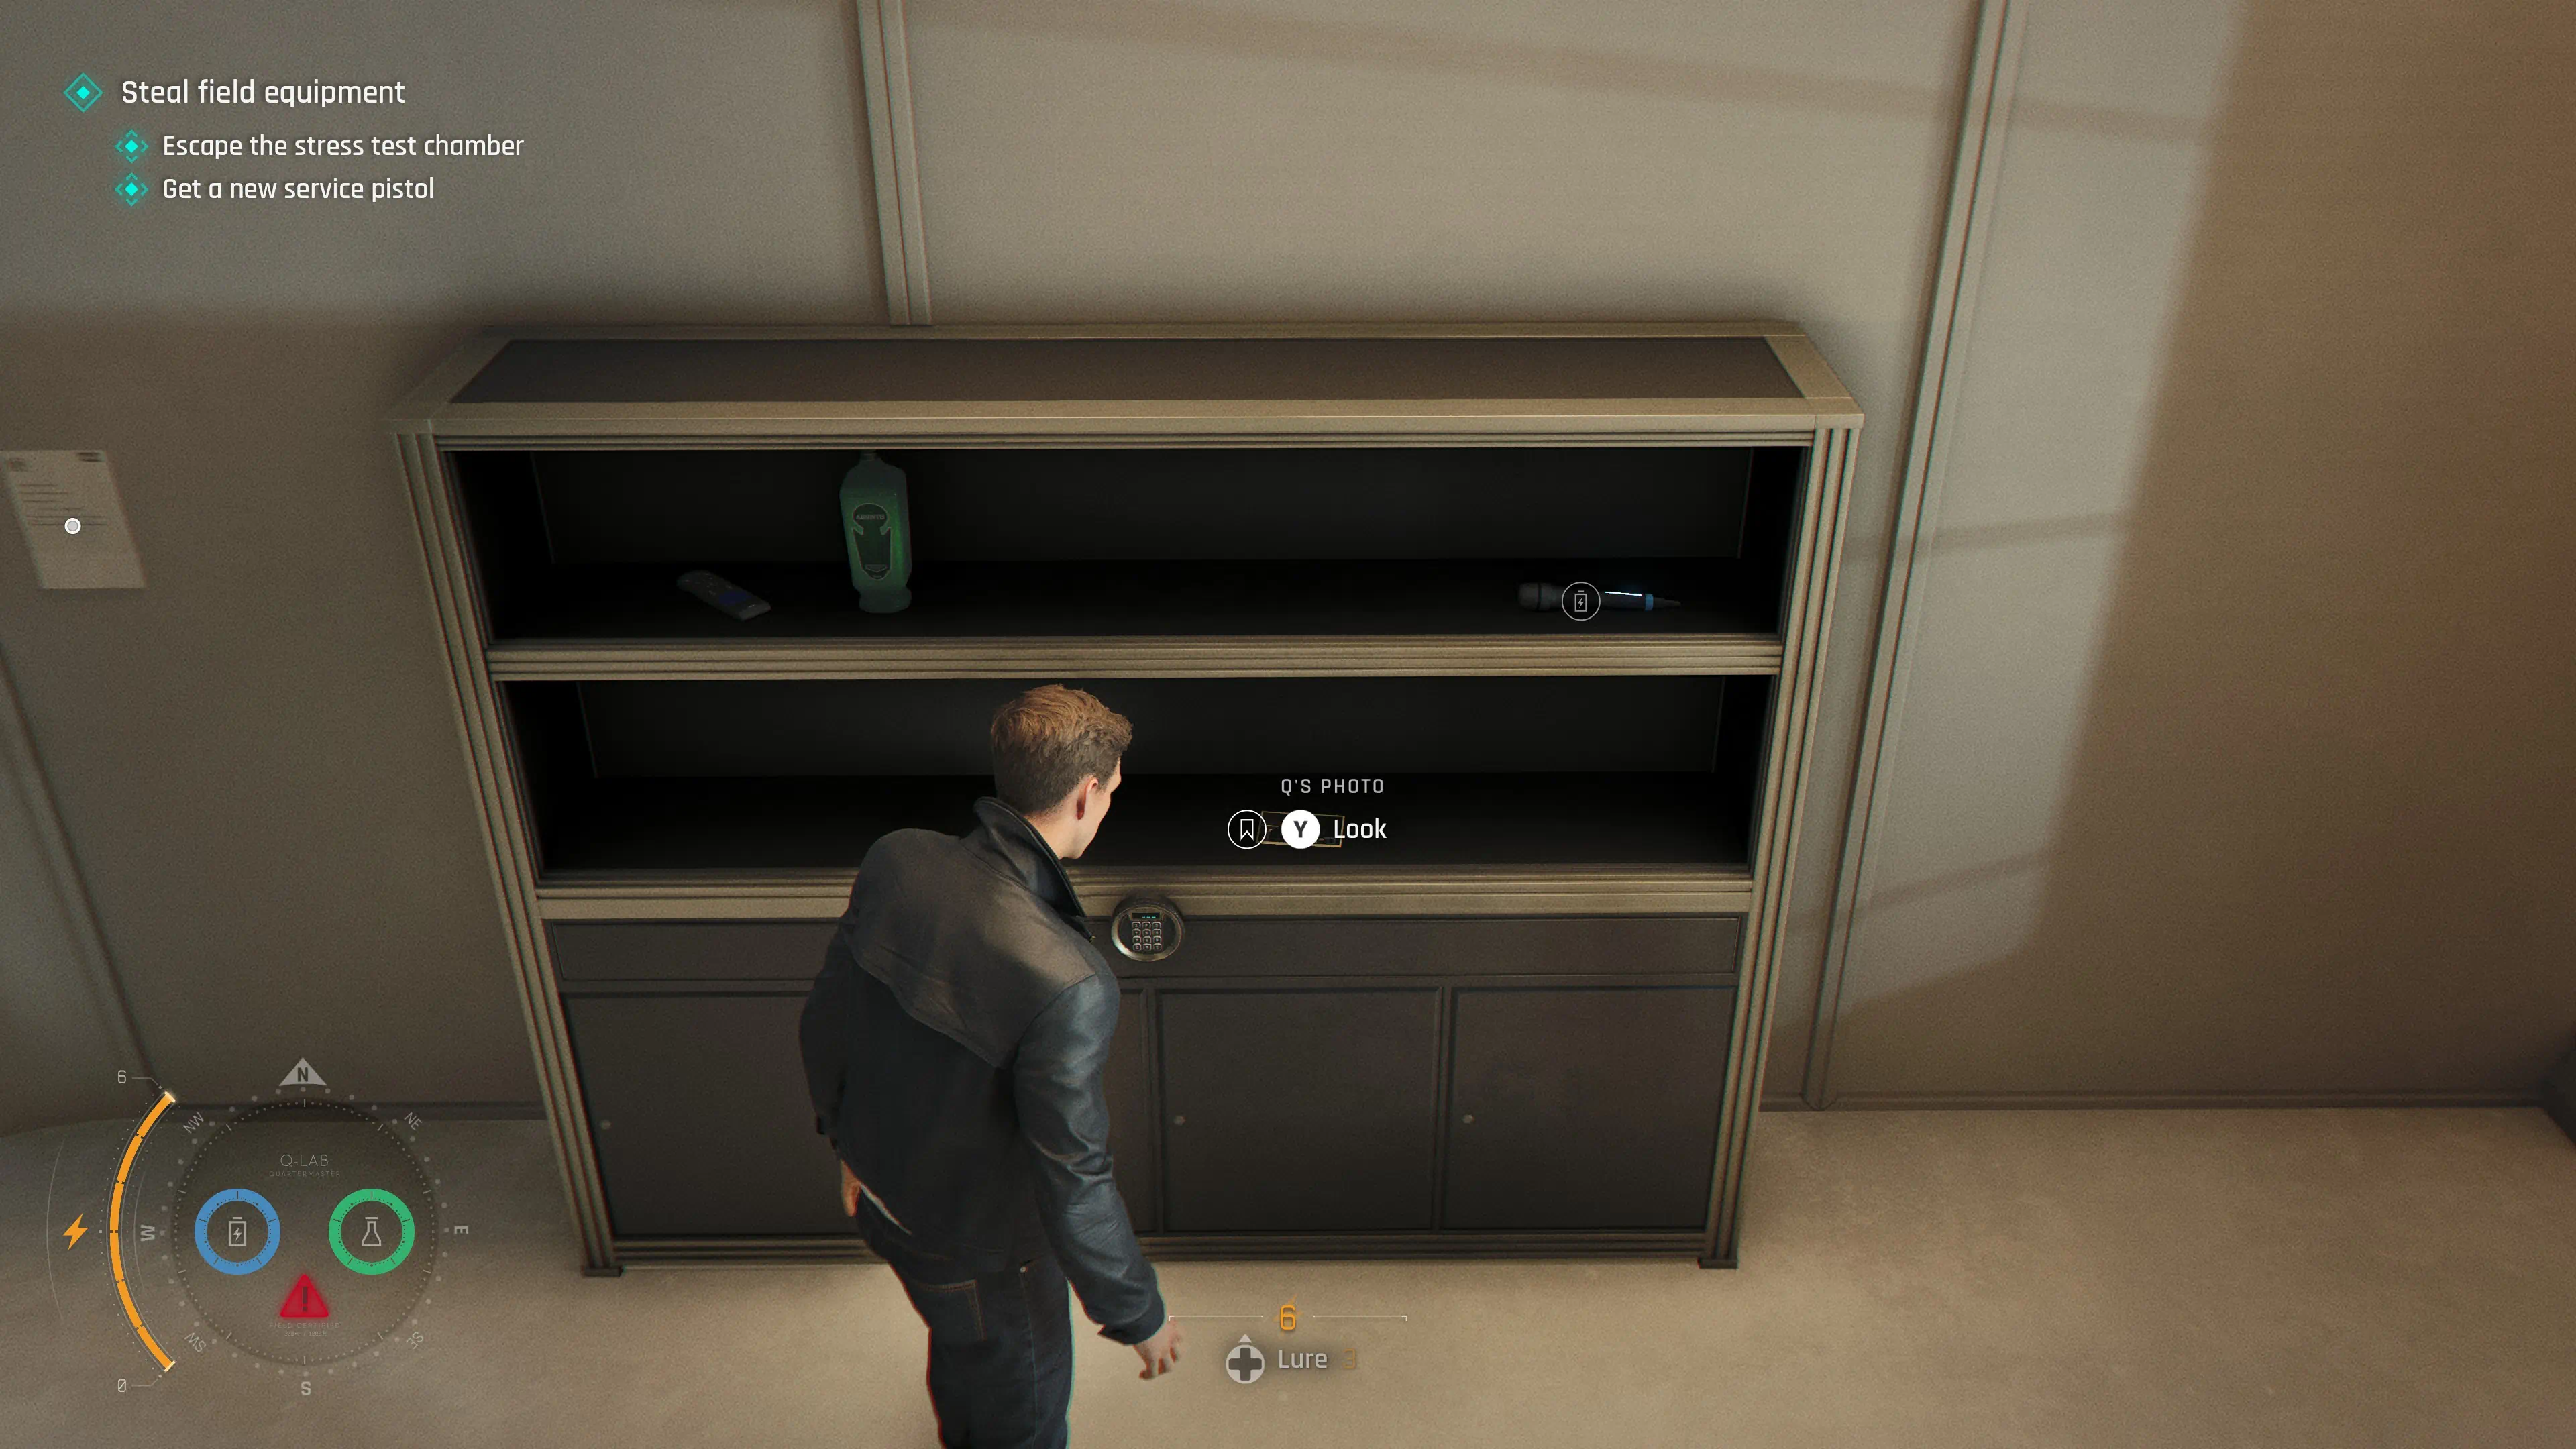
Intel: Q's Photo
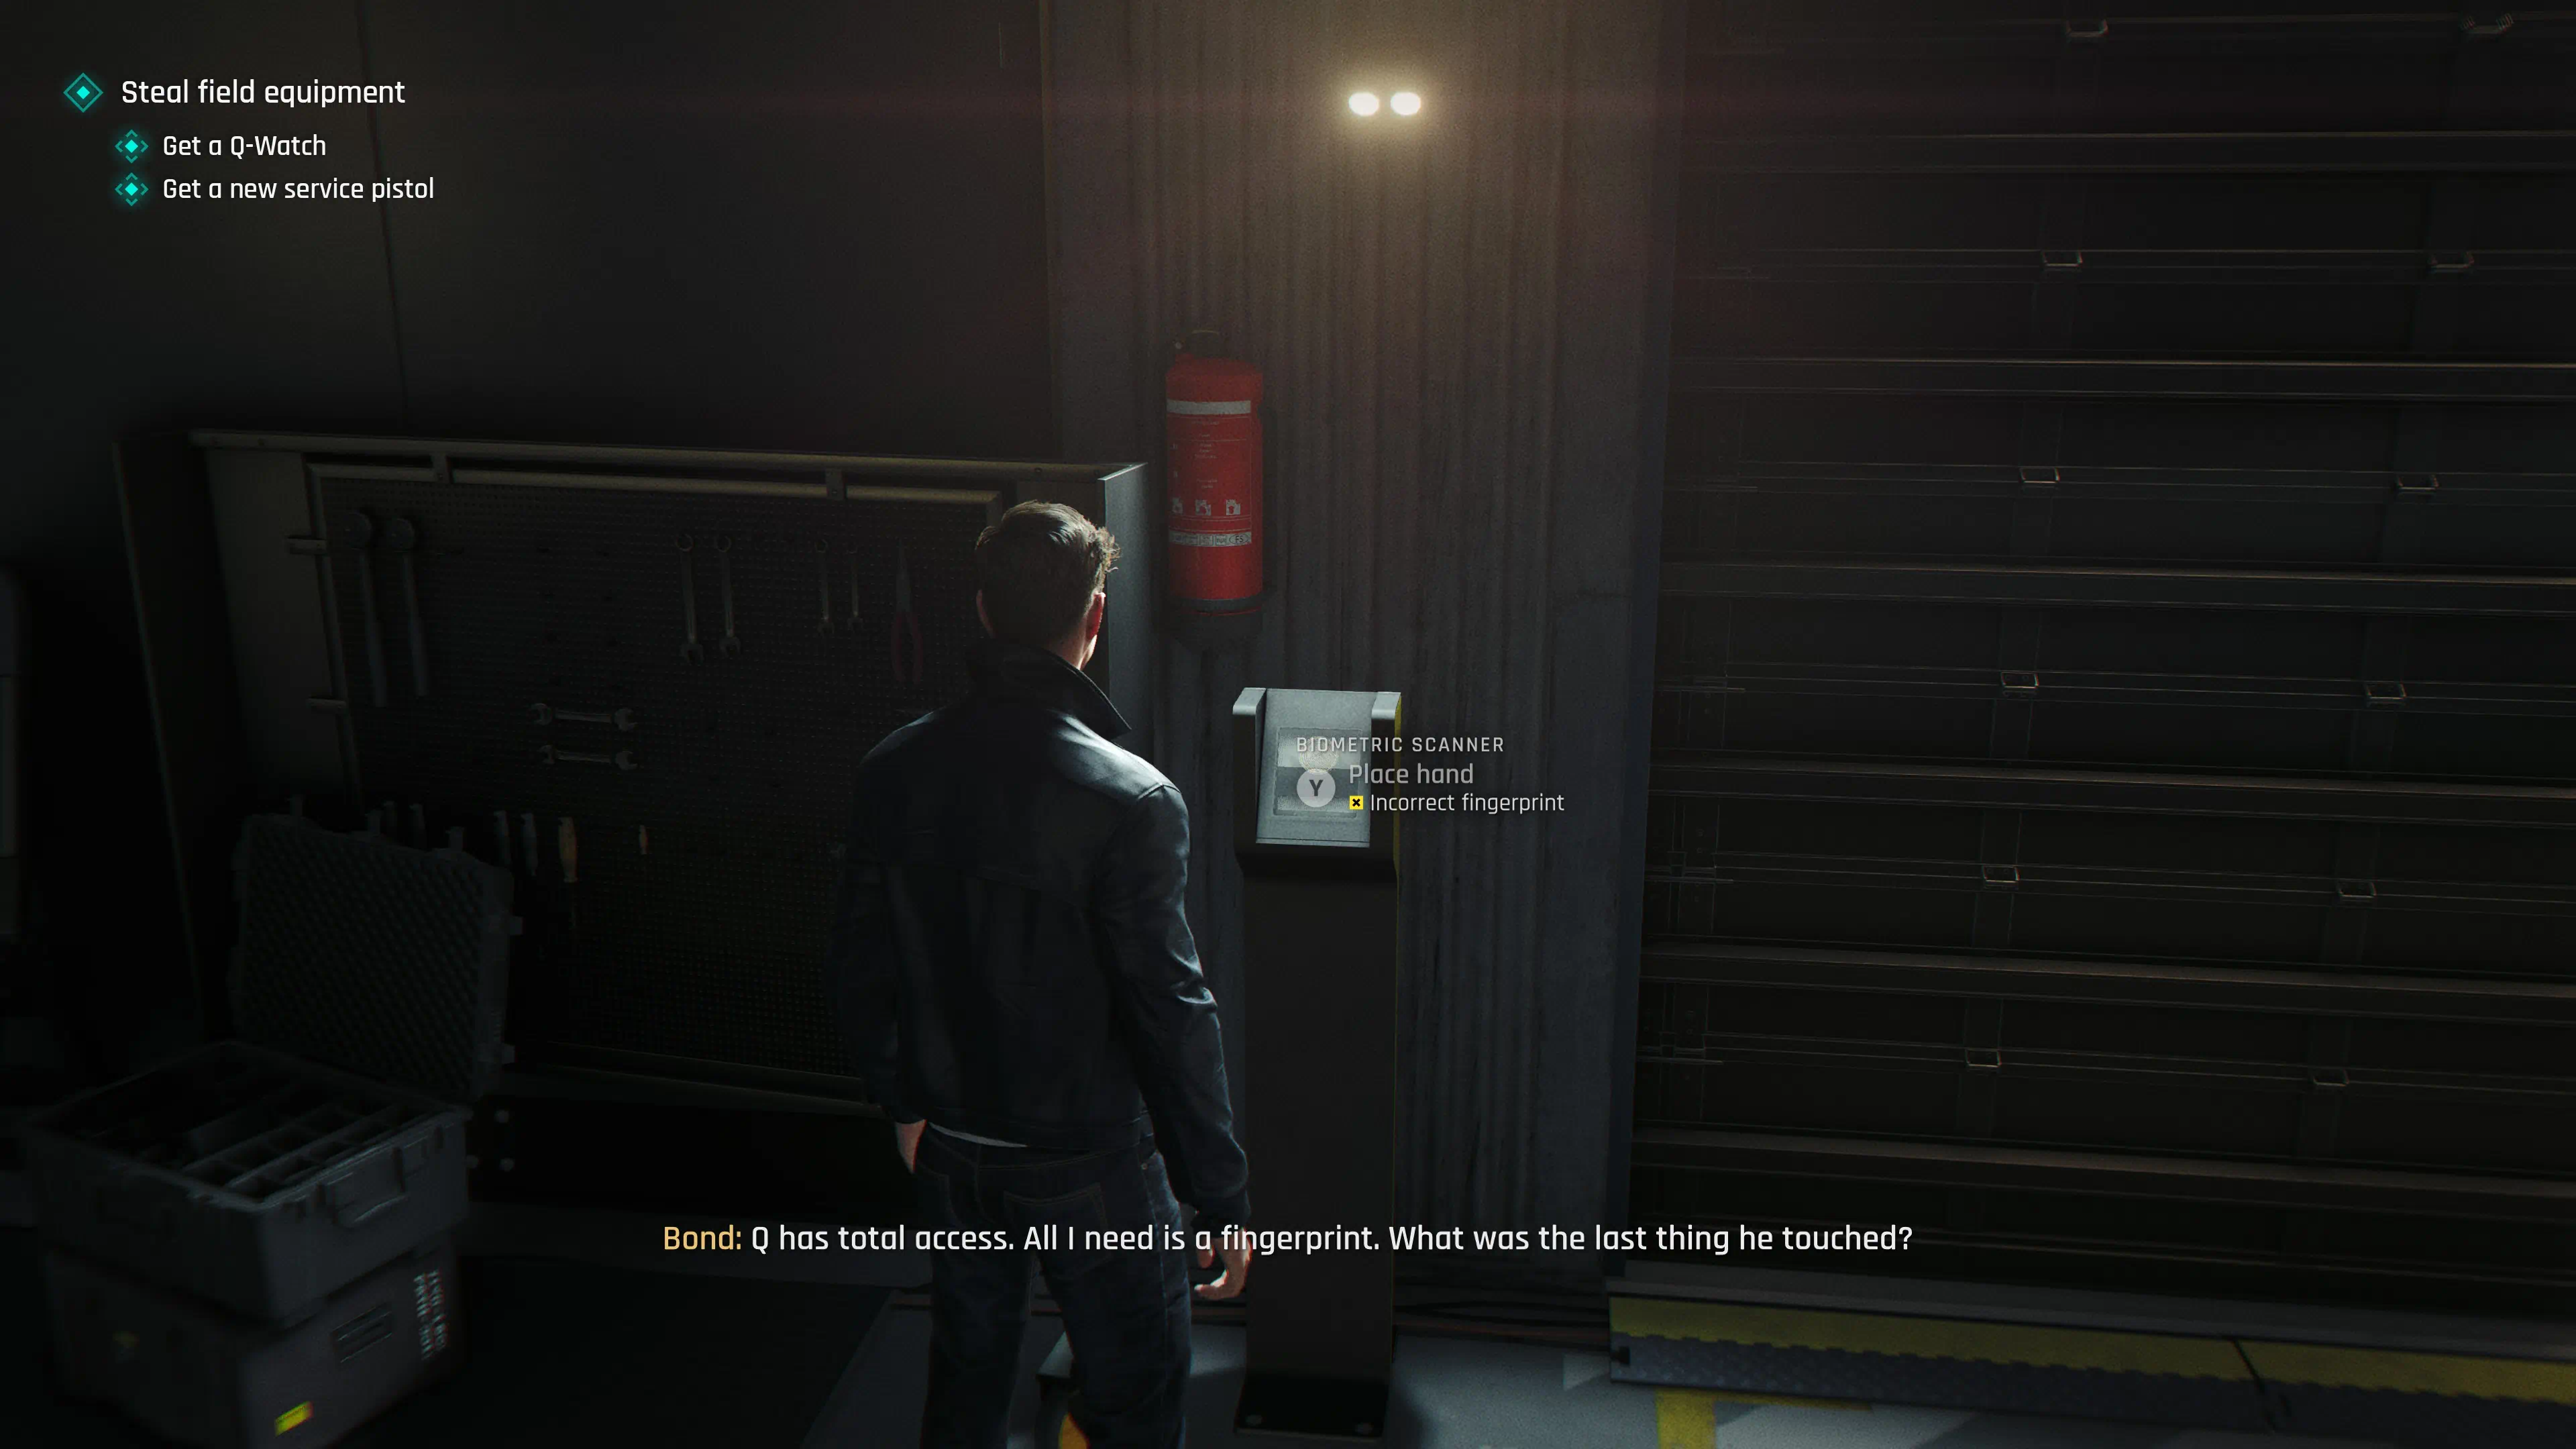
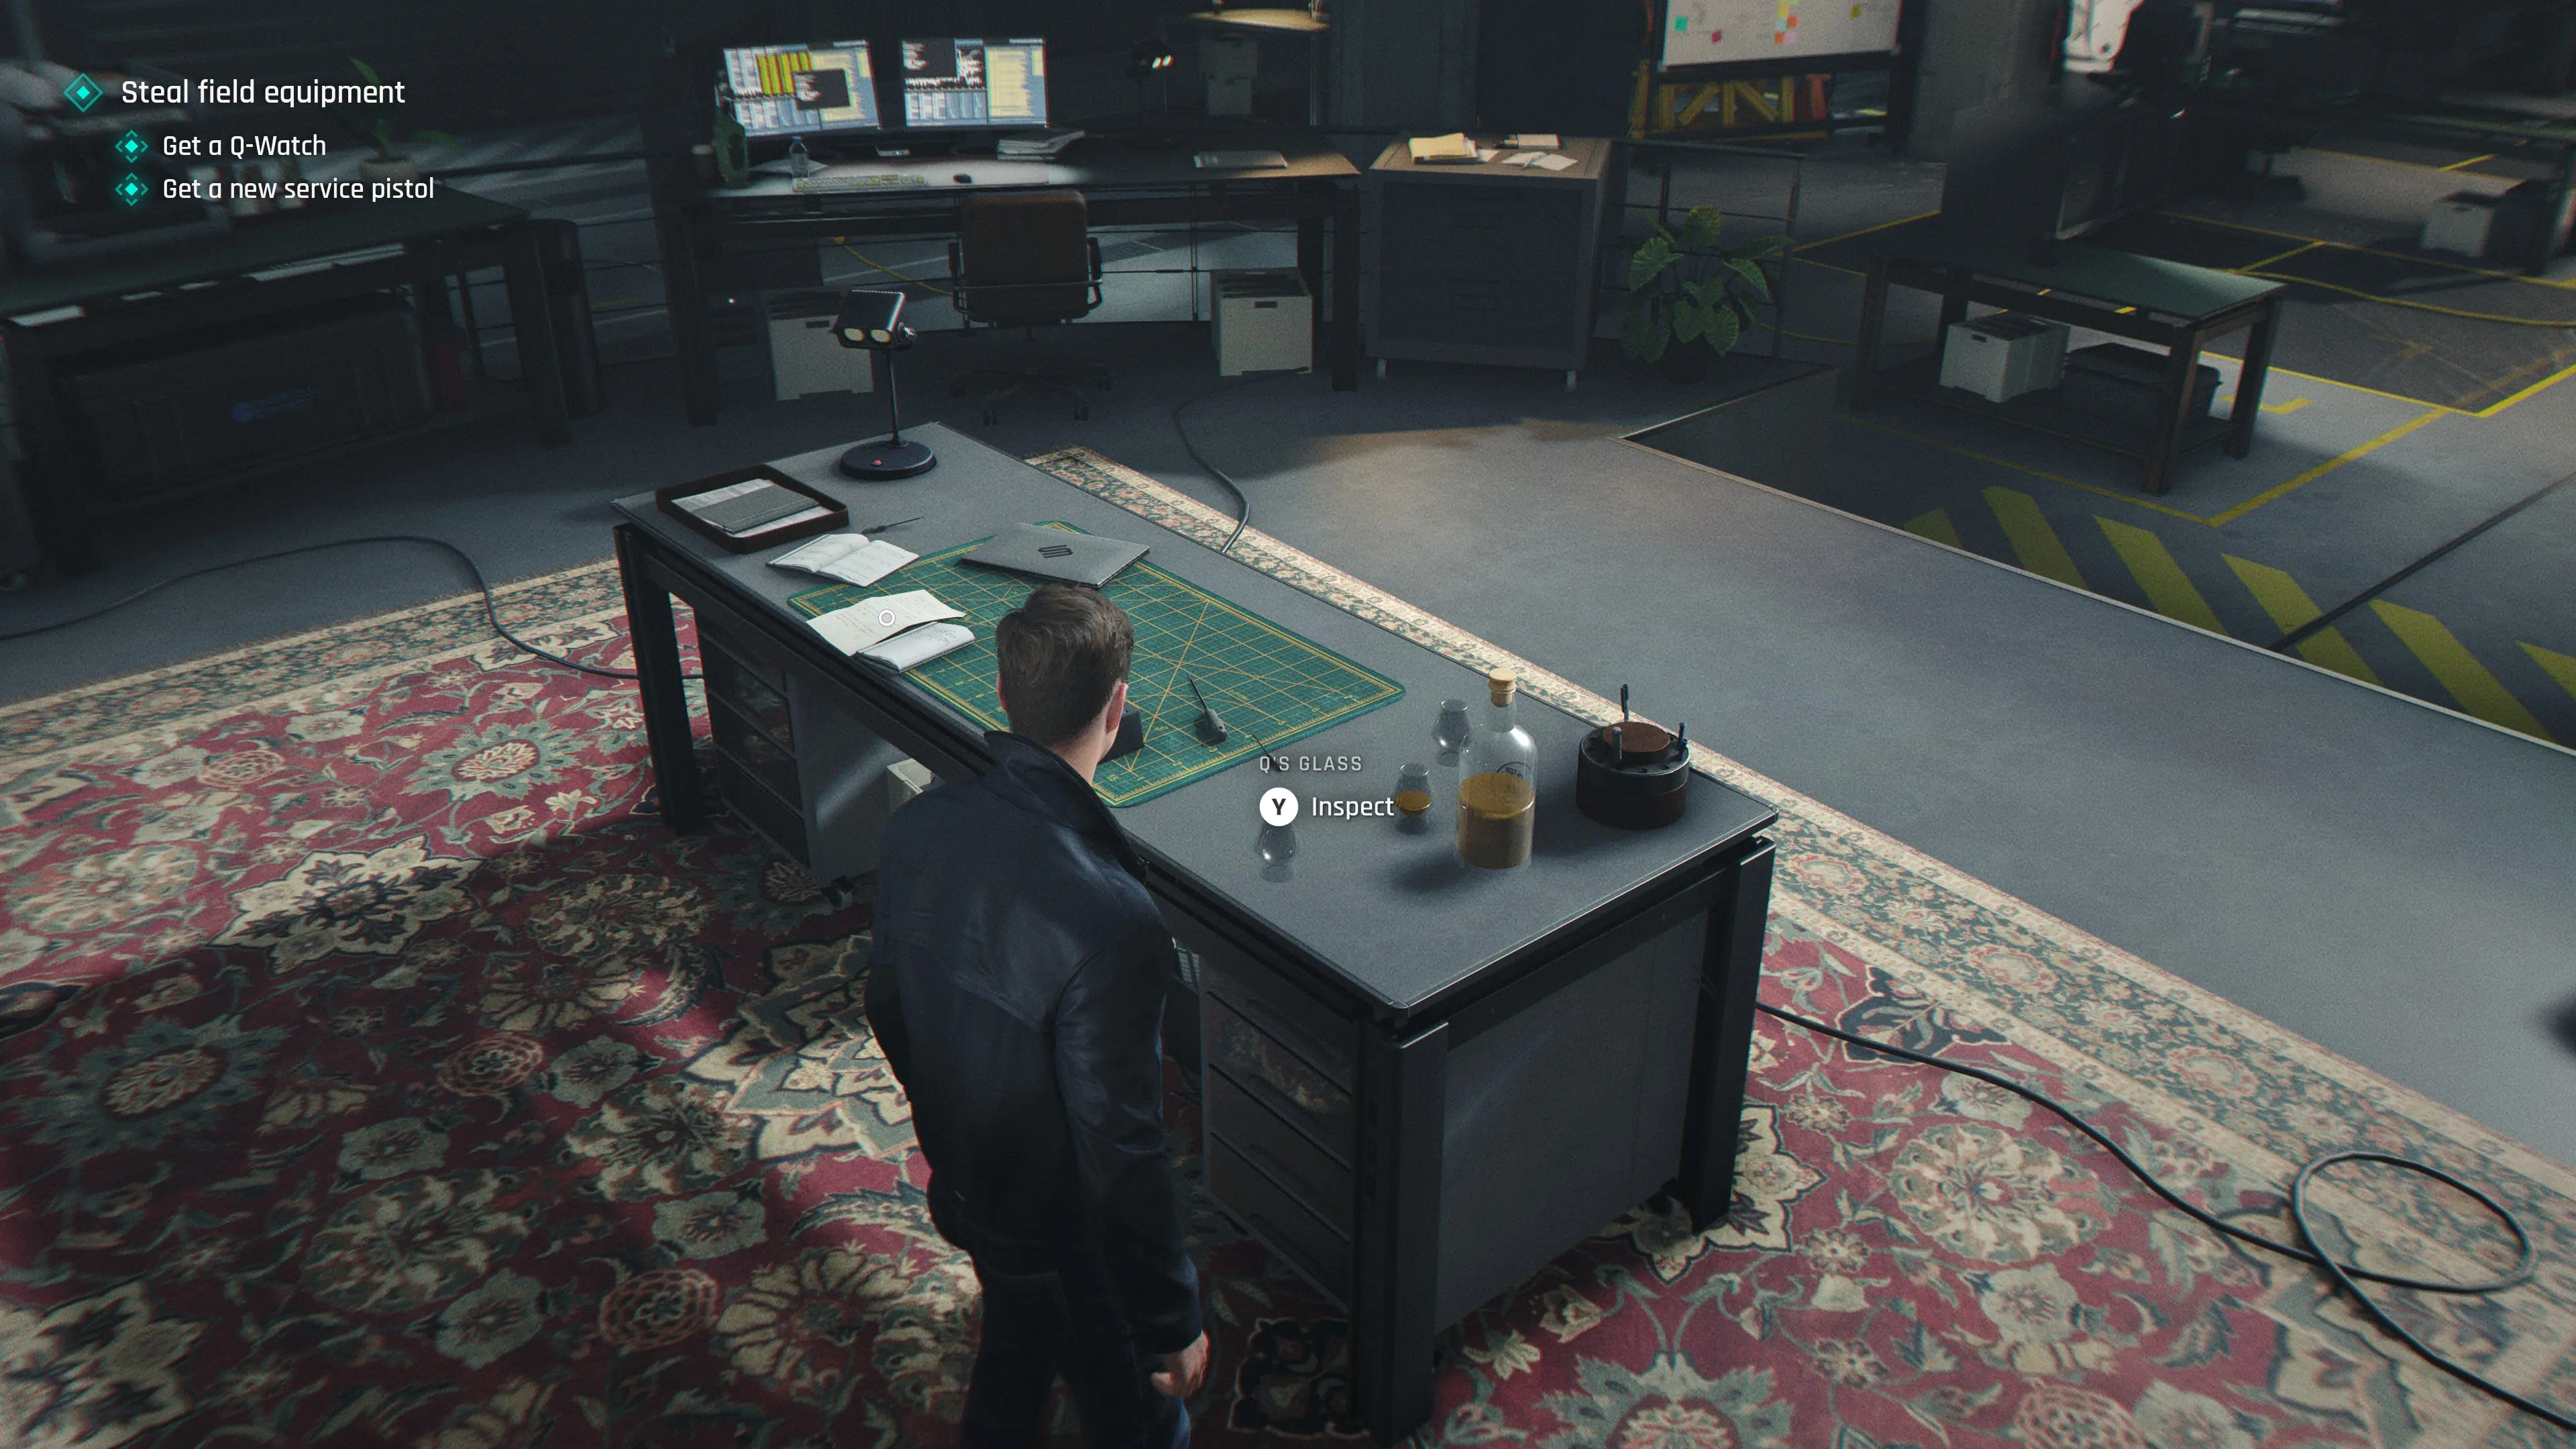
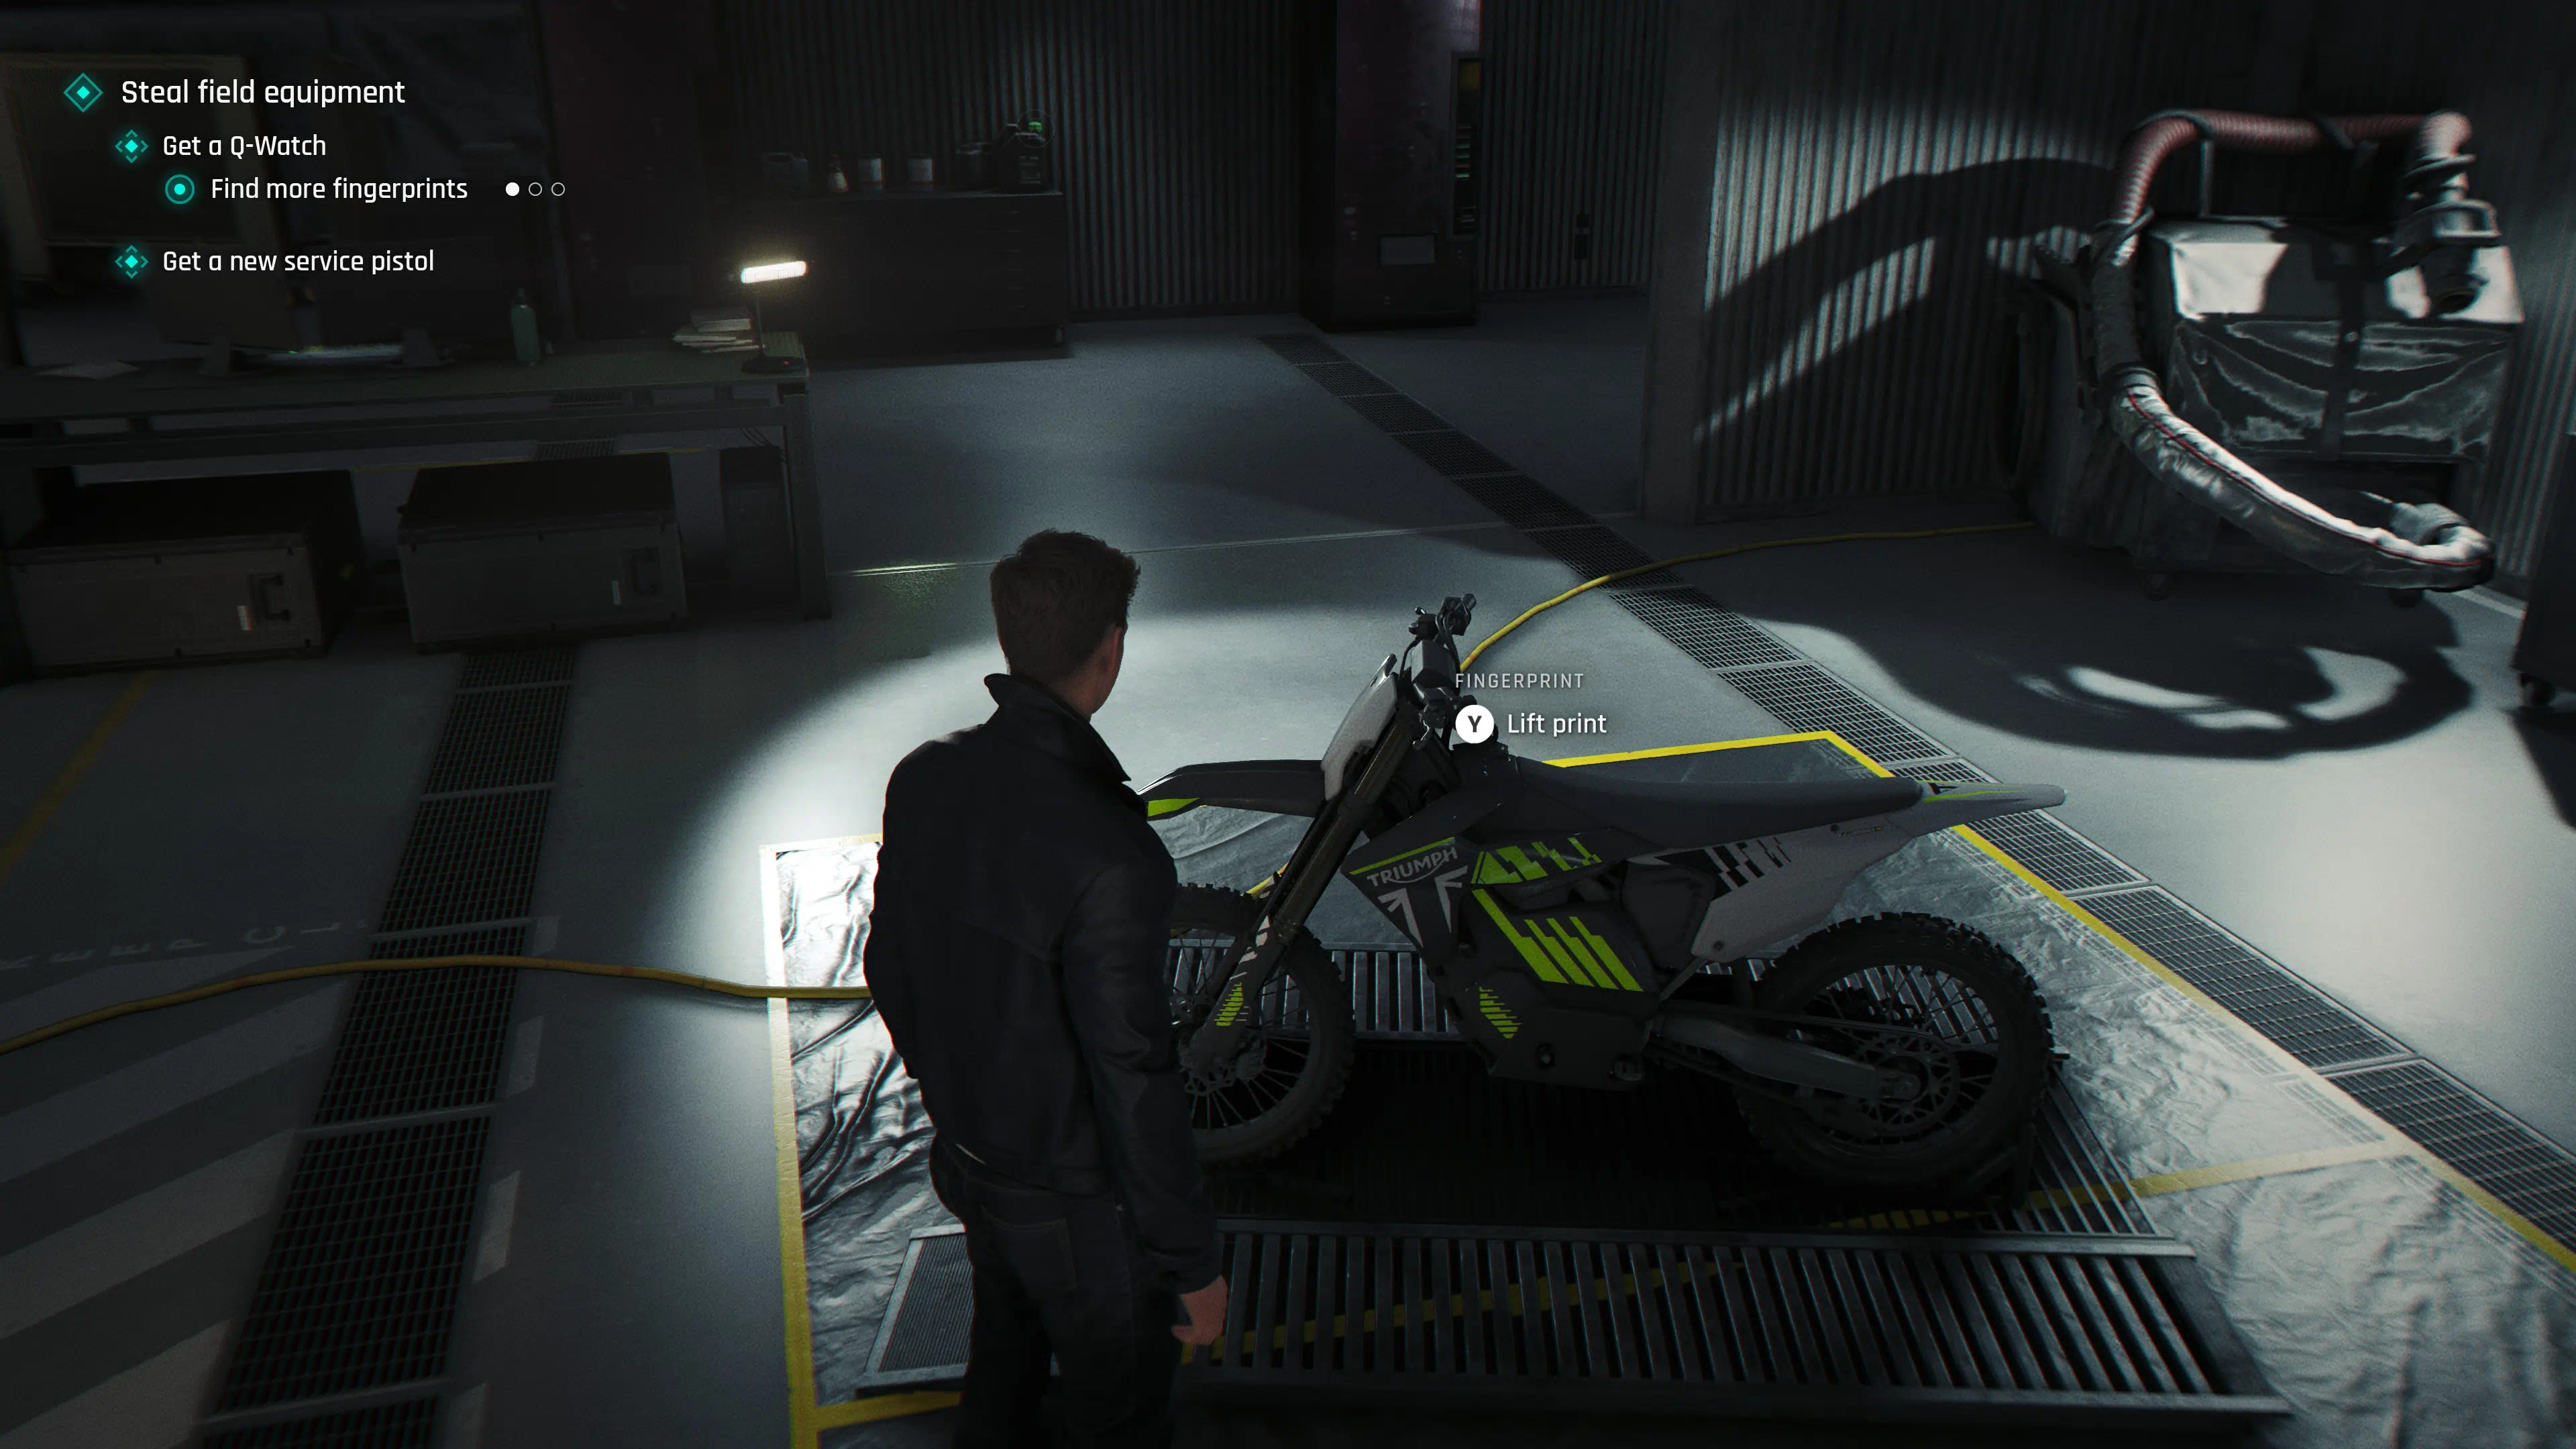
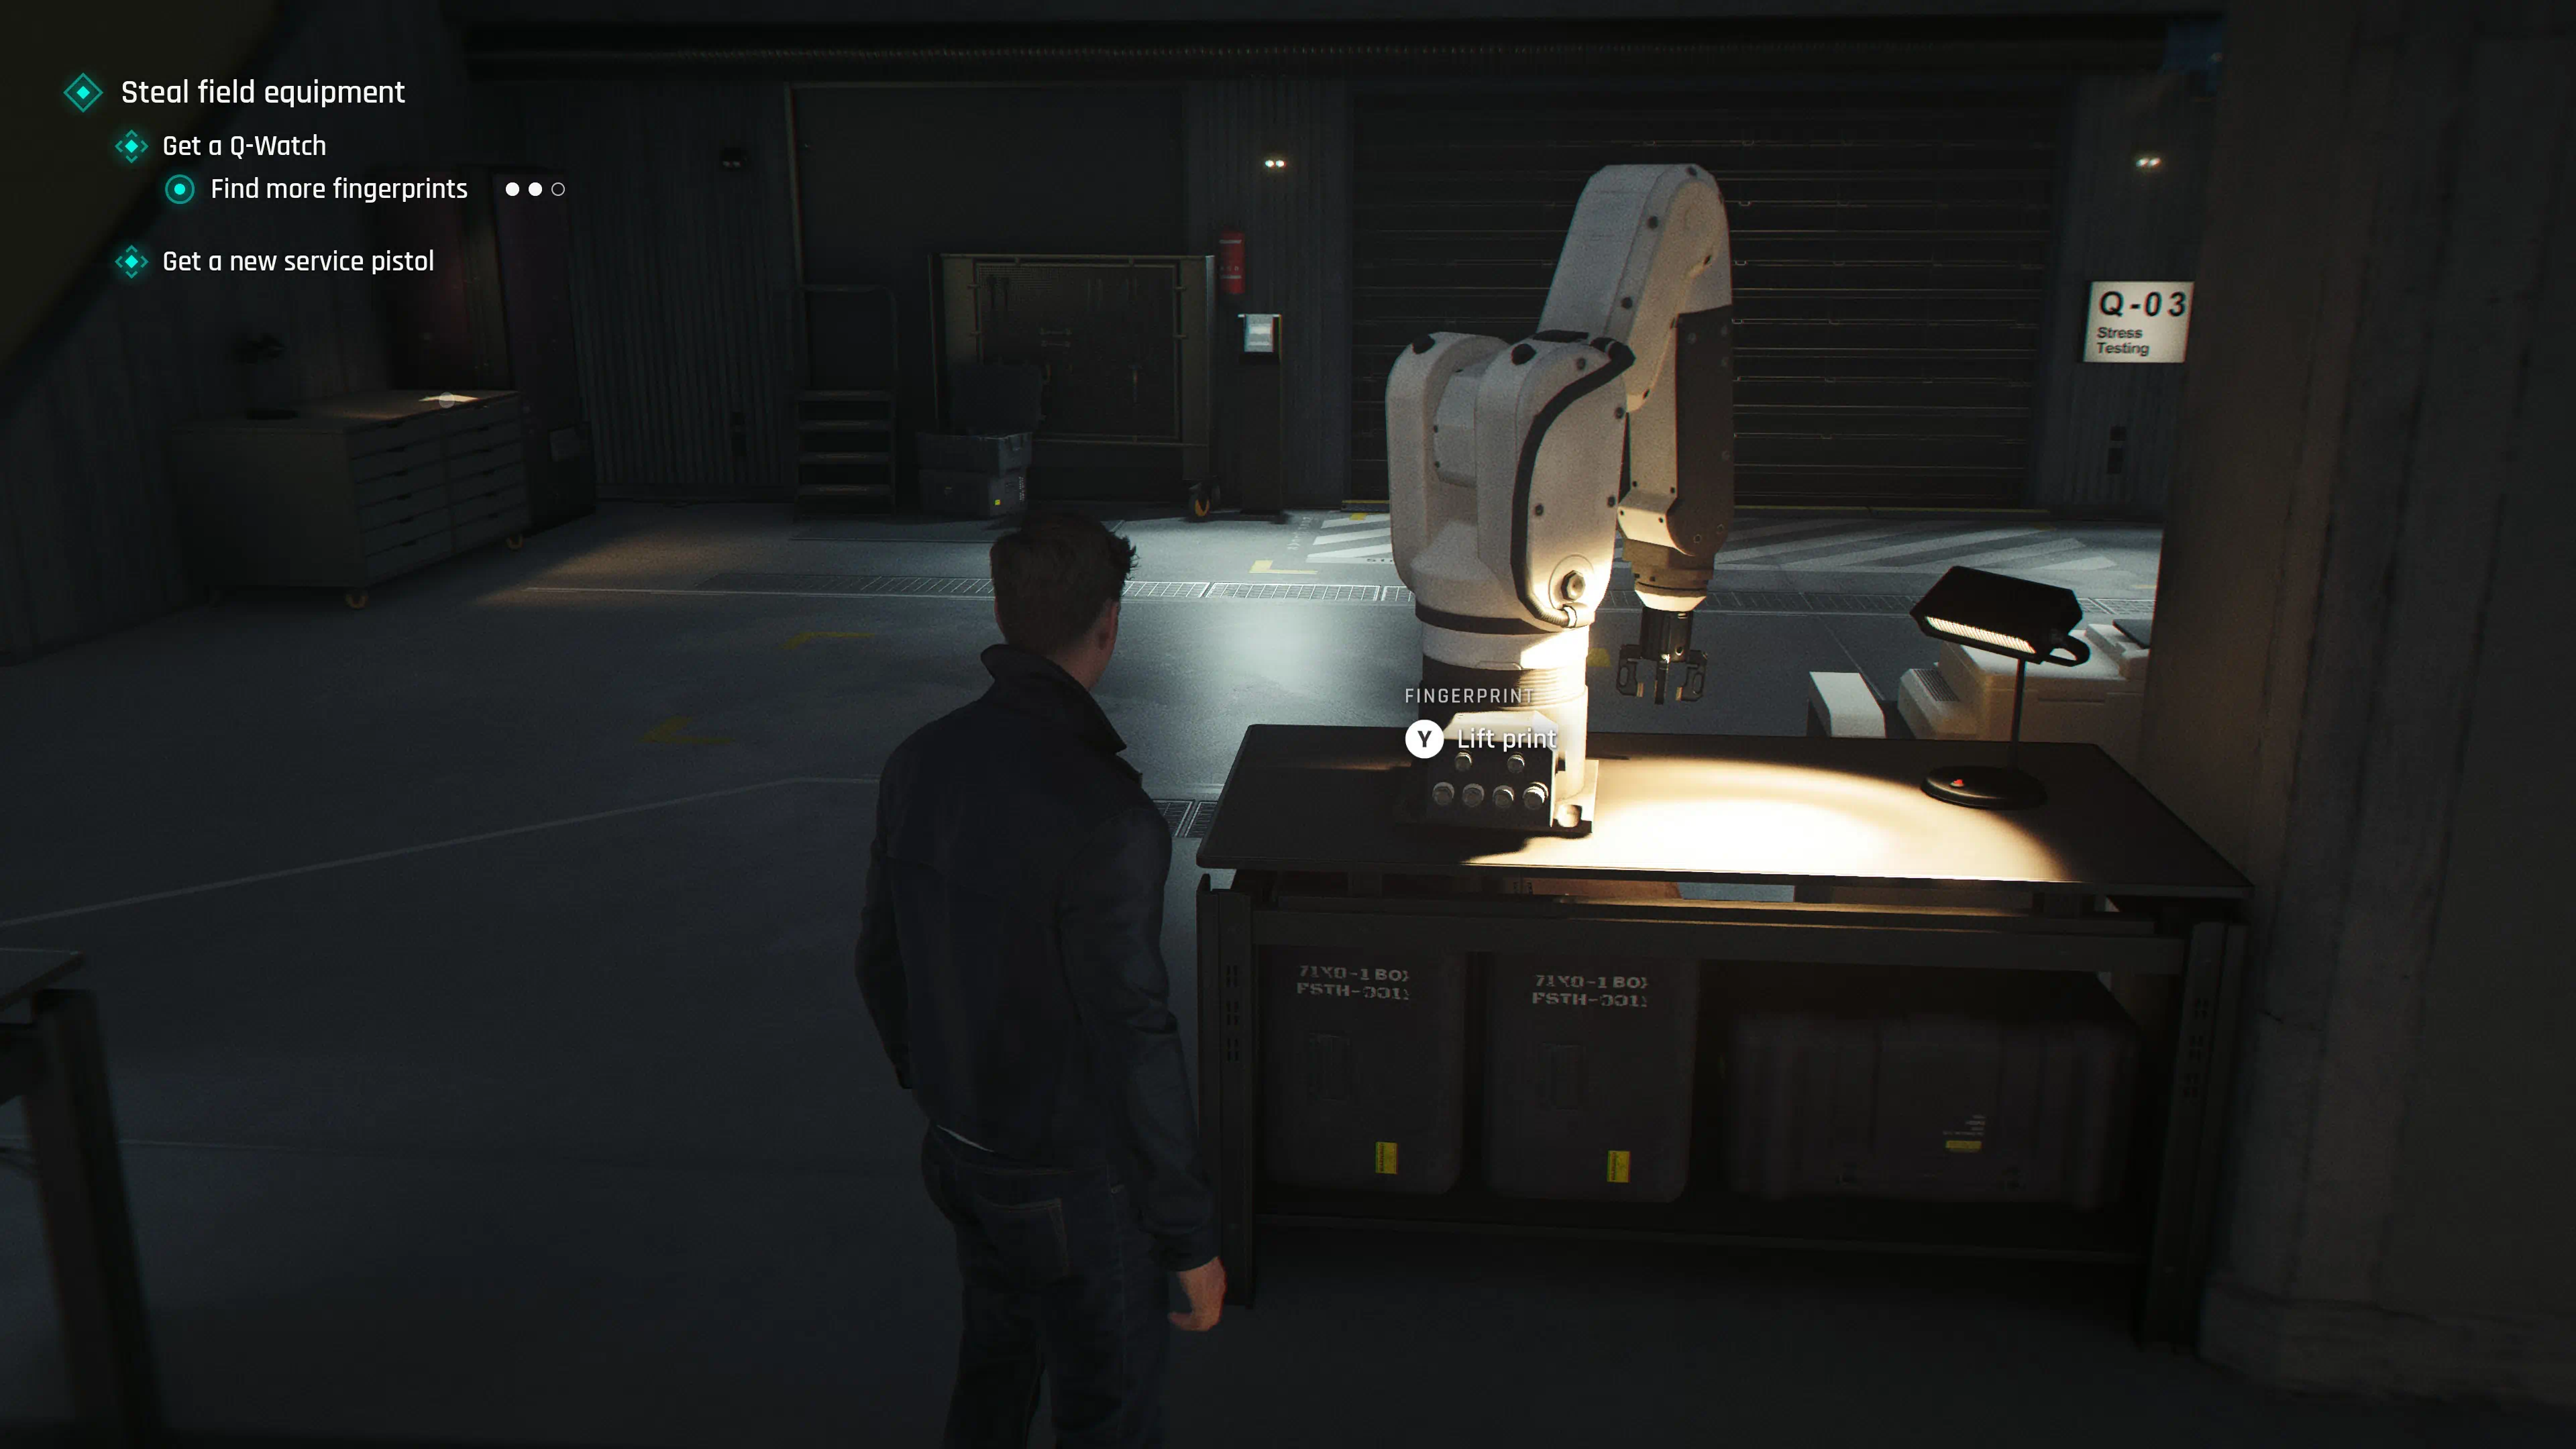
During the objective "Steal field equipment" Head over to Room "Q-03 Stress Testing." Use the biometric scanner at the door. Then head over to the glass Q used to drink whiskey and collect his fingerprint. Next, head over to the dirt bike and do the same. Do it once again at the robot arm on the desk near the door. Then use the prints on the biometric scanner and collect your watch. Finally, head over to the locked counter. The code is the number plate on the car (4397). Inside, you will find Q's Photo.
Chapter 16 - Intel
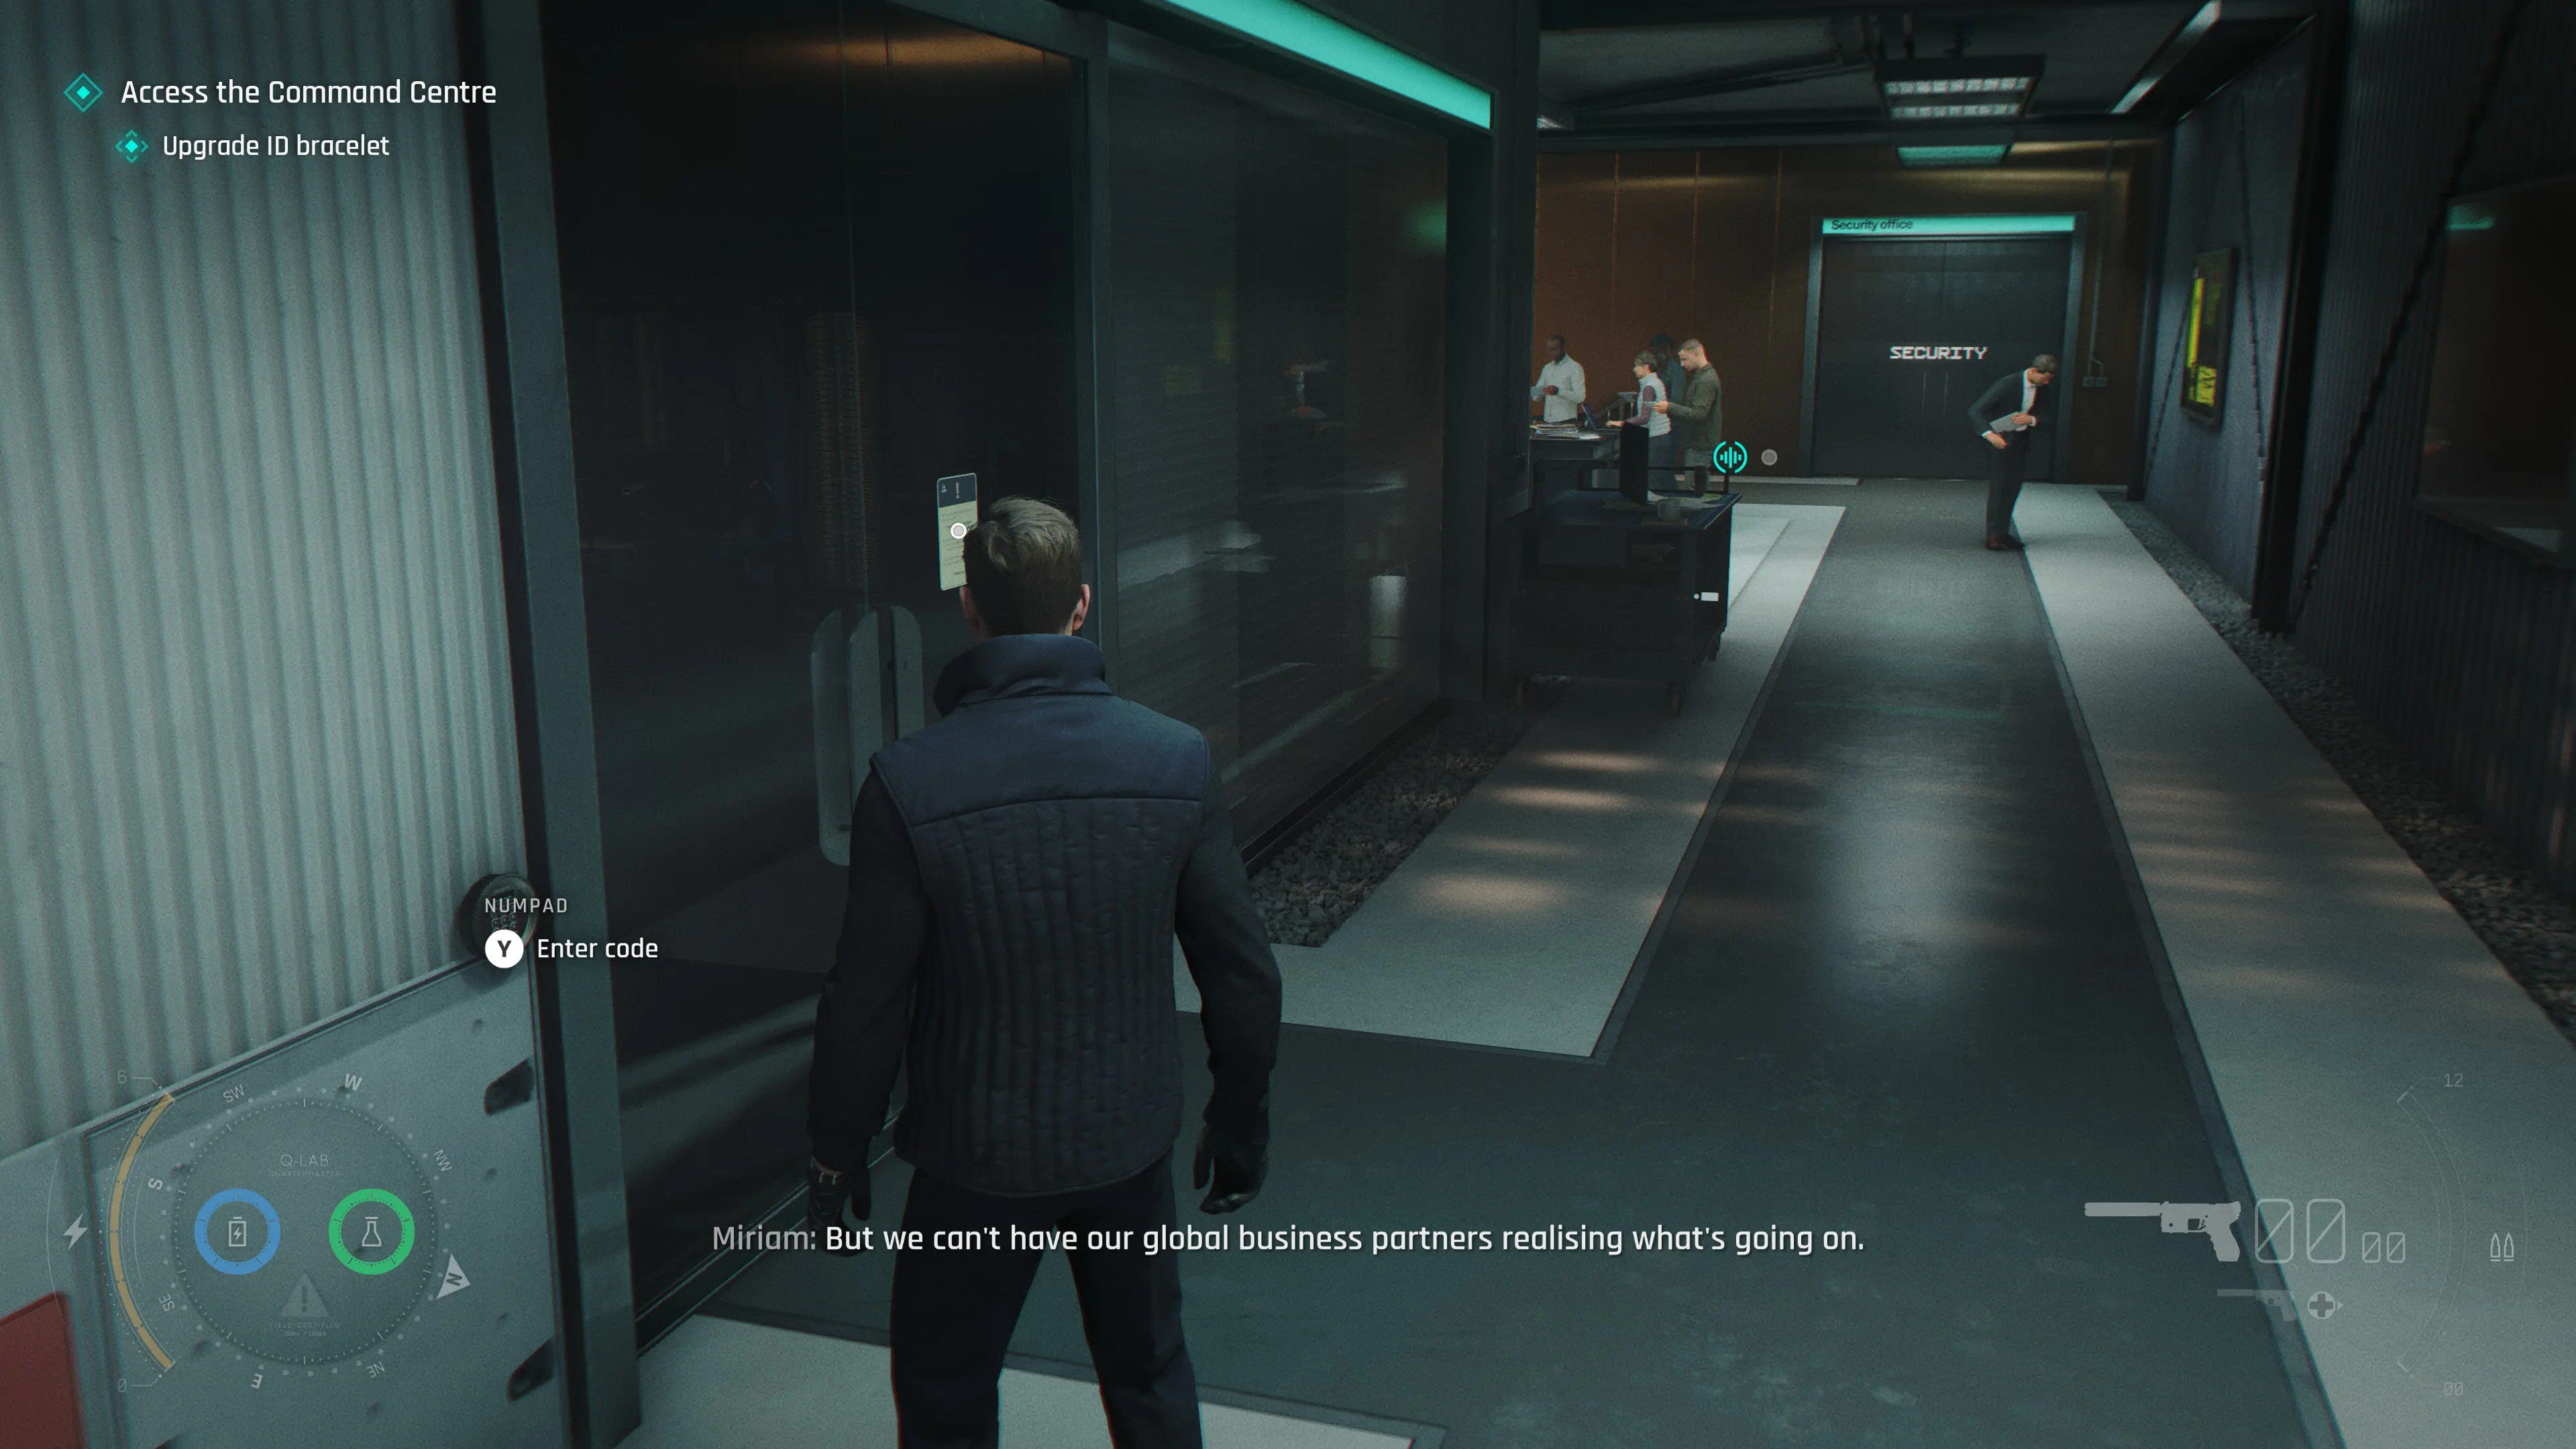
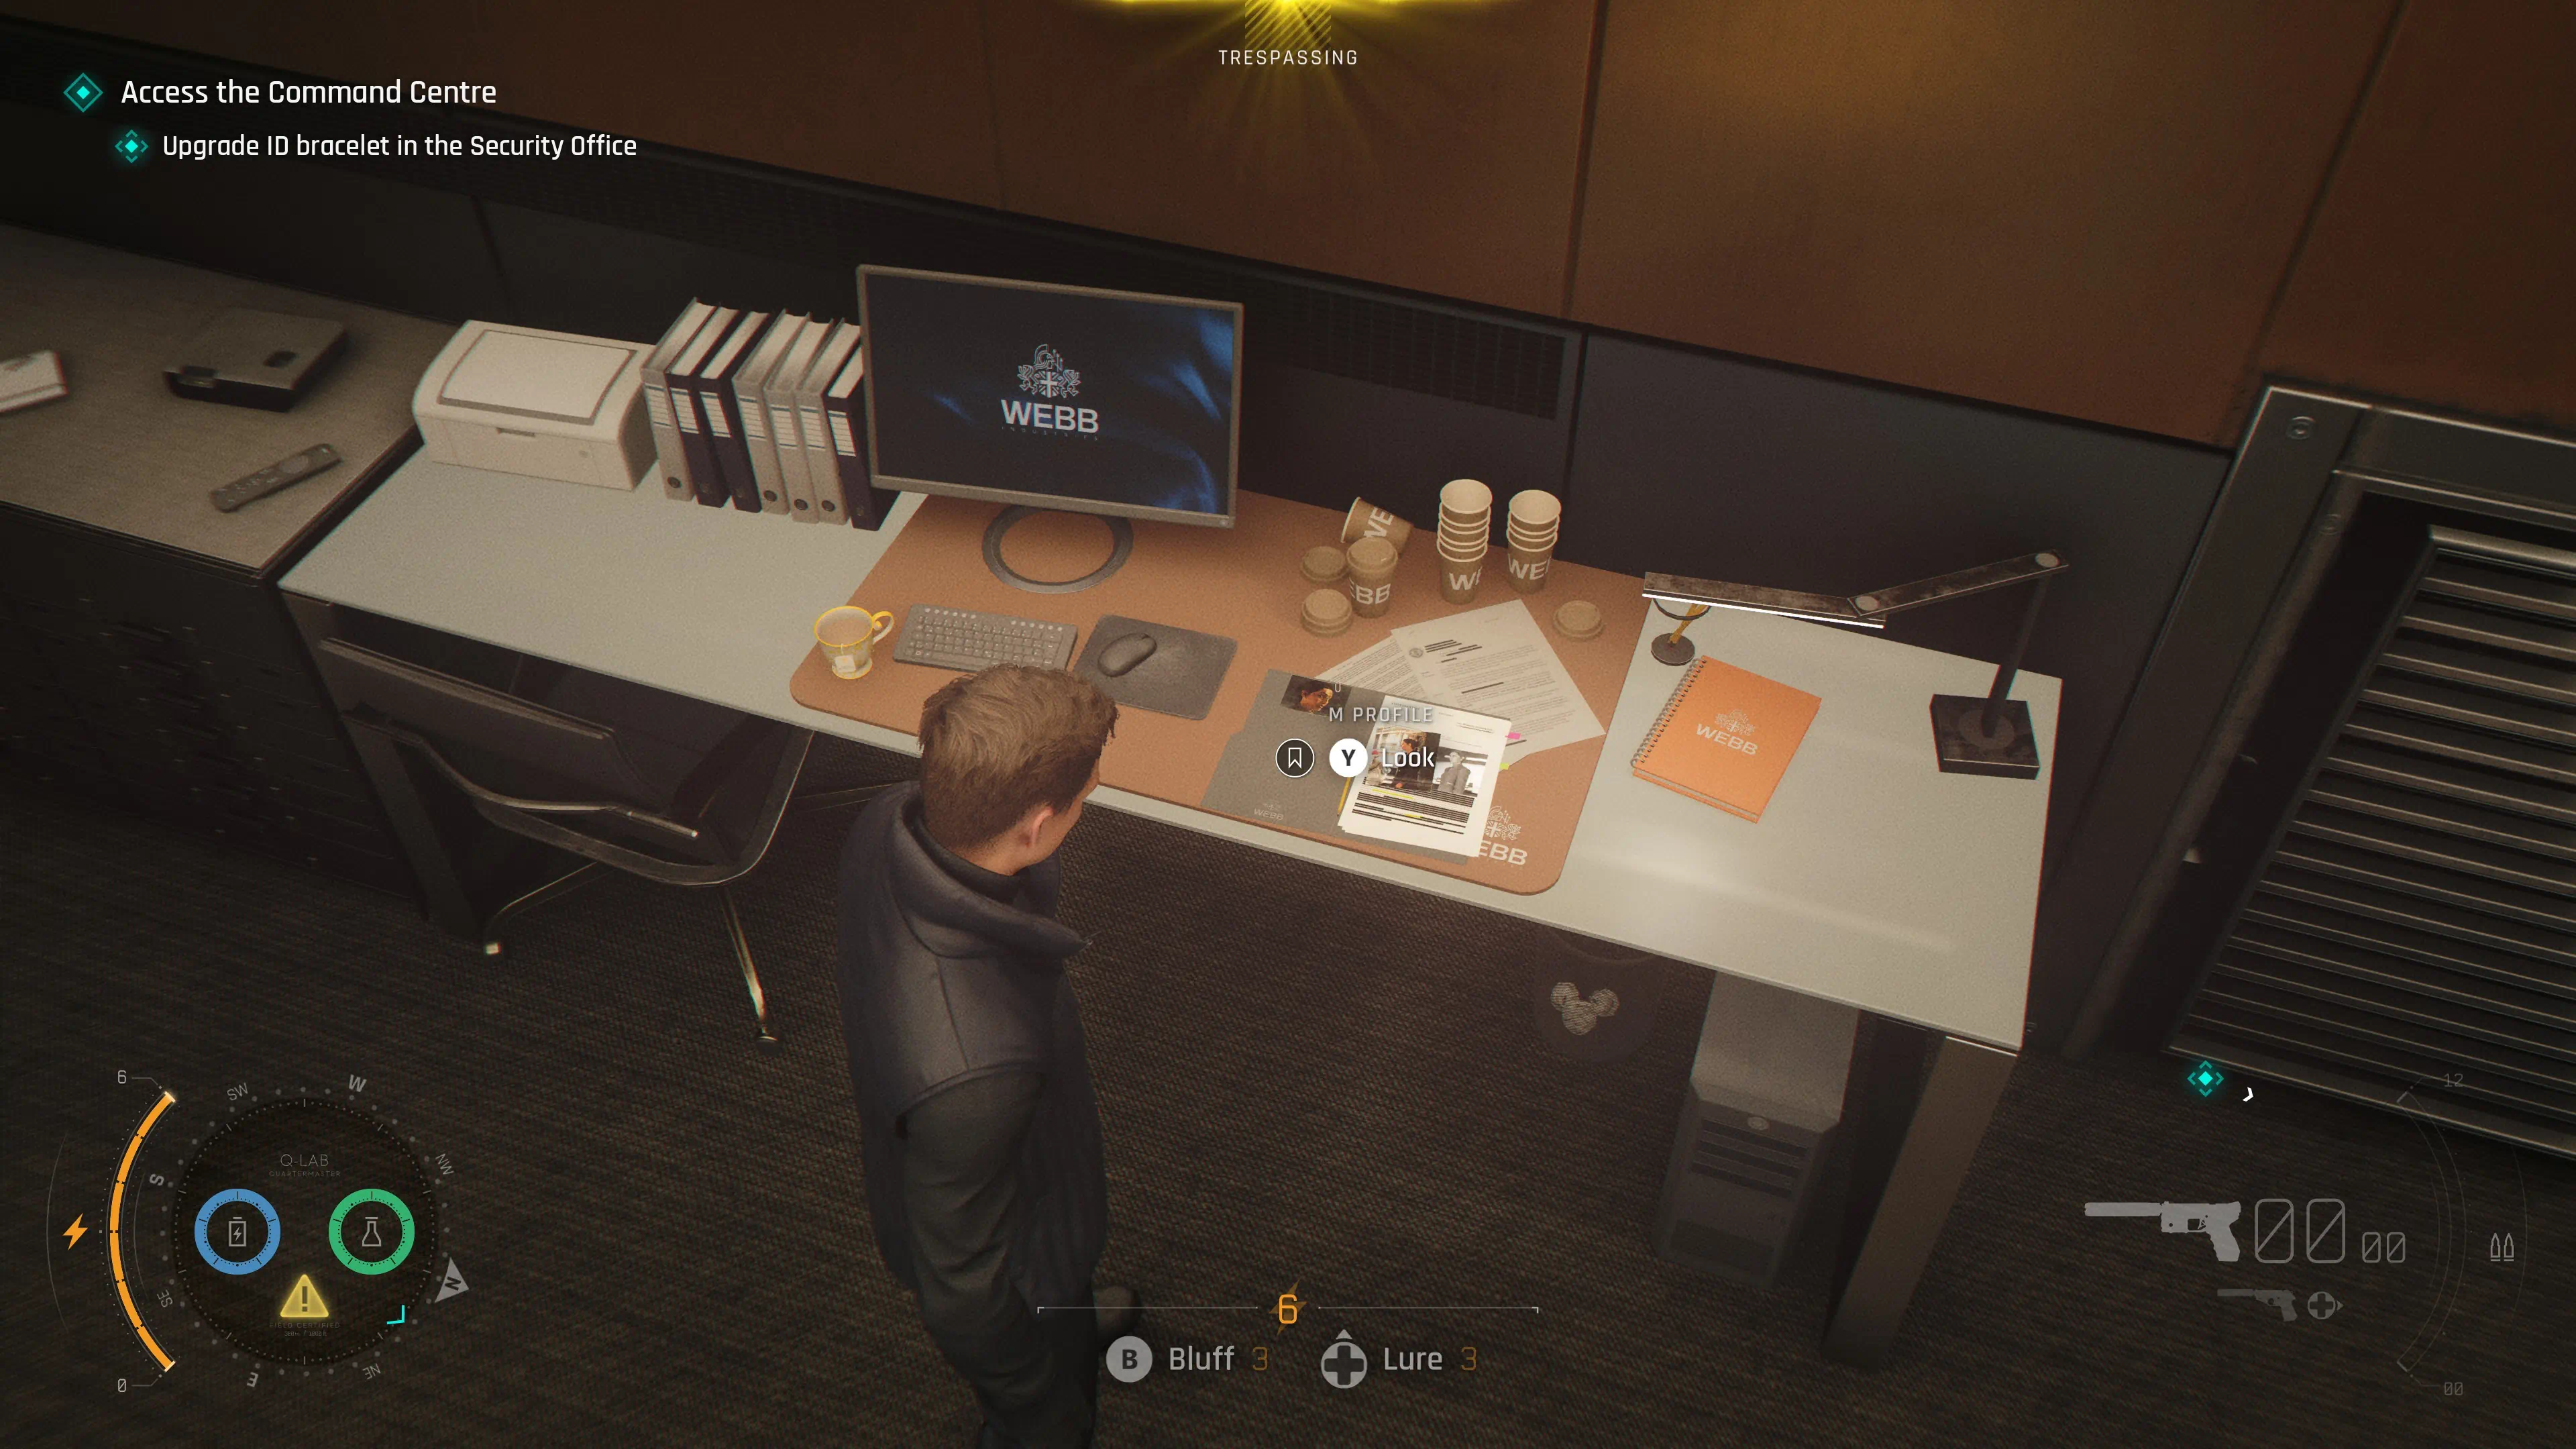
Intel: M Profile
After meeting back up with Isola during the objective "Access the Command Center," go to the door on the left that is locked with a passcode. Enter 1864, then enter the vent. Head straight down to the end, knock out the guards in the room, and on the desk next to the vent you will find the M Profile.
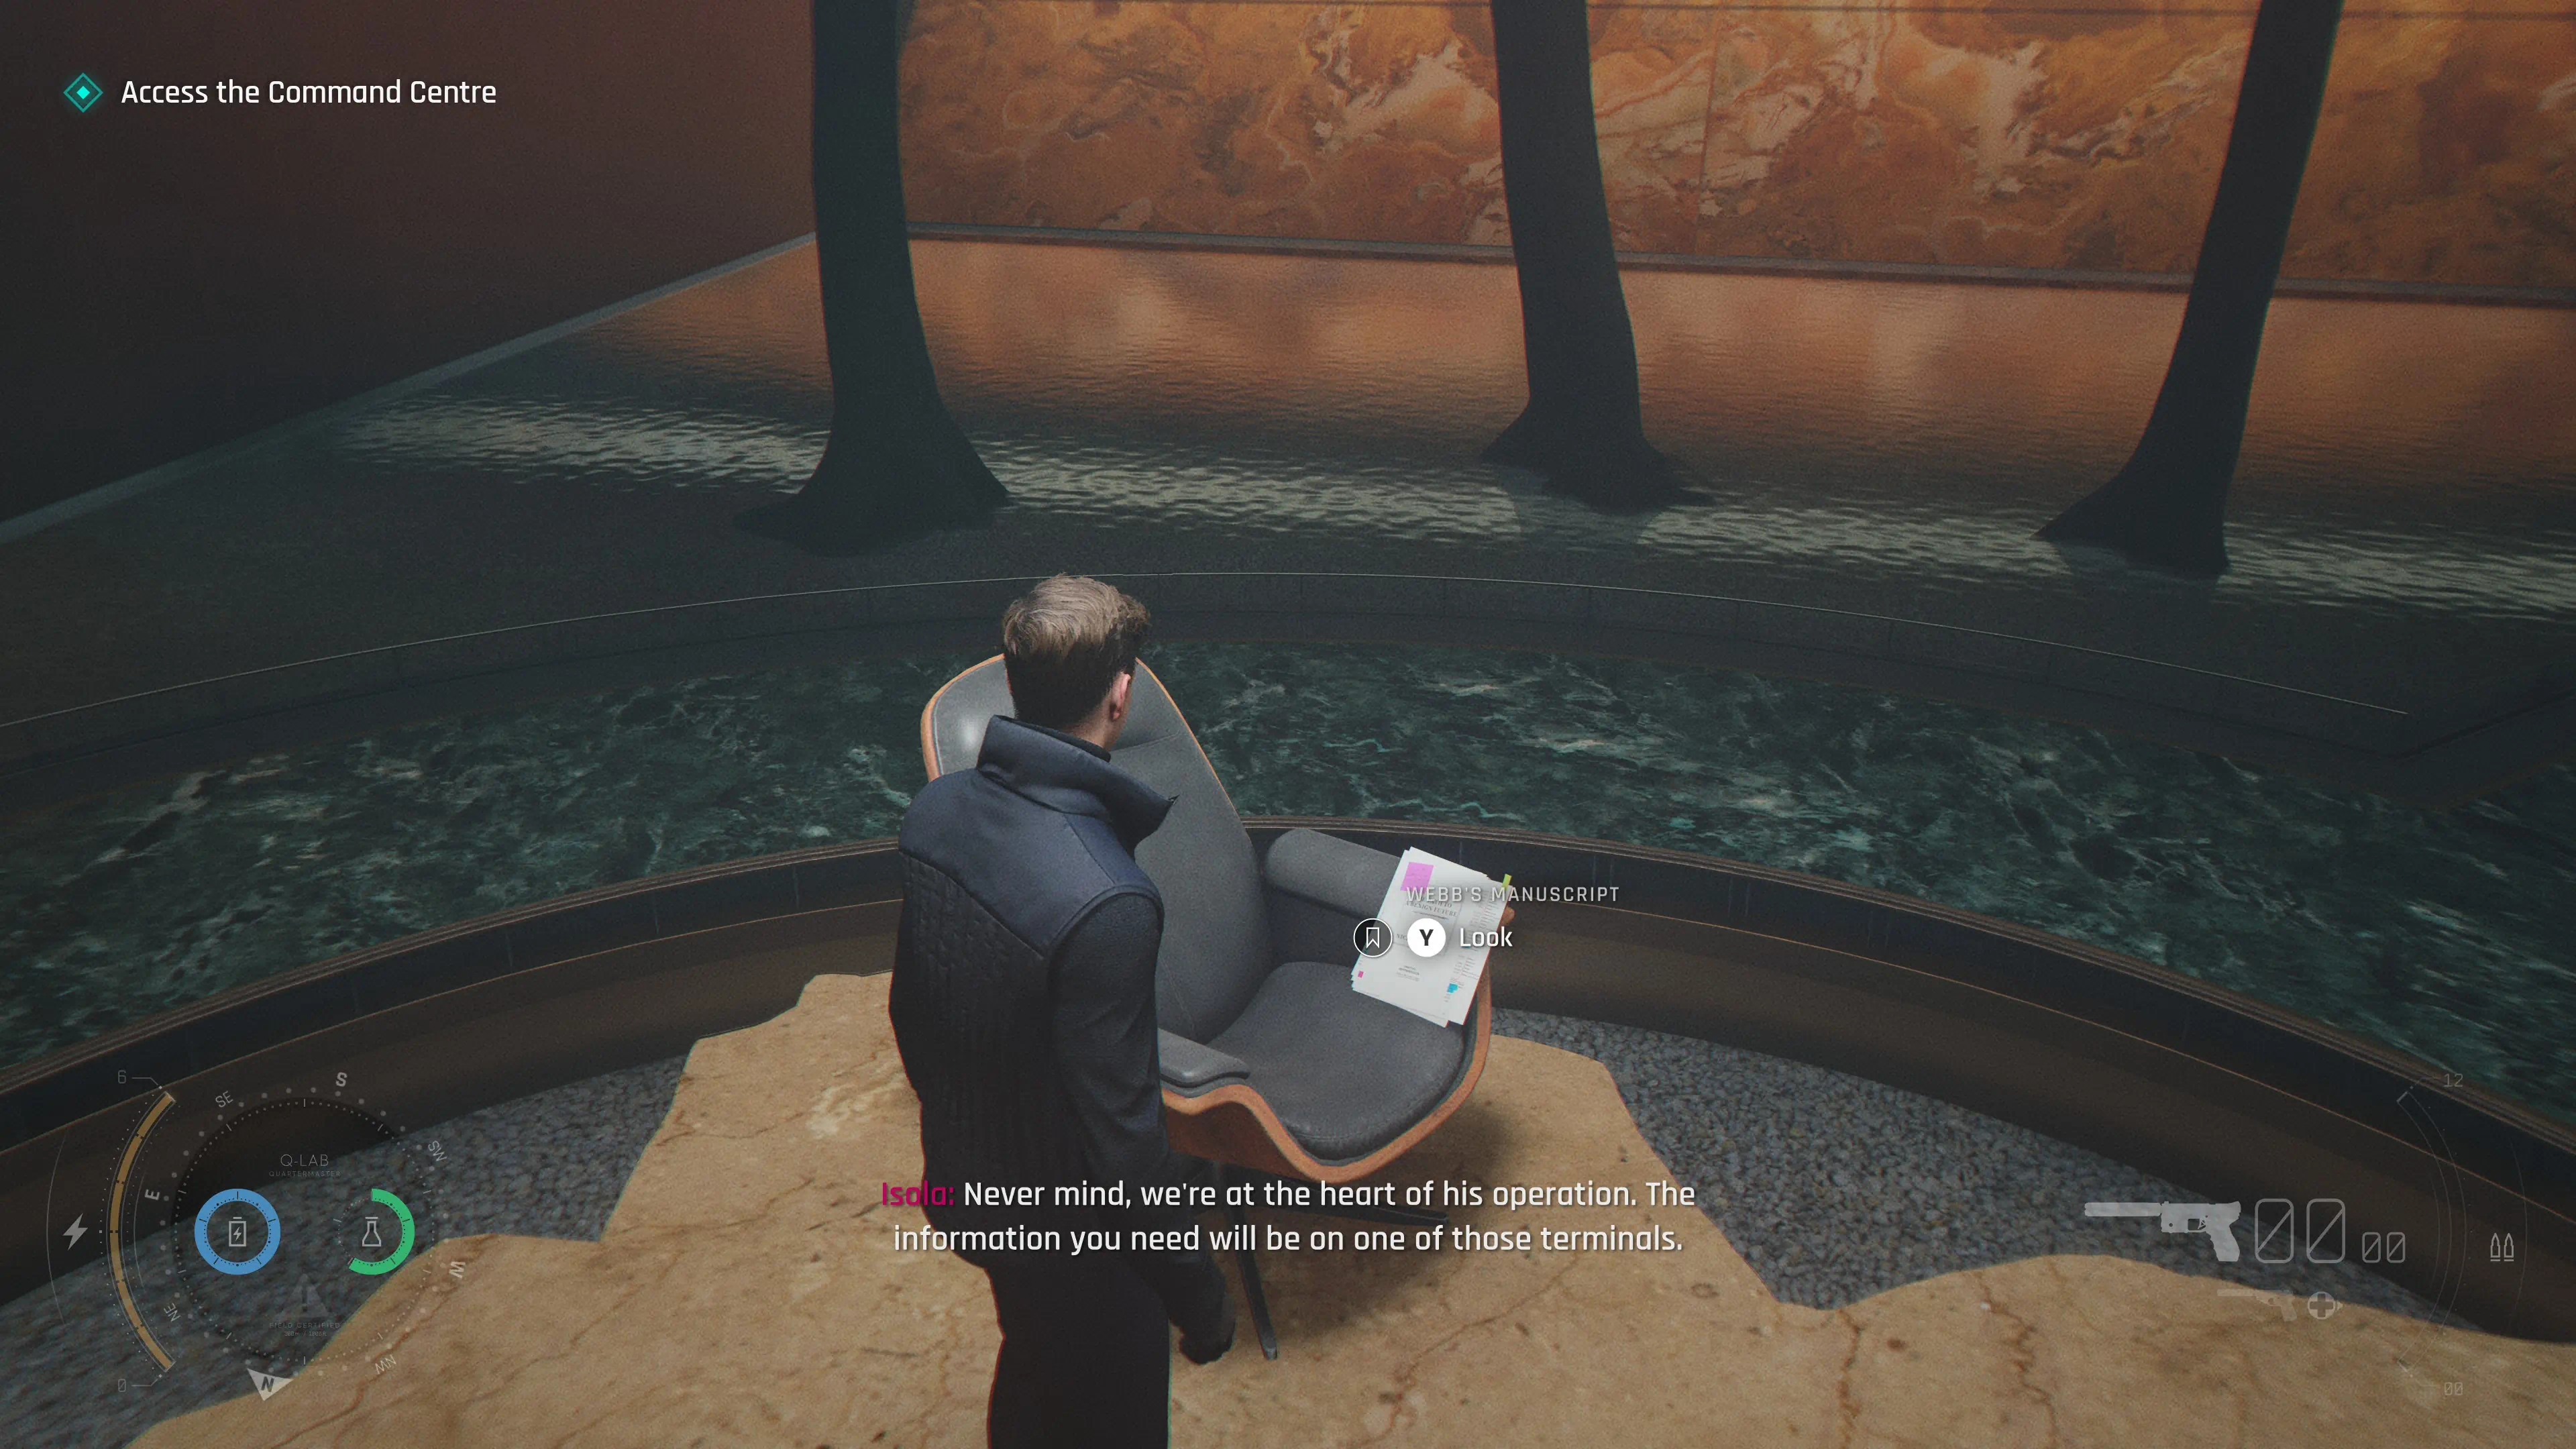
Intel: WEBB's Manuscript
Right before accessing the command center, in the chair you will find Webb's Manuscript.
Chapter 17 - Intel
Intel: Wallet
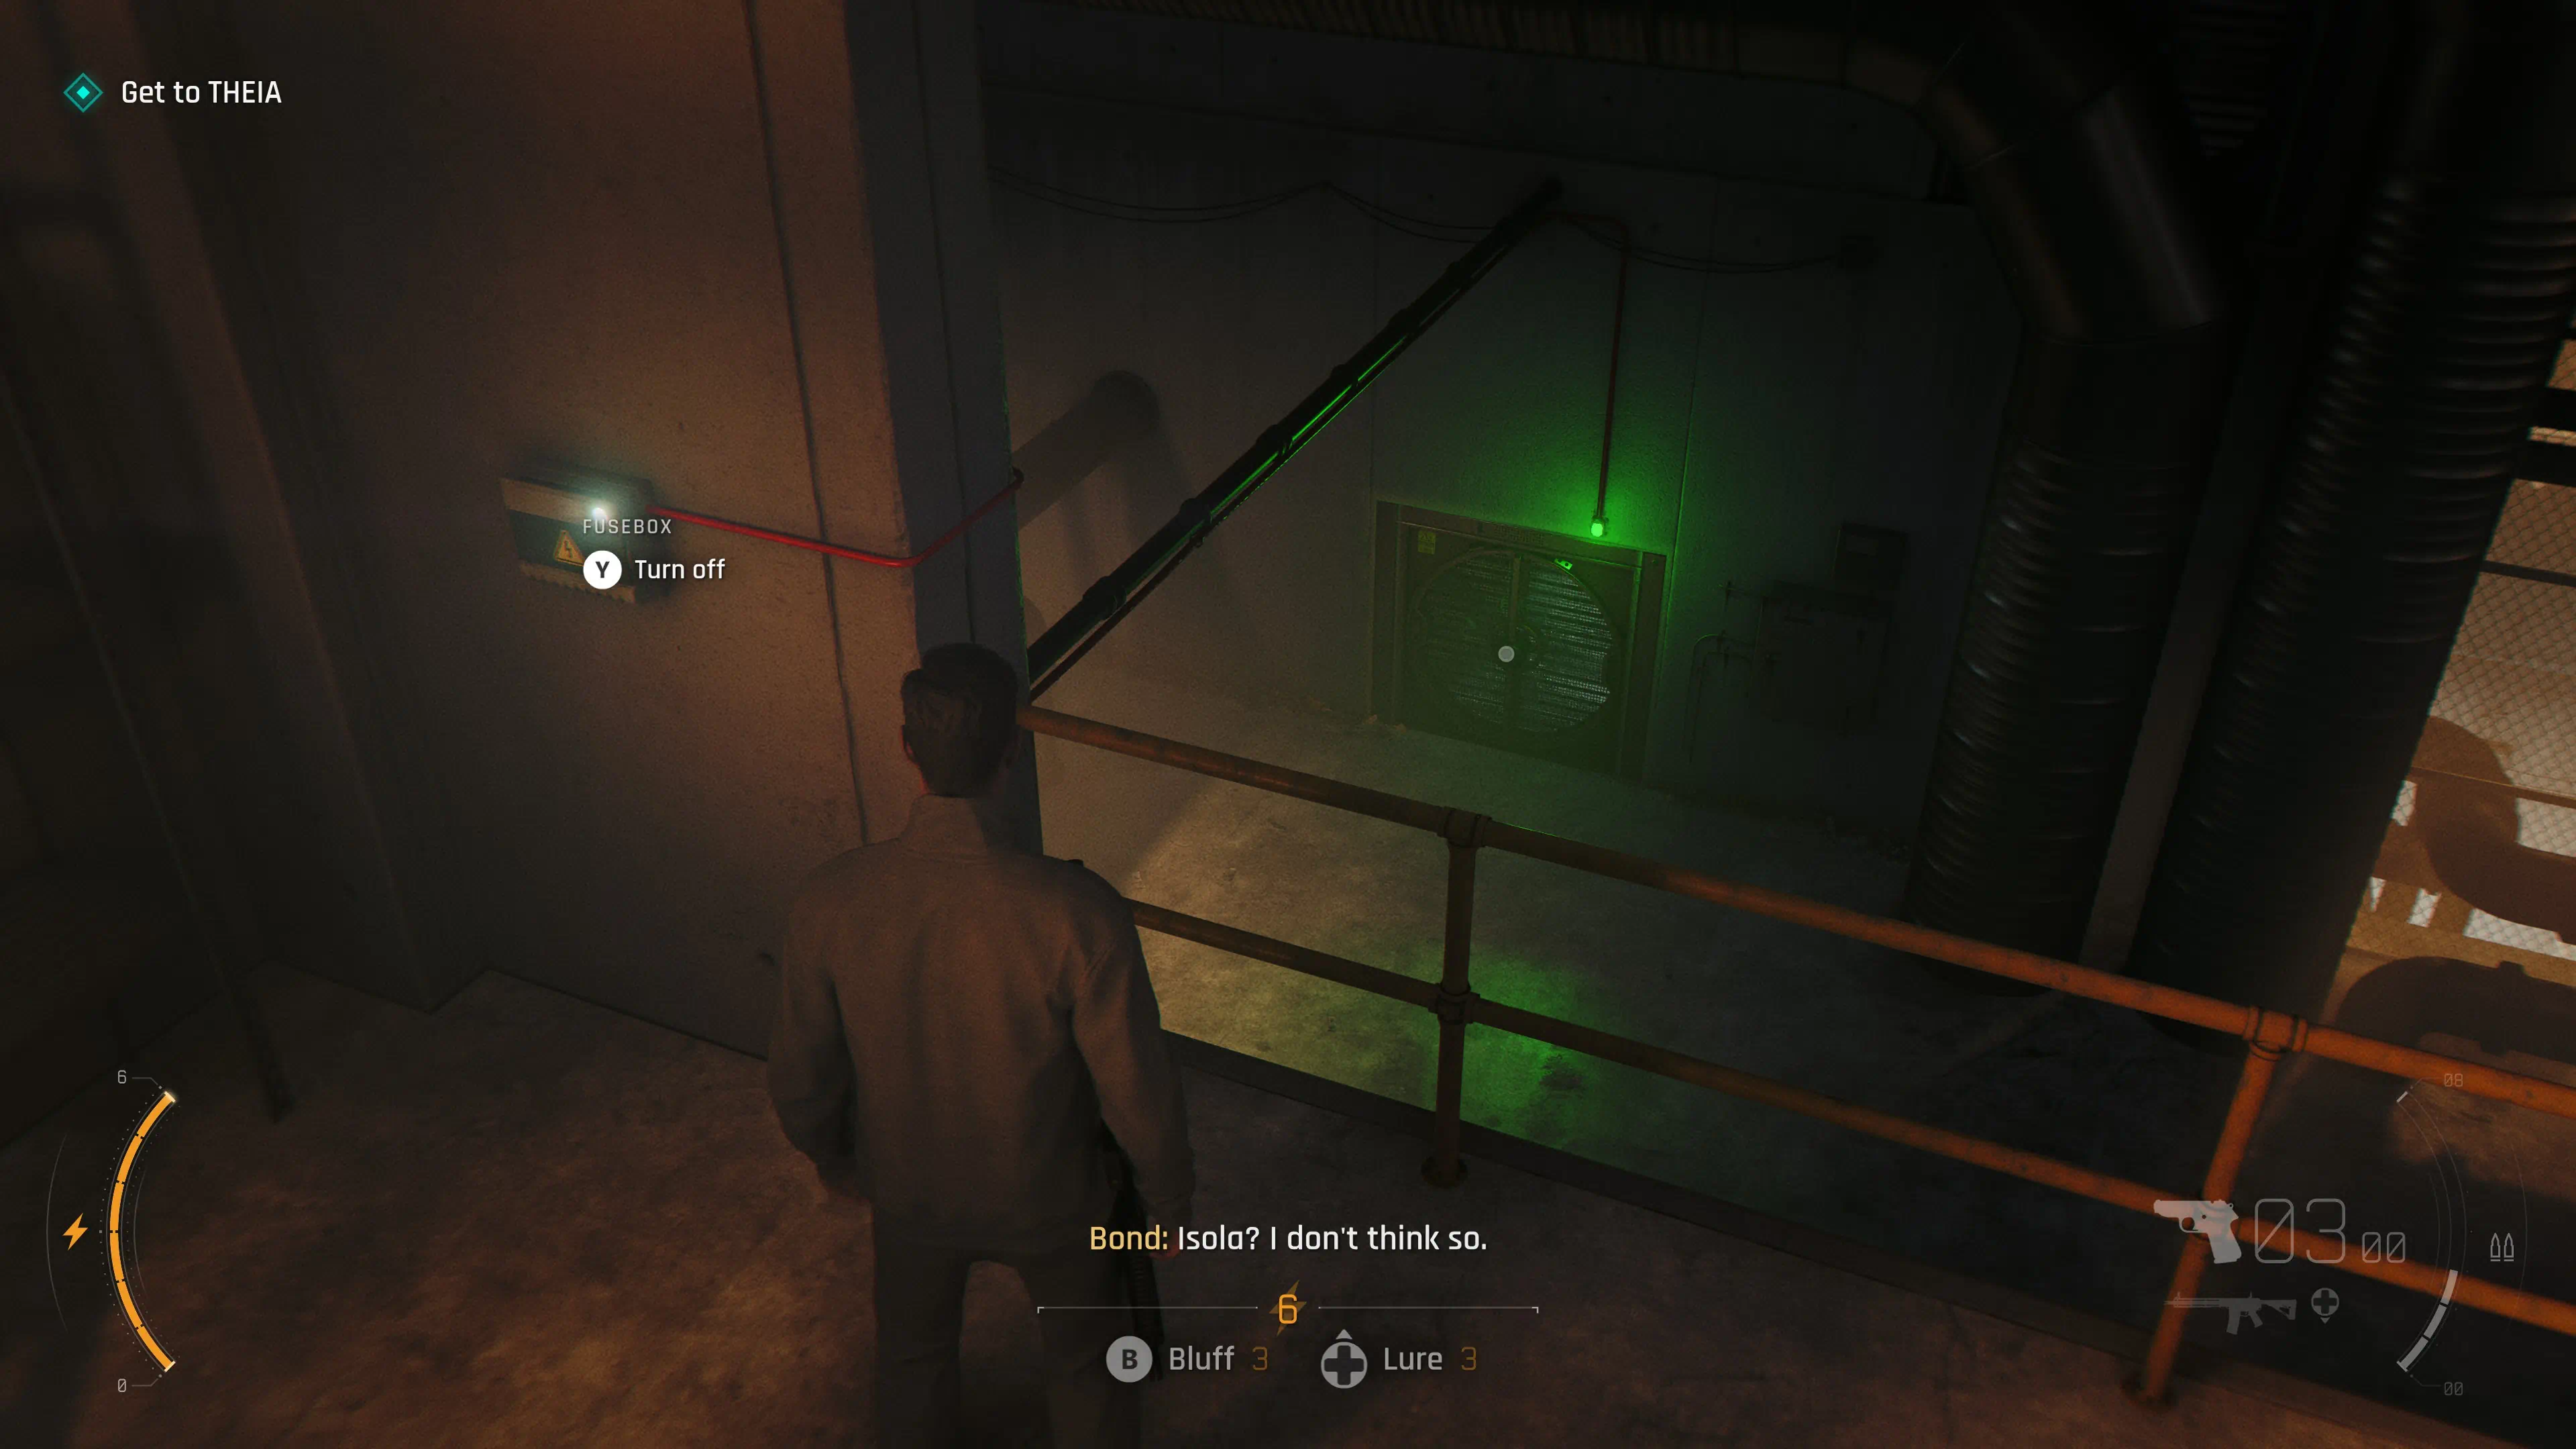
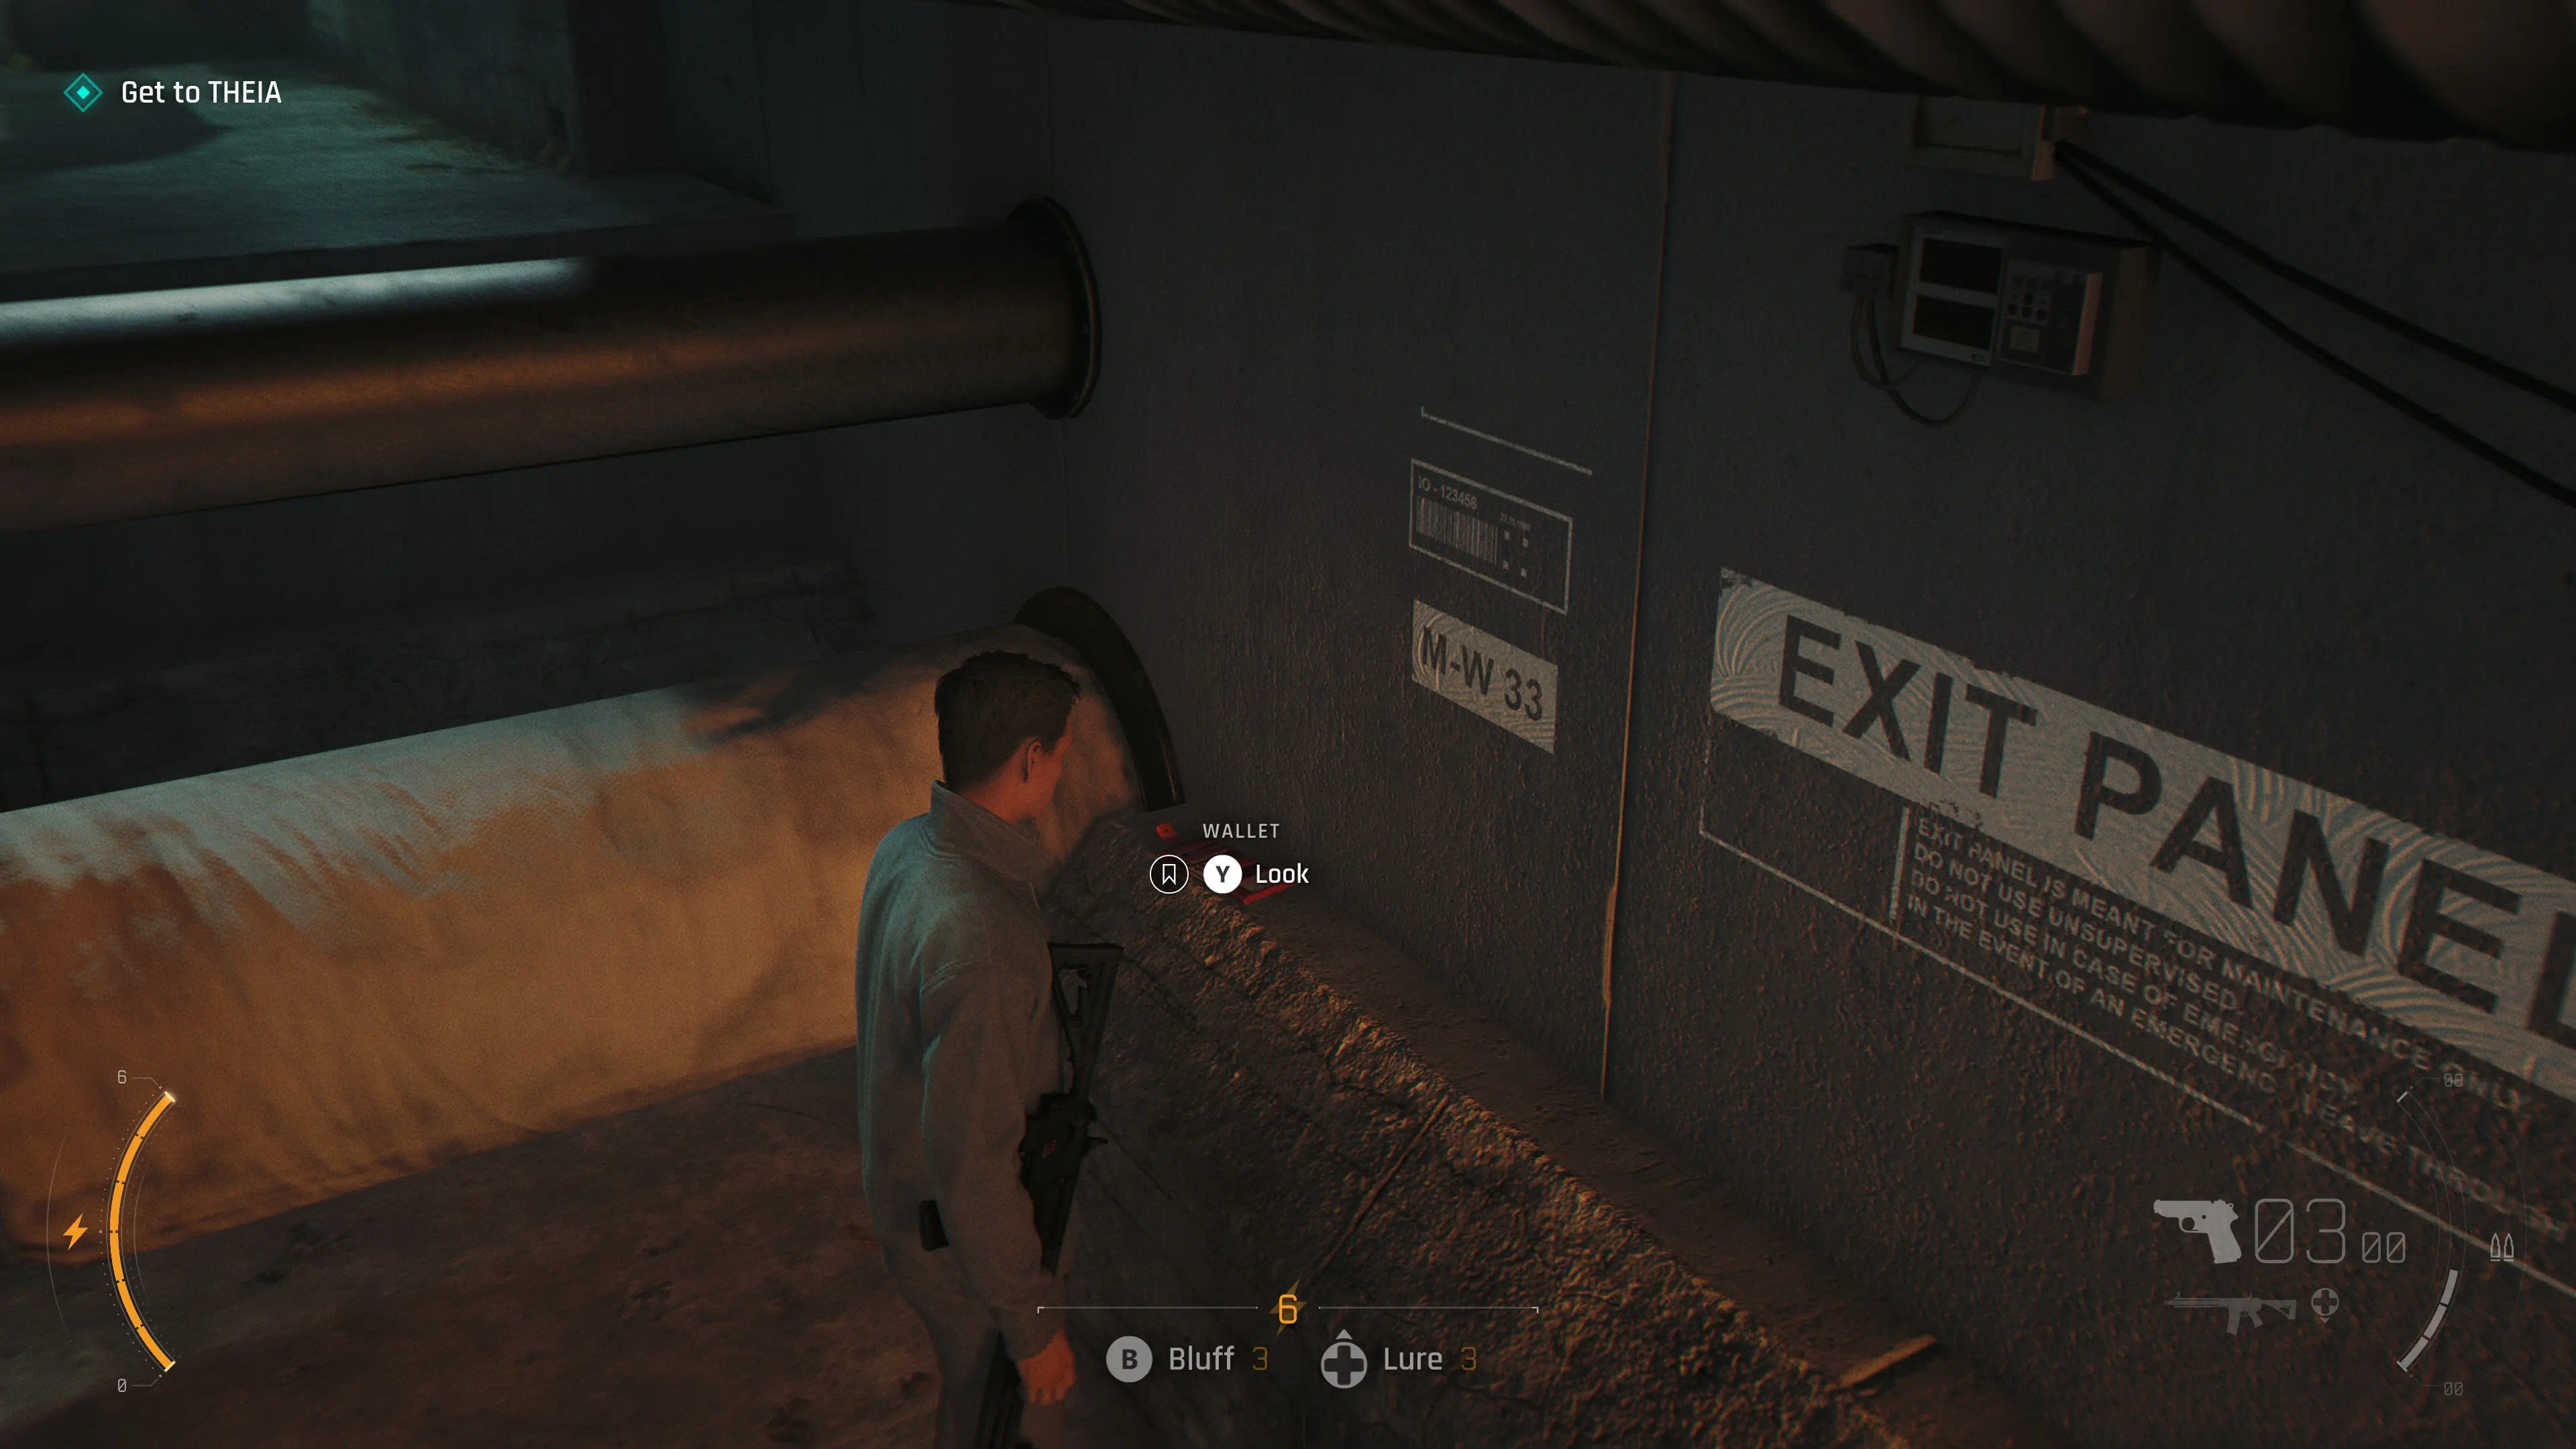
During the objective "Get to Theia," you will have to turn off a vent with a fuse box. After entering the vent, on the right side on the wall, you will find the Wallet.
Congratulations!, You have Collected all the MI6 Files!!