menu
MobalyticsUse your favourite features in-game with our Desktop App
Gamebase Guide

Transit 213 Map Guide: Tac Map, Power Positions & Strategies

Guides
By Mobalytics
Updated on Oct 31, 2026
Oct 31, 2026

Transit 213 Tac Map

Transit 213 Overview

Welcome to our Call of Duty: Modern Warfare 4 Transit 213 Map Guide, where we break down the map's layout, important objectives, strategic positions, and advanced tips to help you improve your map awareness and win more gunfights.

Using our detailed Tac Map and in-game examples, we'll highlight key areas to control, powerful head glitches, useful sightlines, jump spots, flanking routes, and other tricks that can give you an advantage over your opponents.

Whether you're playing Hardpoint, Domination, or Search & Destroy, this guide will help you better understand how to navigate Transit 213, anticipate enemy movements, and take control of the map.

"An overgrown central parking lot in western India packed with brightly colored buses in various states of dereliction, flanked by a repair shop and small gas station and surrounded by construction projects and high-rise tenement blocks."
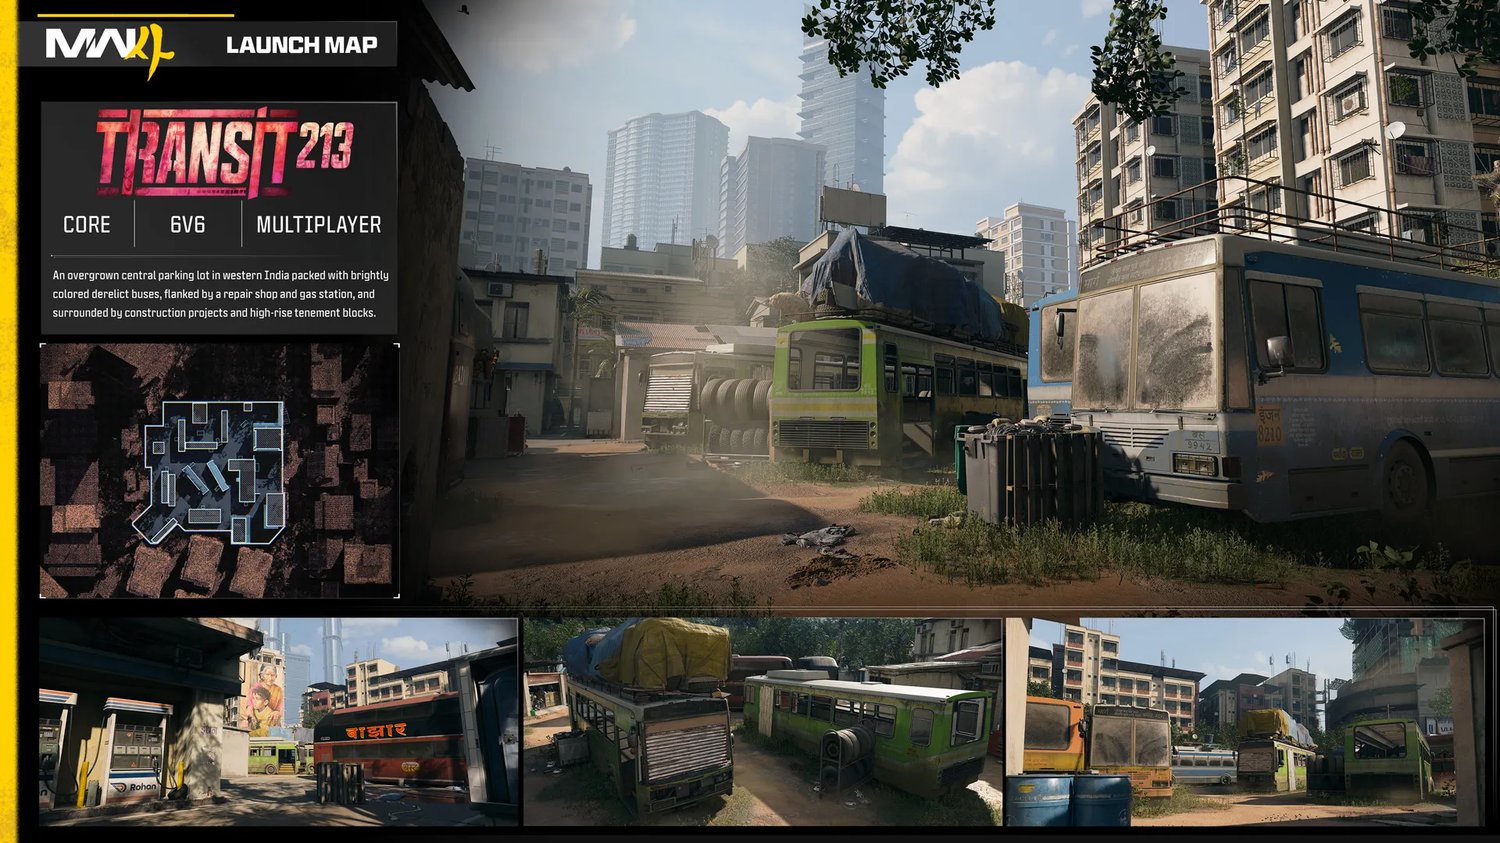
Transit Overview

Transit 213 is one of the smallest maps with the tightest objective areas. While the close quarters nature favors SMGs and Shotguns, there are plenty of high traffic areas with long sightlines that favor the superior range of weapon classes like Assault Rifles and Snipers. Additionally, given all the corners and tight areas, Lethals are a major concern on Transit. We recommend running Bomb Squad or using Trophy Systems. All Lethals work well here, but there are really nice nade bounce spots so our favorite choice is Frag Grenade.

General Strategy

Strategic Areas to Control

Hardpoint 2 Headglitch

Spawn 1 head glitch

You'll very often find enemies using the crate pictured here and the one to the front left to hold down the area around Hardpoint 2. These are both very strong spots for you to use, and to be mindful about countering by expecting enemies to be set up here. The bus, roof, and flank routes on either side can all be used to counter these spots.

Back Spawn, behind C Flag / Hardpoint 2

Another import spot nearby is this back area where teams will spawn mid-game. Whether you are approaching or defending on either the left or right side, the structure our crosshairs are on is crucial to utilize. When an attacker slides/jumps around the corner the defender can use the box for cover or be crouched on top of it for an advantageous angle.


Roof to C flag

Roof Looking to back spawn / C Flag

We never see people utilizing the roof, so enemies are always caught off guard. While routing onto the roofs can be dangerous, if you have a read on the enemy positions and are out of their immediate LoS, you can get up there with very little risk. This is a powerful counter to campers in the back spawn or near C Flag.

Roof to HP 5

Roof Looking to Center

Similarly, you can prone on the roof to get LoS towards Spawn 1, Hardpoints 2 & 5, and map center. Again use with caution but an extremely powerful spot to utilize.

Bus to HP2

Center Bus

To access the rood, you'll need to first mantle onto the center bus by using the tires or crate next to it. This can be done from both sides. The top of the bus also offers a great head glitch looking towards Spawn 1 / Hardpoint 2.

HP 5 Head Glitch

Hardpoint 5 Head Glitch

Inside Hardpoint 5 there are two important power positions. The first is where we are aiming. That head glitch can be use to LoS towards Hardpoint 2 or towards A Bomb. Always check for enemies set up there, and be sure to utilize it yourself.

When pushing through the side route or contesting Hardpoint 5 itself, the pile of lugging we are laying on in the above picture is the most crucial to control. The play around this by mounting the side, proning next to, or on top of it.

inside Bus

Inside Bus

The buses themselves are a great way to have some protection while contesting map center or B Flag. Always keep an eye on both both buses because enemies will be looking to set up inside. The walls can be penetrated, so it's not invincible.

Nade Spot

nade spot

Nade spot line up

Lastly, we'll leave you with a useful nade bounce spot to deal with those annoying head glitches looking across B bomb and Hardpoint 3. From inside the bus, aim near the center of this small garage.

Nade landing

Nade spot explosion

The frag will always land behind the head glitches. Cook the nade a bit to expode sooner and hit front heady, or throw sooner to let it bounce to the back one.

Comments

0