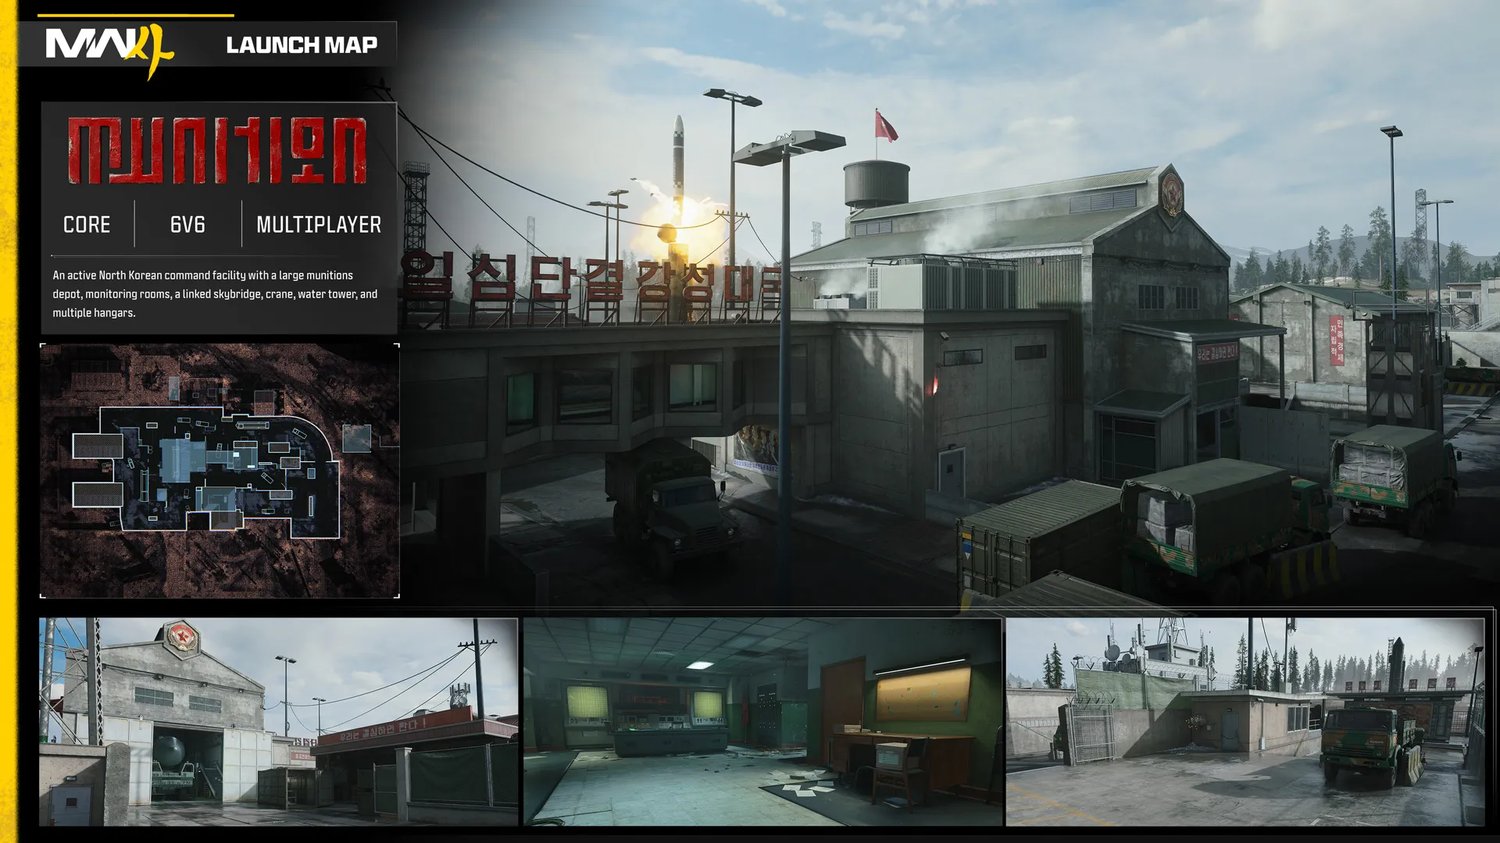
Welcome to our Call of Duty: Modern Warfare 4 Munition Map Guide, where we break down the map's layout, objective areas, strategic positions, and advanced tips to help you improve your map awareness and win more gunfights.
Using our detailed Tac Map and in-game examples, we'll highlight key areas to control, powerful head glitches, useful sightlines, jump spots, flanking routes, and other tricks that can give you an advantage over your opponents.
Whether you're playing Hardpoint, Domination, or Search & Destroy, this guide will help you better understand how to navigate Munition, anticipate enemy movements, and take control of the map.
"An active North Korean command facility with a large munitions depot, monitoring rooms, a linked skybridge, crane, water tower, and multiple hangars."
Munition is a medium sized map with a flexible layout with areas that favor close, mid, and long range engagements. Depending on your personal playstyle and the game mode, we recommend experimenting with different weapon loadouts because every class can comfortably find success here.
The three long sight lines are center and both side lanes:
Center path long ways between Hardpoint's 2 and 4
The sightline from Domination A flag into S&D B bomb site
The top side of the Tac Map from Hardpoint 5 to the far opposite side of the map passing Domination B flag / Hardpoint 1
General Strategy
Strategic Areas to Control
Missile Cache
No matter what game mode is being played, a good portion of the action happens in and around the Missile Cache. Below we'll cover a few strong positions you can utilize to get the upper hand against the enemy team. Some positions are head glitches with LoS into the building, and some are alternative paths or hiding spots that are great for surprising the opponent.
Domination A Flag looking into Hardpoint 2
Stand on top of the truck near the domination A Flag and you'll have an angle to cover both doors of the Missile Cache, and the opening on the right coming from center.
Side Window of Missile Cache
Standing in the window
An important strategy to counter campers and enemies already set up inside the building is to utilize the window. You can jump into the window and stand in the ledge to shoot down into the Missile Cache, or jiggle peek out towards the aforementioned truck of A Flag. It also works great as an extra angle to throw Lethals and Tacticals.
Keep an eye on the window when you are the one already inside so you don't get surprise flanked.
Left door opens and closes
Something we see players underutilizing is the mechanic to open and close the garage style door. Force the enemy to deal with the small choke point of the just the right door opening. Alternatively, be cheeky and open in to distract while a teammate flanks the side.
On the C Flag side, the enemy team will often check the doors or around the corner. When you are peeking, it's often better to position on top of the container or lift instead of standing on the floor where the enemy is most likely to expect you.
Out of bounds spot
One sneaky move you can make on the C Flag / Hardpoint 6 is the out of bounds area between the chain-link fence. You can jump onto the fence for a few seconds to get LoS on the opposite side. Also, you can jump over and run towards the Missile Cache and you'll have enough time to jump over the fence back into the map.
Sneaky Positions
Climb Pipe to Hardpoint 4
On the Cache side of the Hardpoint 4, you'll find a pipe you can climb to quickly gain access to the 2nd floor. Great alternative route when they have the hallway locked down.
Ladder into Hardpoint 4
Another sneaky access point into the 2nd floor is this ladder. You can head glitch and fire your secondary, toss equipment up, or climb up quietly to flank.
2nd Floor to B Flag / Hardpoint 1
Float spot
From the C Flag side, there is a stair case up to the 2nd floor. If you jump from the stair case you can land on this concrete wall, which you can lie prone on. This spot cannot be mantled onto from the ground so it's an angle enemies won't initially be checking.
A Bomb / Hardpoint 5 looking towards A Flag
Another extremely sneaky spot to set up is on top of the ledge behind the Hardpoint 3 wall. Although it's slim, you have LoS towards center path and the A flag. You are nearly impossible to spot but have the ability to shoot through the tiny gap or wall bang through the fence. Try out this spot when defending the A Bomb, A Flag or Hardpoint 3.