menu
MobalyticsUse your favourite features in-game with our Desktop App
Gamebase Guide

Lithium Map Guide: Tac Map, Objectives, Power Positions & Strategies

Guides
By Mobalytics
Updated on Nov 2, 2026
Nov 2, 2026

Lithium Tac Map

Lithium Overview

Welcome to our Call of Duty: Modern Warfare 4 Lithium Map Guide, where we break down the map's layout, important objectives, strategic positions, and advanced tips to help you improve your map awareness and win more gunfights.

Using our detailed Tac Map and in-game examples, we'll highlight key areas to control, powerful head glitches, useful sightlines, jump spots, flanking routes, and other tricks that can give you an advantage over your opponents.

Whether you're playing Hardpoint, Domination, or Search & Destroy, this guide will help you better understand how to navigate Lithium, anticipate enemy movements, and take control of the map.

"Deep within a rural Mexican state beneath the Sierra Mountains, Corporación Mexicana de Litio’s Lithium processing refinery has come under attack, transforming the site into an active combat zone."
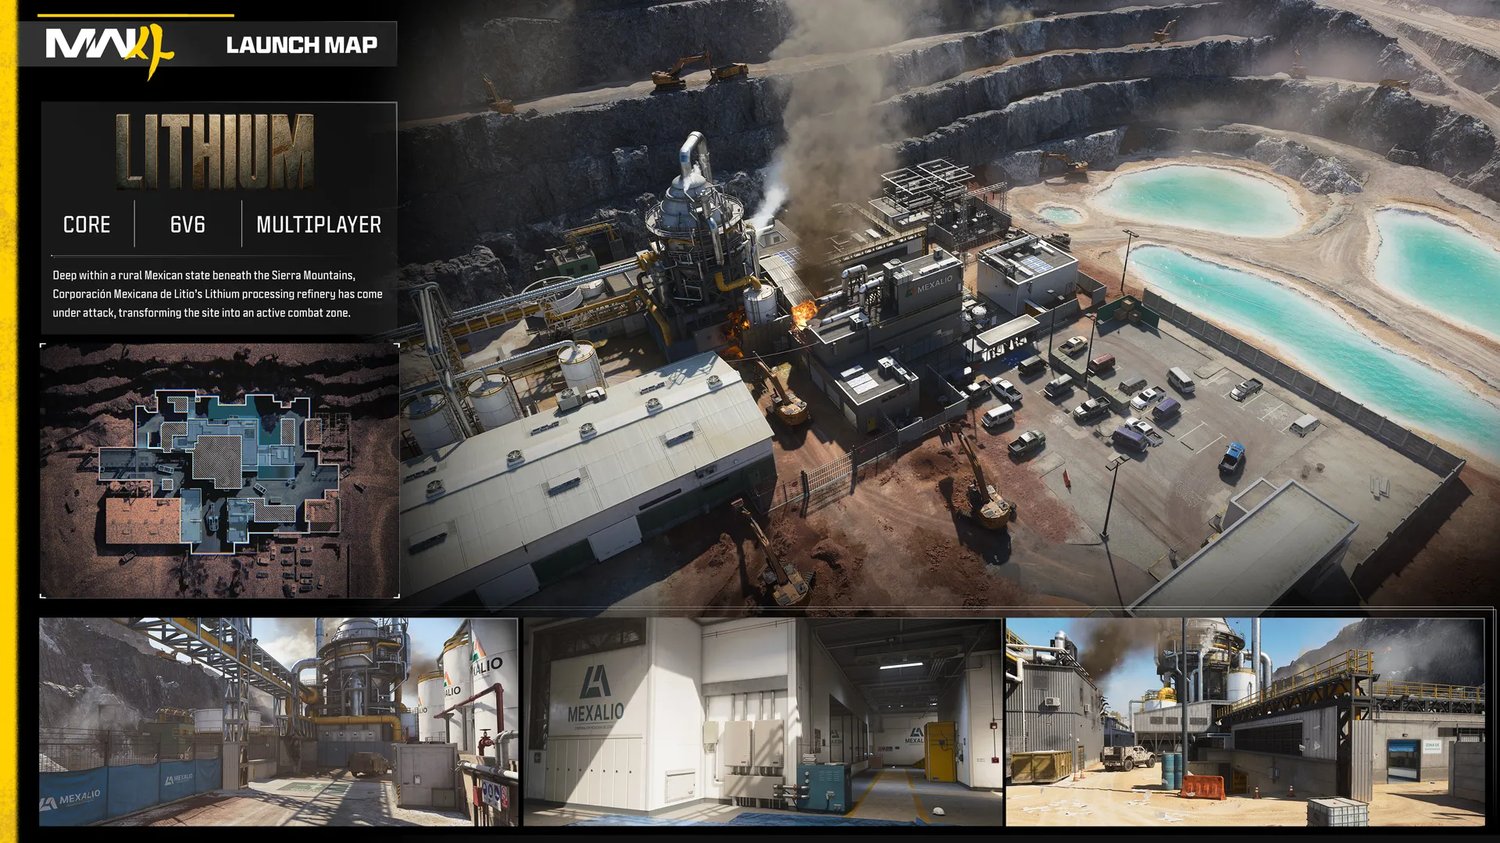
Lithium Overview

Lithium features a mixture of industrial buildings, large trucks, long and narrow sightlines, and open outdoor areas. Most areas offer plenty of cover and opportunities to engage enemies from multiple angles.

Mid-range gunfights are especially common on Lithium, making assault rifles, SMGs, and markman rifles excellent choices for controlling the main sightlines and contesting the objective areas. Especially on Hardpoint and Domination, however, the crucial indoor objectives favor more aggressive playstyles and fast movement for flanks.

General Strategy

Nade Spot

Nade Spot onto S&D B Site

Stand with you back to the fire extinguisher then line your crosshairs up where the small white pipe comes out of the wall. Throwing a frag here will cause it to bounce and roll right to the back side of the B bomb site.

Outside of S&D, this is also useful to dealing with the box head glitch everyone sets up on.

Strategic Areas to Control

C Flag Gltich

C Flag / Hardpoint 6 head glitch

When defending Hardpoint 6 / Domination C Flag, you can make use of the mantle spot to the back left, then mount for a nasty head glitch. This spot is not commonly known, so enemies typically won't be pre-aiming here.

A Flag truck

A Flag / Hardpoint 5 Truck

When holding this area, the truck offers a great spot to set up. Climb into the truck as we've done here and you get LoS into the B Flag door, the walkway towards the S&D A site, and you can rotate to check either spots behind you or the toxic water tunnel below.

Additionally, if you prone you can get some sight towards the same walkway towards A site.

A Flag Pipe

On the outside of the B Flag / Hardpoint 1 & 3 / S&D B site

This open area can either be empty or highly contested. Don't underestimate the importance of controlling this lane because it grants access to multiple side entrances. To the left you can use the main entrance, in front is the waste tunnel and pipe to climb onto the 2nd floor. To the right you see boxes you can mantle up to shoot through a window and get some easy side kills on enemies looking down main.

B Bridge

Bridge the outside of the B Flag / Hardpoint 1 / S&D B site

The bridge here is another important spot on the opposite side. Having access to flank on the bridge via the pip, or the stairs / blocks up to the opposite of the B Flag area is extremely strong.

B Flag / B Site / Hardpoint 1

Here we see the reason why the above outside area is so important. The bulk of combat occurs across this narrow hallway.

A SD site

At the A site / Hardpoint 2 & 4, you can use the far outside of both buildings for cover (near small door on right). Also remember you can you slide under the partially open garage doors or use them to throw Lethals and Tacticals into the area before entering.

Comments

0