
You have been playing around with your builds on Diablo 4, but sometimes, it feels like something is missing. Or maybe you just purchased Diablo 4 and you have no idea where to start so you decided to Mobalytics to check out a build guide. Thankfully the team at Mobalytics does put a lot of time and love into guides so that they are easy for you to follow along. But, Diablo 4 has a lot going on within it, so this guide here will help you learn how to read a build guide.
 Use your favourite features in-game with our Desktop App
Diablo 4 Guide
How to Read and Follow a Diablo 4 Build Guide
Guides
Getting Started with Guides - for Beginners
Before You Get Started
When choosing a build guide to follow - it is important to ensure you are choosing a guide for the correct stage that your character is in. If you are just creating your character, it is important to choose a levelling guide, we have many readily available here. The reason why we want to choose a levelling guide first, instead of an endgame guide is because endgame guides assume that your character is level 70 already, whereas a levelling guide will begin from character level 1. This means you should see an easier to follow levelling path, more realistic items to equip and more.
Video
The Skill Tree
First up is the Skill Tree. This is where you can follow along to see which skills to use for your selected build. To make it easier, some guide writers also have separated the skill points into 3 categories: 1-14, 15-29, and 30-70. This helps you see which skills you should be adding when reaching those specific level groups. Just remember, as you start working through your Season Journey you may get more skill points than your level, so things may not always perfectly line up.

There is also the option of enabling the leveling path, which will open up a side panel beside the Skill tree. This will show you which skills to add in which order. This is especially useful when getting extra skill points from your Season Journey as well.
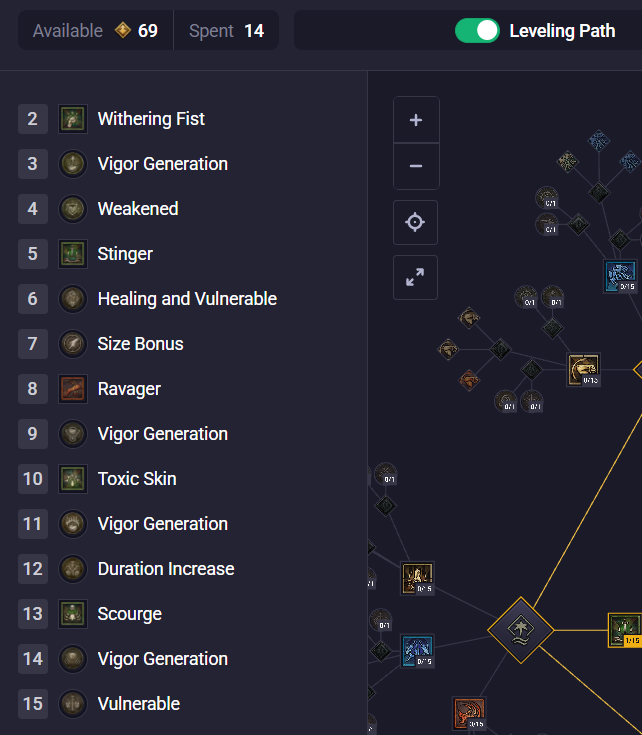
As your skills are getting assigned, ensure that your skill bar is matching the skill bar in the guide as well. Obviously you can put the skills in whichever slot assignment works best for you, but just make sure all the skills match. This is just in case you needed to add a point to a skill that will not be used, or you were given the skill from an item that you are wearing.
Mercenaries
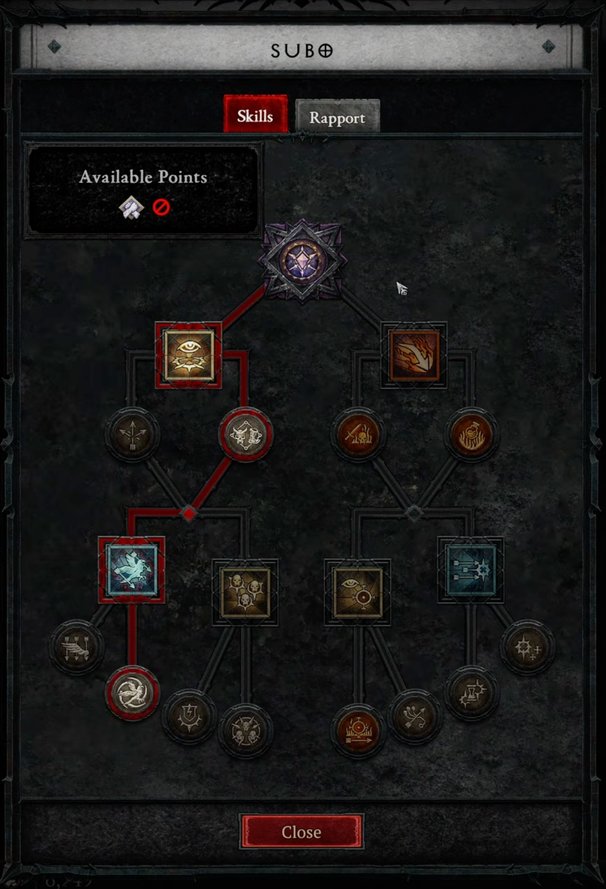
Mercenaries and Reinforcements also have a small (or singular) skill tree to choose, which will also be noted in the build guide you are following. A mercenary get 4 skills for you to add in, and is with you all the time when you are not in a party. A reinforcement appears in battle, is still in use while in a party and only has one skill to choose from, with an option of what triggers it. Mercenaries are great to help along in your journey through Sanctuary.
The Class Quest
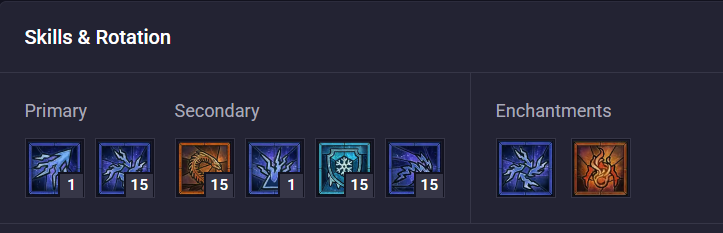
The Class Quest will vary based on class, so on each guide it will also look a little different. For example: A Barbarian selects a Technique, a Sorcerer chooses Enchaments, and a Druid will select Spirit Boons. These add a boost of damage and expertise, so do not forget to run your Class Quest when it becomes available. This only needs to be done once per class. On the Mobalytics build pages, the Class Quest selections will always be beside the skills, in the Skills & Rotation tab.
Equipment
Now looking at the equipment needed for your build. For a leveling build, there generally will not be too many extremely specific items or aspects to put on your gear as you might not always find them all during your leveling. Guide writers will still usually include the best aspects to use, but remember there is no pressure to have every aspect shown on your gear right away. Aspects will be a great way to boost defense or damage, so check to see if there is any notes about which ones should be prioritized.
Looking at affixes, a lot of leveling builds will give a list of stat priorities. The stats on gear will help keep your character alive, and maintain damage to get through content in game. It is important to look at what kind of stats are shown on the leveling guide, and keep those stats in mind as you are finding new gear. Remember to also keep up with your Tempering as that will also help with your damage and defenses.
Adding sockets to your gear is also a great way to get a damage or defensive boost. To see which socketables a build needs, look at the items socketed in the equipment. They should show which gems and which runes to put in your gear slots.
Talisman
Talisman's are a new addition to the game since the Lord of Hatred expansion. This is a spot unique to each character, where you will be able to place one singular seal, and several charms around it. As you progress in levels you will find seals that open up more charm slots.
Generally in build guides, the author will note to just use any random ones with specific stats, like experience or some that will help with damage or defense. Some may include a few options that are good, but generally the main charms you will end up using are found more towards the endgame.
Some examples:


Endgame Transition
Once you have reached level 70 in game, this is where you will start to transition your build into the endgame version or a new build. If the build you are using has an endgame version, usually the author will link the next build in their guide. If there is no endgame version, this is your chance to pick something new that sounds interesting and fun!
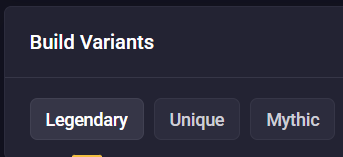
Looking at endgame builds, they will have a few options. Each one should have at least 3 versions. This is usually Starter/Legendary, Midgame/Unique, and Mythic. Sometimes there will be some extra variants like Pushing. When you are first getting started in the endgame, you want to begin with Starter/Legendary. You can take a look at the other variants to keep notes on Uniques and Mythics to look out for.
Transitioning to endgame is where the Affixes on your gear, as well as your Aspects will really matter. These will help you continue through harder content in the game, and missing out on some Aspects can really put a blunder on your progression.
Paragon Board
The Paragon board is where a character gets a lot of power from in the endgame. These are pretty customizable for every build, and definitely help greatly with character progression. Every character begins with a starter board, and then you can add up to 4 more boards to have 5 total. Each board also contains a spot for a Glyph. Glyphs are found in Sanctuary while fighting, but the guaranteed way to find them is in The Pit, and this is also where you will be leveling them up.
At the bottom of the Paragon Boards on Mobalytics there is also a small section that shows "Glyph Priority". What this means is that there is an order of which Glyph to level up first.
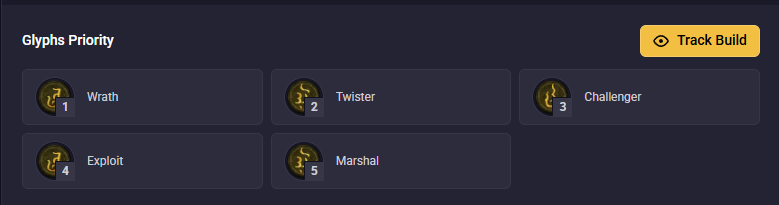
Along with having a Glyph socket on each board, there is also one Legendary node per board. While in early game it is generally best practice to go for the Legendary node first instead of a Glyph socket, since your Glyphs will not be very powerful early on as they will not be levelled up.
Paragon Boards will also have several options, like Equipment, so when you begin make sure you select Legendary/Starter, and move up as you have completed all the nodes in the guide. Remember that it is okay to select some slightly different nodes as well! If you are having issues with survivability, maybe you may need to select some defensive nodes that provide more Life, Armor, or Resistances to keep your character alive. Sometimes each unique character might need some minor troubleshooting as it can be difficult to match a guide exactly.
Tempering & Masterworking
While Tempering can be done very early in the leveling stages to get a boost of power, Masterworking is a little bit more later on in game as you will not have Obducite immediately.
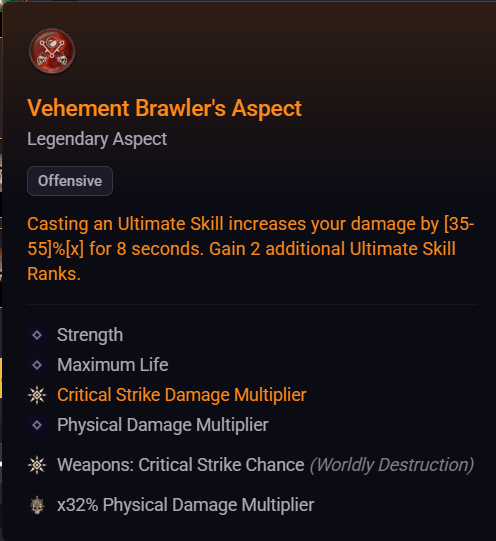
When looking at the Equipment in a build guide, the Masterworked Affix will usually be highlighted in orange. This helps you see which stat to prioritize when Masterworking your gear. As long as you have enough Obducite you will be able to re-roll the Masterwork on your item until you get it on the Affix you want.
Final Thoughts
This is the basics of how to follow a build guide! If you ever have any questions about a build you are following, the authors of the guides are always more than happy to help and answer any questions. They can be directed to their YouTube, Twitch or Discord. Most of them will say at the beginning of the guides where to ask questions if needed.
We all hope you enjoy blasting away with one or several of our guides, and make sure to stay tuned with our tier list here.
For more Diablo 4 guides, make sure to go here!