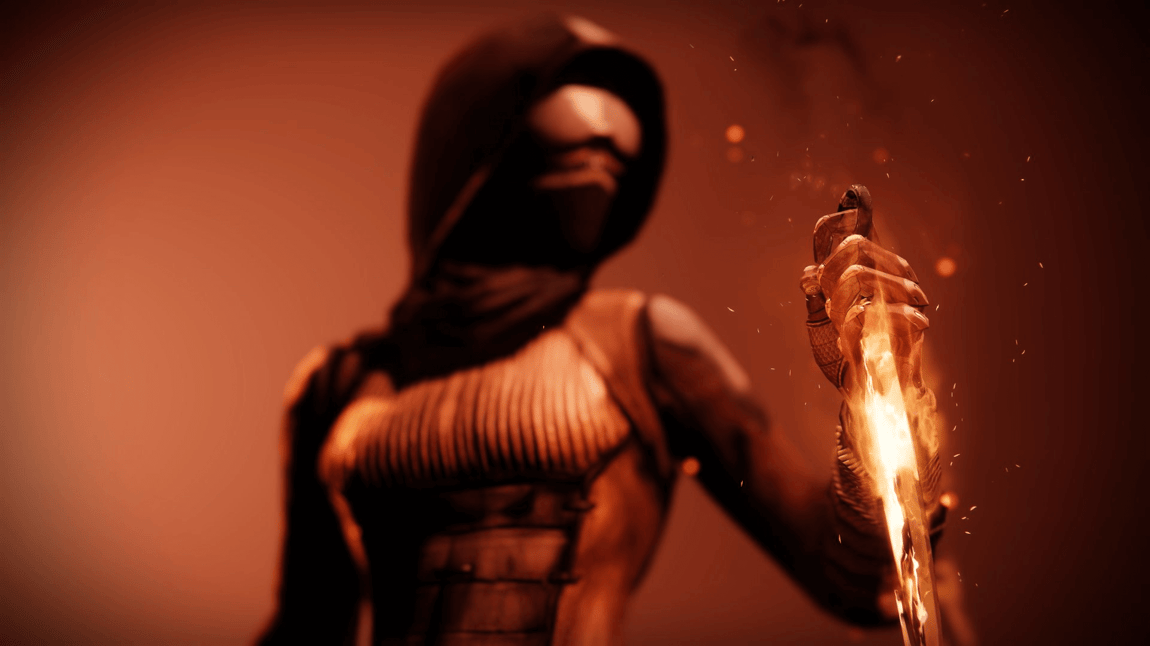
Destiny 2 Hunter BuildSolo Dungeon
 PvE
PvEFinal blows with this weapon cure you and increase reload speed; reloading after final blows cures nearby allies.
You gain additional Super energy from Orbs of Power you pick up. While your Super energy is full, picking up an Orb of Power overcharges your Super, causing you to gain a burst of healing when cast and a bonus to your Super damage. At maximum overcharge, you also gain an overshield.
Build Details
There are 2 main factors when it comes to Solo Flawless Dungeon runs. Survivability and Damage Potential. You could also say ad clearing, but in my opinion, that isn’t nearly as important as our other 2.
So when making this build, the first thing I wanted to make sure I had was that Survivability portion covered. Now there’s technically 2 portions to survivability. You have the Survivability when it comes to ad clearing sections, and Survivability when you’re in Boss phases.
- When it comes to the ad clearing phases, there are a ton of builds out there that can heal with kills or give you DR with kills so that didn’t narrow down my options a ton.
- However when it comes to DPS phases, there are only a few hunter builds that meet this mark. The first iteration of this build I was on prismatic and while this build could cook, I ran into the issue of trying to stay alive in DPS phases. So that’s why I landed Back on Solar Hunter. We can bring things like Ember of Mercy and the healing grenade to gain restoration and Ember of empyrean to keep that restoration going. That way if we need to do any mechanics or just simply deal Boss DPS, we can do so while healing in the process.
- Now I will say that I was absolutely loving Red Death Reformed with this build. This will continuously cure you by getting kills and every third kill will create a healing orb that will give you access to restoration x2. Then you can slay out with weapons or even throw your healing grenade to help extend that Restoration x2. And this really helped with those DPS phases since it became pretty easy to work up to 15 seconds of that Restoration.
The other Portion of the Build we need to look at is the Damage potential. Now you have 2 main options. First, if you have a boss that can take precision damage, you could of course go with Celestial Nighthawk to deal some good burst damage. Otherwise you can use Star Eater scales and throw on Blade Barrage. Blade Barrage already deals good damage but with Star Eater Equipped, it can deal up to 70% more damage and give you an overshield for more survivability during DPS phases. Pair that with the incredible Artifact Perk, limit break, and you can now easily deal 121% more damage with your Burst Super. This helps deal some quick damage so that if you need to leave a DPS phase early to survive, it shouldn’t make a big difference.
Ad clearing - For Ad Clearing, it mainly depends on if you’re using Red Death. With Red Death, you have easy access to Restoration x2, so you can get 3 kills and on that 3rd kill you gain that Restoration x2. From there you can use a powered melee to become radiant, dodging to pick up orbs and gain back your melee. Then you can either keep killing with Red Death or your Powered Melee to keep up your Restoration and Radiant, all while creating orbs which will feed your super and Star Eater Scales.
If you aren’t using Red Death, then the main thing you want to keep in mind is that you’ll only have access to Restoration x1, meaning you’ll have to play more passive and use cover wisely. In this case, the main difference is that you start the encounter by using your healing grenade to proc restoration, after that, the gameplay loop is the same.
DPS Phases - Second, we have DPS phases. It will slightly depend on your weapons and but overall the loop is similar. I like to make sure I have as much restoration as possible going into DPS phases. Then as soon as it starts, I pop my super which will proc limit break since we have restoration active. Then if you’re using a Linear Fusion, I first use my Normal Fusion to proc Unravel and Particle Reconstruction for more DPS, then swap to your heavy linear and start dumping your ammo. If you notice your Restoration run out, depending on the Boss, you can opt to throw a healing grenade for a few more seconds of DPS or you can pull out red Death and score 3 kills to reproc Restoration x2. This is why I love Red Death since you can quickly get a few kills and go right back to DPS like nothing happened.
Want to earn rewards by sharing your builds with your community?