 League of Legends
 Teamfight Tactics
 Legends of Runeterra
 Valorant
 Lost Ark
 Destiny 2
 Diablo 4
 Download APP
How to Play Go Hard Reborn
This deck has had quite a few iterations over Runeterra’s lifespan.
From the absolutely inarguably broken to the completely meme’d on, it has spanned all the power levels as well.
I’m Jordan “WhatAmI” Abronson and I think it might finally have settled at a solidly powerful midrange build that doesn’t break anything too badly.
Please welcome back our old friend, Go Hard.
We’ve covered a ton of other decks so be sure to check out our previous deck guides!
Decklist
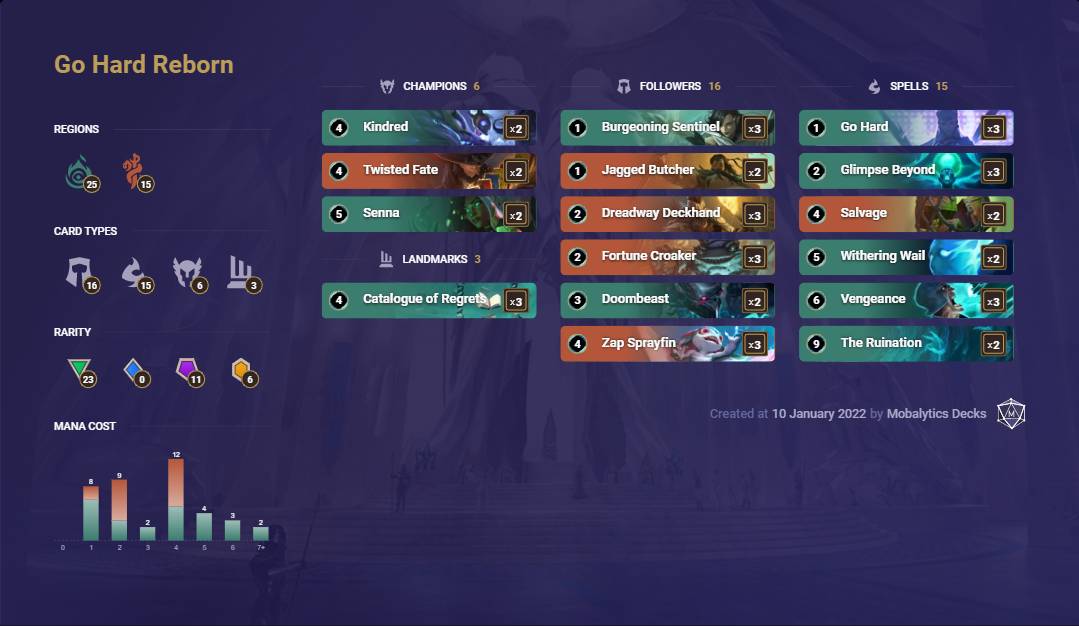
Deck Code: CECQEBIFBMHACAYFCABAEBQEEYAQGBQIAIAQKAJRAUBQEBQ2DU5ACAYFAYAQIBIFAECQKCICAECQ6HIA
[See Go Hard Reborn deck details]
Go Hard
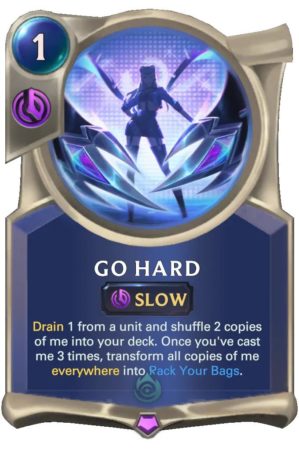
The first question you always want to ask when attempting to pilot a deck with Go Hard in it is “How central is this card to my gameplan?” In decks like Ahri or Karma the answer tends to be, that it’s ok, but one of many solid ways to win. Here it is absolutely essential.
This deck doesn’t really have a win condition other than packing people’s bags. Sure, leveling one of your champions will also get the job done, but that’s not something we can really rely on. With that in mind though we’ve got some pretty impressive tools to help us make sure our adversary gets packed up.
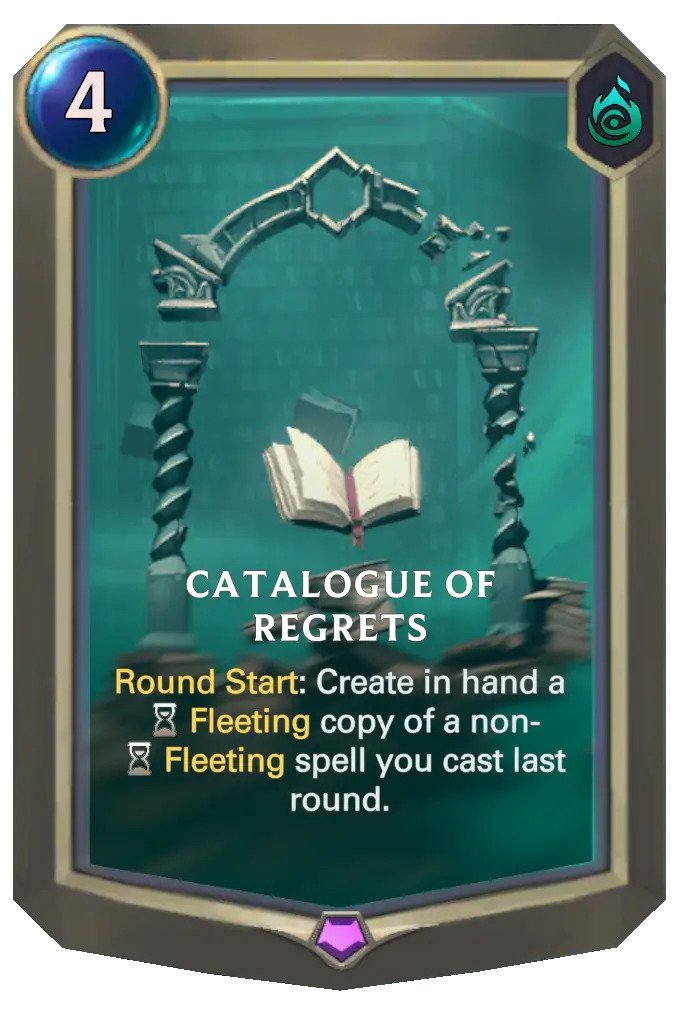
Catalogue of Regrets is absolutely busted in this deck, effectively doubling any of your spells, specifically Go Hard, as early as turn four. Besides that we have plenty of control tools to stall, and a full thirteen pieces of card draw to find what we need. And what do we need? Well-
Phase One: Holding the Board
The first four turns of the game for us will be about leveraging our powerful early game tools to take control of the board from our opponent. We’re sporting an awful lot of random 2|2’s for a control deck, and Burgeoning Sentinel is decidedly not random. They are mostly there to trade, but any additional pressure we manage to get running is always lovely.
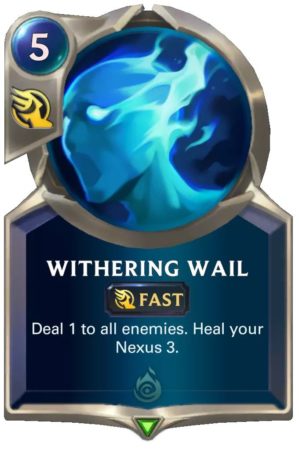
We can even slot Twisted Fate and Withering Wail into these turns occasionally as they are powerful answers in and of themselves. This is also the phase where, matchup depending, we can apply a bit of our own pressure. Random duders with effects stapled on don’t seem that impressive, but the chip damage adds up quickly in a deck that has five to ten points of burn in it, game length depending.
Thinking about how this phase will play out can also help your mulligan decisions. For instance, if I have almost any early game, and matchup depending sometimes even when I don’t, I will keep cards like Zap and Catalogue to help my midgame. I can do this because I have so many early cards to redraw into.
Phase Two: The Grind
Compared to most other decks out there we are sporting a frankly unreasonable amount of card draw. There are a full thirteen cards in our deck that replace themselves or better on cast. This puts us in a great position to simply run our opponent out of resources.
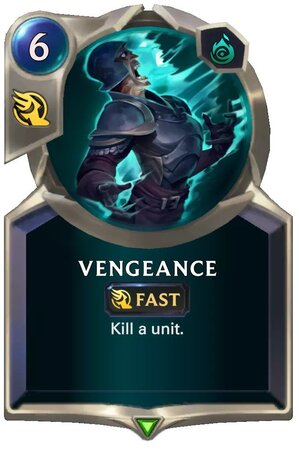
While almost all our favorable games will end because of a pack, against more aggressive or all in midrange decks sometimes you will simply have enough board control that the pack is more a formality than anything. Even against something like Pantheon, they are going to have a hard time against three Vengeance and two Ruination with Kindred backup.
The thing to remember in this phase is to figure out if you are the control or the beatdown. Do we need to win with pressure because our opponent’s late game is bigger than ours? Or can we answer everything they have and ride home with the victory on the power of our card draw alone?
Phase Three: Pack ‘Em Up
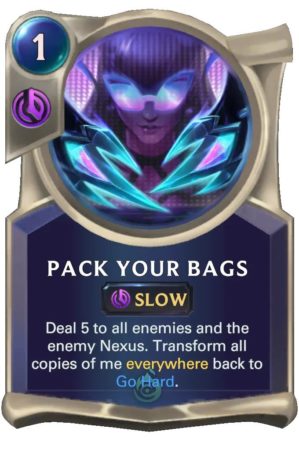
As I said earlier, most games will end with a Pack Your Bags. However, that definitively does not mean that you want to be casting it as soon as you have the option. Just because it costs five mana now doesn’t mean that you can’t hold your opponent’s turns hostage with this spell.
In fact, because they can play around it better, it means high level players are often more likely to respect the possibility, and try to get you to tap low on mana. This can be an invaluable tool for one of two reasons.
Number one, it can let you set up the board you will need to make sure you actually win the game after the bags are all packed up. A lonely 2|2 is unlikely to be enough tempo against a deck that has managed to match us effectively on card draw and wants to redevelop.
Number two, it can buy you the time to actually draw your pack. If I’ve played three Go Hard, then my opponent often needs to respect Pack whether I have it or not. And if I play a passing game centered around my five-mana-point then I give myself extra draws to get where I need to be to win.
Key Choices
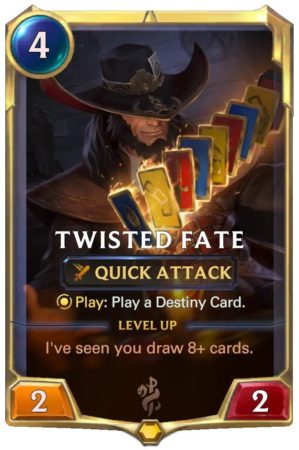
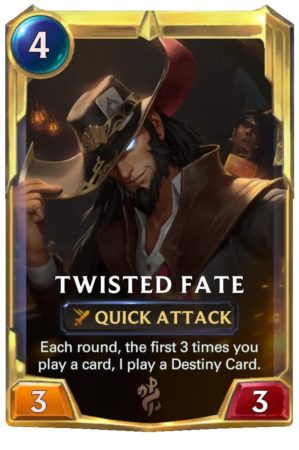
The 2-2-2 champion split is definitely one that is going to end up drawing some funny looks. However, I think it’s actually quite important. Twisted Fate is a wonderful toolbox, but he doesn’t level nearly as often as he used to, so while he is a threat, it’s one that will rarely get to be carried through on and actually secure a win for us.
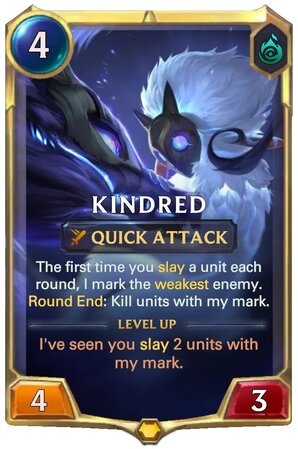
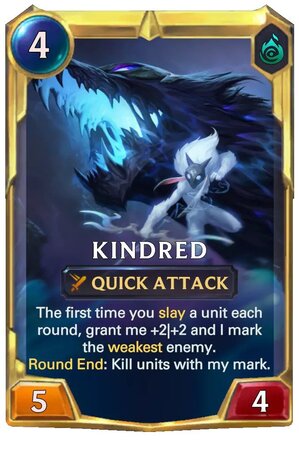
Kindred, newly buffed, is amazing, but quite vulnerable to removal. Be that challenger units or Get Excited we really don’t protect our units very well. Against removal light matchups or hands, she can hard carry, but we’ve definitely got to be careful over committing to her.
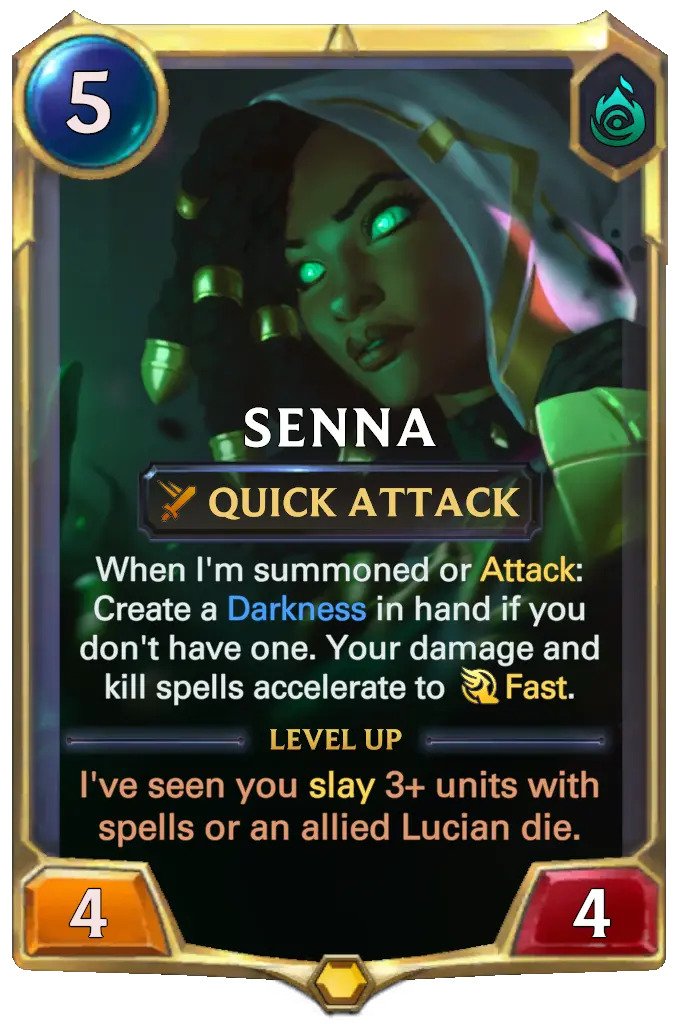
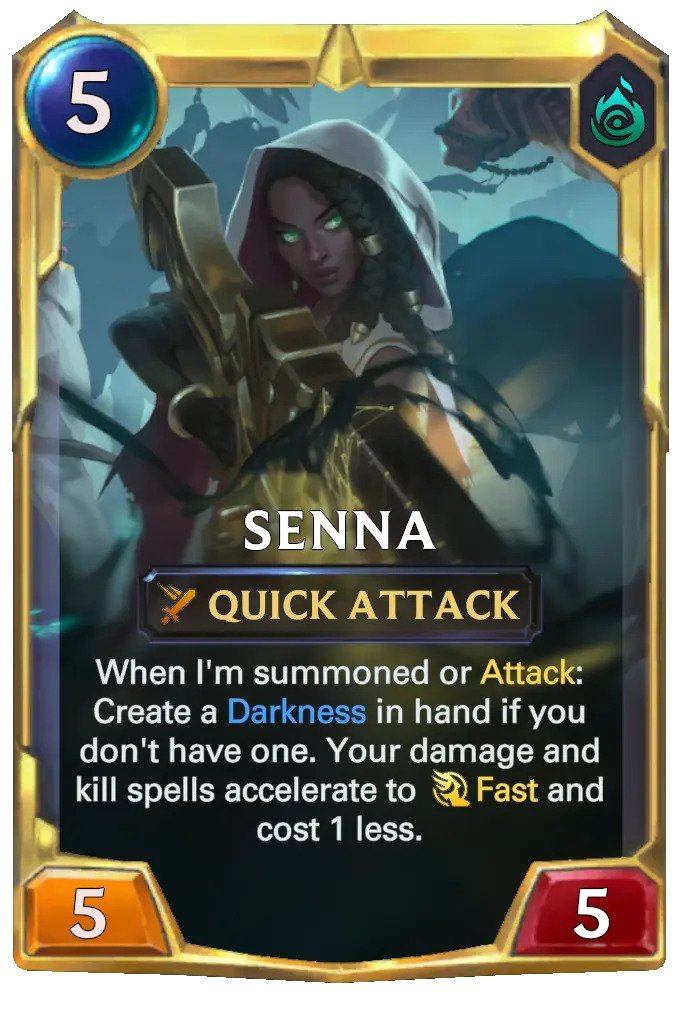
Senna is an absolute gem. Generating some of her own removal, enabling fast speed Pack or Ruination, providing pressure, she does it all. However, she also costs five mana, and that’s a lot.
Because these champs can all do some pretty powerful things situationally, they all get to show up as two-ofs in this version of the deck. I encourage you to experiment with the champion slots though, they are far from locked.
One of the coolest things about decks like this is that they have an awful lot of swing slots that you can mess with and tech on your own. I’m just here to give you the base and some ideas on how to play it. And with that I will wish you farewell for now, and happy brewing.
Tips
A lot of the play of this deck is about your opponent trying to hand read you. As you gain proficiency with this weapon you’ll learn how to make that harder and harder. Simple things like setting units to one or two hit points instead of taking favorable blocks can force your opponent’s assuming an incoming board sweeper into more awkward lines. Sometimes that extra turn or two is all you need to swing a game.
Don’t be afraid to slam you threats. If Twisted Fate, Viego, or even Hydravine bite the dust you will often be able to find backups simply because of the unreal amount of card draw in the deck. One of the cool things this deck does is not being super reliant on any one win condition. That makes us much harder to stop.
Conclusion
This is another deck that is close to my heart because of the play patterns it creates and the type of thinking it forces its pilot to do. Playing and mastering this archetype cannot do anything but make you a more proficient player at the game of Runeterra as a whole and I heartily recommend it to both new and experienced gamers alike.
If you have any questions, feel free to ask WhatAmI during his streams (Tuesday-Thursday around 3PM PST and weekends for tournaments).
Subscribe to our newsletter:
Don’t miss out on all of the latest LoR content!